
Review the KB article on how How to Package Microsoft 365 Apps as a Custom App — https://patchmypc.com/kb/how-to-package-microsoft-365-apps-as-custom-app/
In this video, we walk through how to prepare a Microsoft 365 Apps package for use with the Patch My PC Custom Apps feature
Microsoft 365 Apps uses a Click to Run installation model that allows you to control update channels, application selection, architecture, language packs, and update behavior. This flexibility provides strong control over how Microsoft 365 Apps is deployed in your environment. It also means that packaging Microsoft 365 Apps requires careful planning, especially when defining configuration XML settings, update strategy, and installation source options.
For detailed guidance on customizing Microsoft 365 Apps installation settings, including supported configuration XML options and command line parameters, refer to the Microsoft documentation for the Office Deployment Tool at https://learn.microsoft.com/deployoffice/overview-office-deployment-tool
Create Custom Apps in Patch My PC Cloud

Review the Doc article on creating custom apps in Patch My PC Cloud — https://docs.patchmypc.com/patch-my-pc-cloud/custom-apps
In this video, we explore the Custom Apps feature in Patch My PC Cloud. This powerful capability lets you package and publish your own software to ConfigMgr or Intune using the Publisher, or directly to Intune using the Cloud.
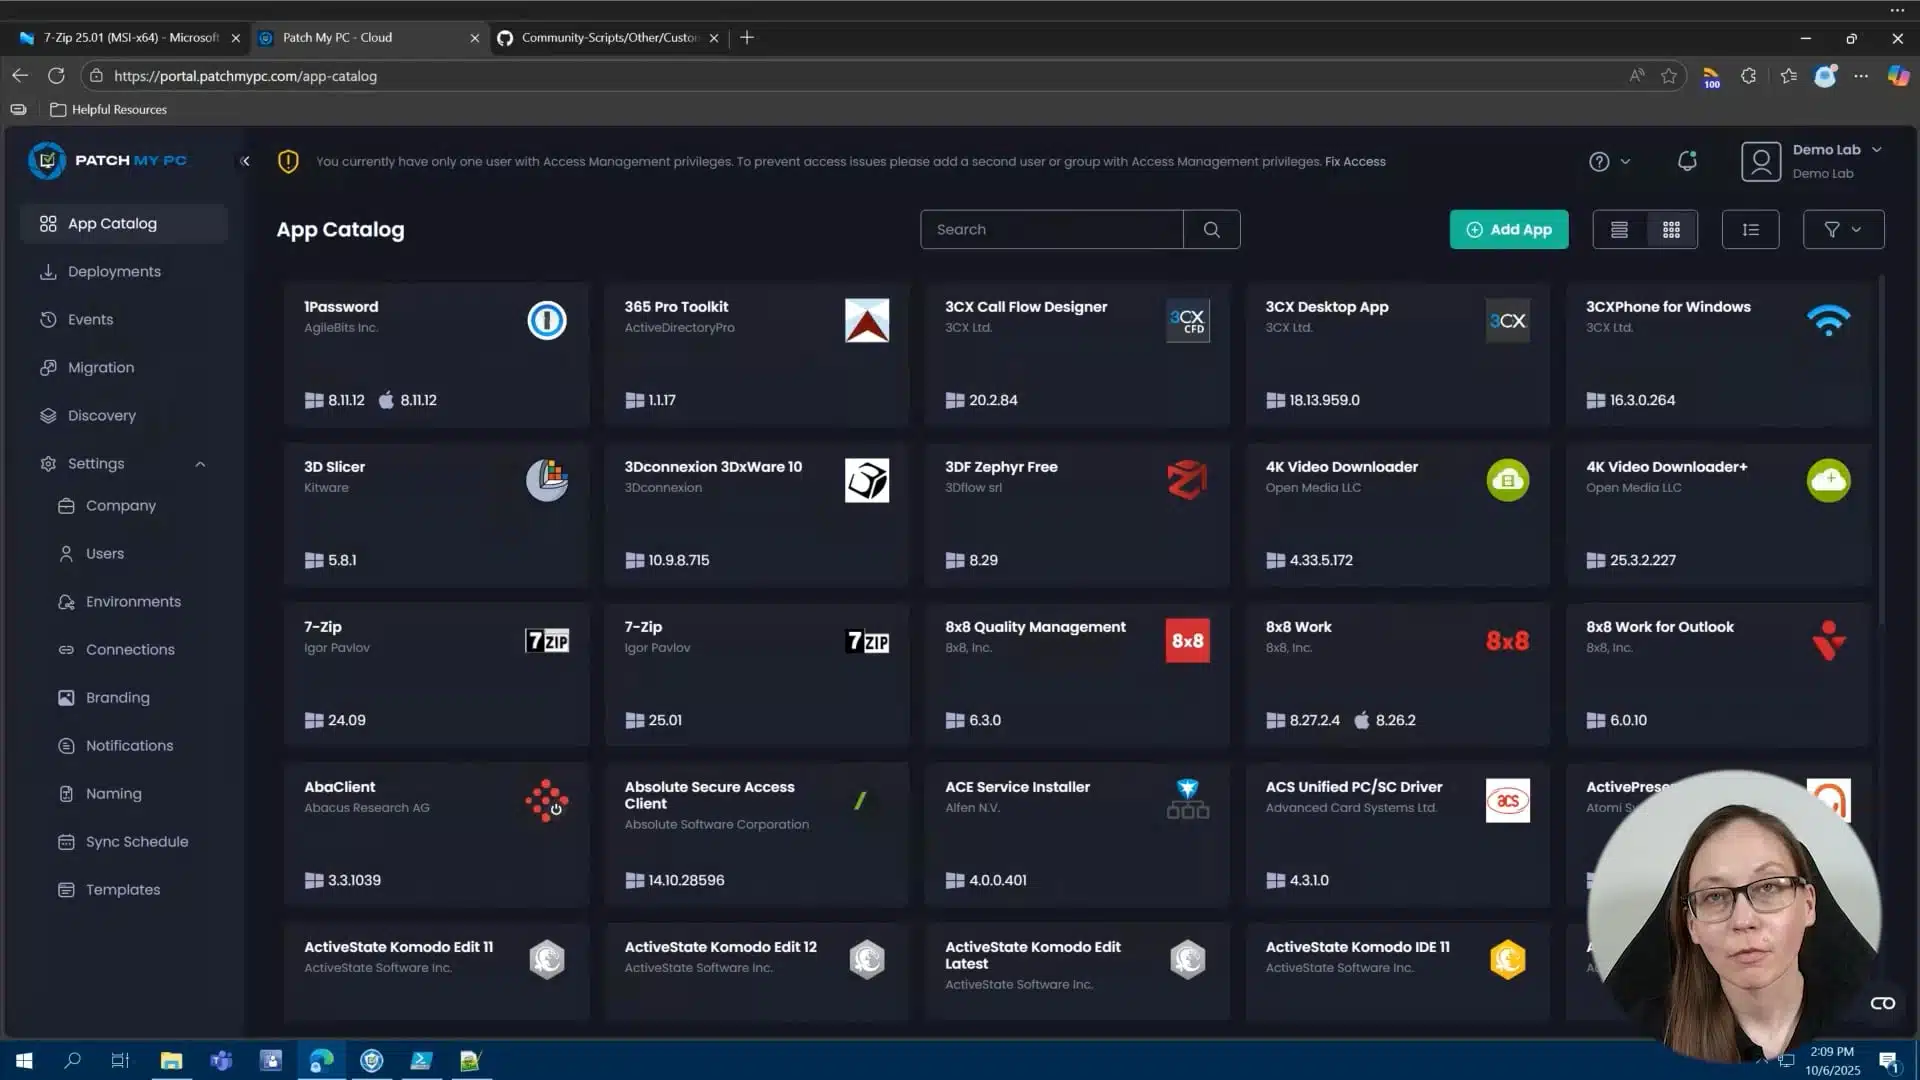
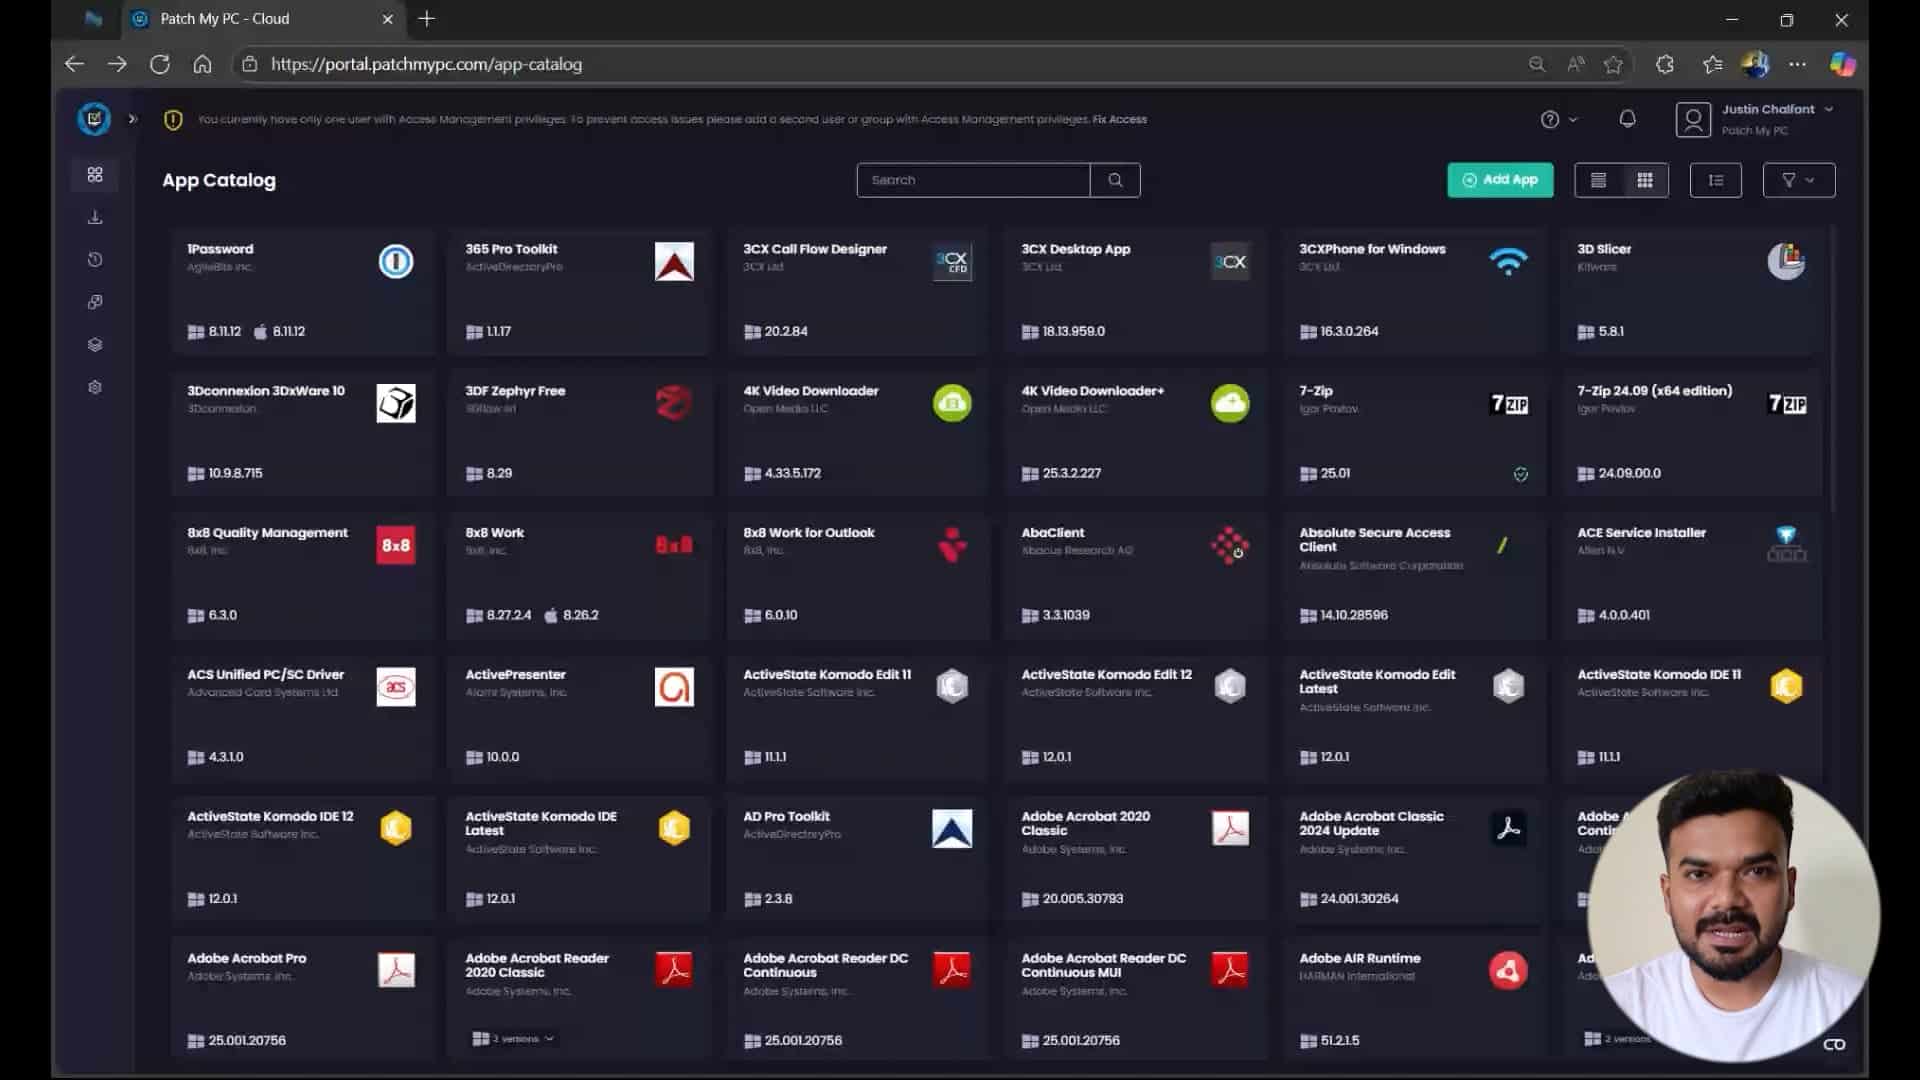
Hi, my name is Melissa, and today I want to walk you through creating custom apps. Maybe you have a homegrown application or an application that’s just not in our catalog. As long as the primary installer is an MSI or an EXE, you can easily create a custom app with Patch My PC. I have a couple of common examples of custom apps that I want to walk through. The first one is a simple MSI.rnrnThen after that, we’re going to use an EXE and I’m going to show you the custom apps helper tool, which can pull some of the needed information from the registry for your application. And then finally, I’m also going to show you a custom app using the PowerShell app deploy toolkit or the PSADT. rnrnThe custom apps feature is in our cloud portal. So we’re going to start there. You first create the custom app and you’ll need to be onboarded to the cloud in order to see this feature. So you see here, this green button, add app. That’s where you would add your custom app. And we’re about to go through that process. You can also connect the cloud to the publisher. Once you’ve created your custom apps, you can sync those custom apps with the publisher and deploy them via the publisher and customize them to configuration managers as an application and to Intune as an application in an update. I’ll show you that process as well. rnrnFor the first custom app, I do want to do a pretty easy MSI. So you saw me hit add application. All this is going to do is show you a couple of tabs in order to upload the primary installation files and any needed extra files, which is on this first tab. The second tab is going to be any icons, app name, vendor and description. So basic application information. You will have to provide this unlessrnrnFor example, with this MSI, you’ll see it’ll upload and grab some of that information by default without having to upload that information. Configuration is going to go into the detection. So if you do use Patch My PC built-in detection methods, all of the information here, the version, language, apps and features name will all go in architecture and install context will all play a part in where we are looking in the registry for this application after it’s installed and matching that information. rnrnThis is super important. You’ll notice an MSI like what I’m about to do. We’ll pull all this information for you, but if you were to use an EXE, you may have to use what we have, our custom app script or helper tool in order to get some of this information. Finally, you have the silent installation parameters. And then we also have a new feature, which I’m going to show here today. The ability to add and append the basic uninstall parameters. So what we’re doing by default, when you hit uninstall or you assign this as an uninstallation, what it’s going to do is going to pull that uninstall string from the registry. If you need to add anything else to it, like a silent command line parameter, you can easily add that here. I’ll show you an example of that here in a second. Okay. So let’s actually get into adding a custom app.rnrnSo the very first custom app I’m going to do is this return on investment tool MSI. So I’m to go ahead and upload this. I don’t have any additional files and folders for this particular custom app. So I’ve just uploaded my primary installation file, which is that MSI. You’ll notice it’s already pulling a lot of this information for me. Very, very helpful here. And I’ll go through an example of a custom app that does not have some of this information and going through that process.rnrnSo that’s pretty straightforward. have the app name, vendor and description, as well as the icon. Let’s get into the configuration. So this application is going to be a 64 bit system installer. have the apps and features name. This is what is showing in the display name in the registry. And we also have our conflicting processes, our silent installation parameters and the version. I’m going to go ahead and leave the uninstall command as automatic.rnrnWe do also have the ability to add detection rules. So one of the benefits of using the custom app feature is that it’s going to add by default Patch My PC detection methods. Also, it’s going to add the Patch My PC requirement script if needed for updates, and it’s going to add the ability to pull Patch My PC logging. So it’s going to build that all into your custom app for you.rnrnYou also have the option if needed to build out custom detection. Now keep in mind only the Patch My PC default detection method is supported with the publisher. So if you use custom, you can deploy this application to Intune via the cloud portal, but it will not be supported on the publisher side.rnrnSo you have the ability to configure a manual detection rule, custom script. So if I hit manually, you have a couple of options here, including file and registry-based detection. So you have a lot of options here. I’m gonna switch this back to default and hit create. This is going to build that custom app and it’s going to add it back to my catalog. So one of the easiest ways to find this, you’ll notice this source, this is going to be my tenants or my demo lab that I’ve onboarded here. If I hit this filter, it’s going to show me all of my custom apps. So I have my return on investment tool that I just created. And I also have this seven application that I’ve created as a custom app. From here, all I’d have to do is hit deploy.rnrnAnd you’ll notice I’ll have the same exact configurations, including pre and post scripts, additional files, app information, and installation parameters. So all of those will be available to me here. And then under assignments, I have the same assignment options as well. So I can just build this out with my standard all users and I can deploy this out.rnrnOkay. One more thing before we kind of go into the next, custom app, you’ll notice I already uploaded that or I created that return on investment tool. So if I hit refresh here, I have connected into my cloud from the publisher. So under config manager apps, you’re now seeing an all custom products and I will see both of my custom apps as options here for config manager applications.rnrnIntune applications and Intune updates. So those are all available for me in the publisher.rnrnOkay, let’s go back and the next thing I want to show you is you’ll notice I have 7-Zip created as a custom app. So if I go back and filter by my custom apps.rnrnHit deploy. I am going to go ahead and deploy this because I do want to show an update. So let’s go ahead and get this published.rnrnOkay, so let’s say you have a custom app, in this case, 7-Zip. And you’ll notice that version of 7-Zip is actually old. So what do we do when there’s a new version of a custom app? So what I want to show you is how easy it is to update a custom app. All you have to do is you’ll notice I found the 7-Zip application in my catalog. I’ll just hit add version. This screen looks identical to the previous screen. So you have your… ability to add your file configuration and detection rules. rnrnYou notice it’s not also asking me to create the same, upload an icon and stuff like that. I would have to do that if I was creating an EXE from scratch, which we’ll all show you here shortly, but this is super easy to do. So all you have to do is add your primary installation file. So if I go to my downloads, where I’ve downloaded my 7-Zip 2501. Hit open. If I go to configuration, some of this information is being pulled from my previous custom app that I’ve uploaded. But I do want to show you our custom apps helper tool real quick. So we do have a tool in GitHub, our Patch My PC GitHub called the custom apps helper tool.rnrnAll you do is you download it. I’m going to run it. What it’s going to do is show you everything that’s in the registry for installed applications. You’ll see here’s my 7-zip 2501. I am going to hit OK here. And then I actually see all the helpful information here that I need for my configurations tab. So that’s a really easy way to find all this information out.rnrnSo let’s go ahead and finish this out. So we have 2501 for my version. It’s pulling those conflicting processes, the apps and features name. Now 7-zip has the version in the app and the display name, which is why we’ve had a wild card here, which will allow me to keep the same app and features name over versions. So as versions change, it’s a good example of that. Silent installation parameter is going to be the same and it’s 64 bit.rnrnSo we should be good to go there. I’m going to keep the default patch my PC for detection and let’s go ahead and hit save. Now what’s going to happen here is it’s going to wait till that sync time to actually pull in that new version. And since I already have this deployed, it’s going to update that deployment automatically for me. I can also go back to my deployments and speed that up a little bit by hitting sync or recreate here.rnrnOkay, so the final custom app I want to show you is how to use the PowerShell AppDeploy Toolkit as a custom app. So in this particular scenario, I have built out a PSADT version 4 that is installing Notepad++. So let’s go ahead and build that out as a custom app. In this case, this is just a good example as a starting point on how to do this. We get this question a lot in support.rnrnSo let’s actually, I want to show you the base, um, actual package that I have built from the PS app deploy. So let’s make this a little bit bigger here. So this is for notepad plus plus. If I open this up, I have my PS one, my EXE, and then all of these support files as well. So what I’m going to do here as my primary installer is going to be the invoke app, deploy toolkit.exe.rnrnSo you can easily drag and drop. So what I’m gonna do is drag and drop that over here. And then another easy way to add your extra files, I wanna make sure that I’m adding everything, but that EXE that I just uploaded as my primary, I can easily drag and drop that over here as well. So let’s go ahead and do that.rnrnSo that’s the main difference here. So this is a good example of a primary EXE, but also has a ton of additional files here. So I went ahead and just have to make sure that PS1 is there and those files and all of your supporting files and folder structure for the PSADT.rnrnUnder general information, this is going to be very similar to just using a EXE and, regardless of the PSADT. So I do have to upload the app icon. I do have my icons here. Let’s go ahead and do that for notepad plus plus app name is notepad plus plus. And I did use the custom apps helper tool to pull this information, but I have it pre populated here for notepad plus plus. So this is super straightforward.rnrnWe’ll do notepad++64.rnrnDescription can be whatever you want. in this case, I’m going to do notepad plus pct demo. Configuration is the important stuff for your detection. So we’re actually going to copy and paste a lot of this stuff over.rnrnVersion is 885.rnrnI’ll do English.rnrnConflicting processes is also really simple. So it’s just notepad++.exe, but that was information that was pulled from that tool. And then the silent installation parameter. This is where, because I’m using a PSADT package, this is going to be slightly different than if I was just uploading notepad++.exe here. So I’m actually going to pass the defaults for the PSADT. That’s gonna be deployment type and you saw here, deployment type install, deploy mode interactive. So I’ve uploaded that here.rnrnGoing to use the Patch My PC default for the detection rules as well. And we’ll go ahead and create that.rnrnAwesome, so let me take a look at all of our custom apps that we’ve created. So we created a standard MSI custom app. We updated an EXE based custom app for 7-Zip from 24.09 to 25.01. And then we also created a PSADT based custom app as well. We’ll walk through that process.rnrnSo hopefully after seeing all of this you feel a little bit more confident about building out your own custom apps. You can always reach out to us if you have any questions. Thanks for your time.
Connect Publisher to Patch My PC Cloud

Review the Doc article on Connecting Publisher to Patch My PC Cloud — https://docs.patchmypc.com/patch-my-pc-cloud/cloud-administration/manage-cloud-connections/add-a-connection
In this video, we show you how to connect Patch My PC Publisher to Patch My PC Cloud. Once Publisher is connected to Patch My PC Cloud, you can manage all of the instances of Publisher connected to your portal. This allows you to leverage Custom Apps in Publisher and enables other cloud features, like Migration
Hi there, my name is Hugo. I’m a customer engineer here for Patch My PC. And today I’m going to talk to you about the cloud connection. So what is the cloud connection? This is what actually allows you to connect your own local on-prem publisher to your own instance of the Patch My PC cloud portal. So all you have to do is to go into your publisher, then you need to click on the cloud tab that you will have here on the right as highlighted on my screen. So let’s click on there right now.rnrnThen you have to fill out the connection name, which can be whatever name you want. It doesn’t really make a big difference. So let’s just call this PMPC connection. In a small note though, as a prerequisite, you will need to have already created your own Patch My PC Clouds portal company. Okay. We also have a video on that. The link will be here below in the description. So you can just have a peek at that, but you need to do that first. Okay. So once you have that, you just have to put a name here. Like I said, click on connect.rnrnthen you’re going to get prompted to log in and you need to use the same account that was used before when you first created the cloud company. Okay, so I’m going to use my own account here, click next, sign in. And as you can see, authentication has been completed and we can now return to the application. So we can close this for now and we can now see a green icon and the connection status as success. So what this feature actually allows us to dornrnis to basically now create custom applications within the cloud company that we can then also publish using the publisher. So if we now just quickly go into the cloud and on the settings we can see other connections, we have our PMPC connection created within the portal. So that’s all for today. Hope that this video was helpful to you. If you have any comments or suggestions, feel free to leave a comment below. And thank you so much for watching. Have a great day.
Intune Assignment Types Explained

Review the Doc article on Intune Assignments Types — https://docs.patchmypc.com/patch-my-pc-cloud/cloud-deployments/deploy-an-app-using-cloud/cloud-assignments-deployment-tab
In this video, we break down the different assignment options available when publishing apps with Intune and Patch My PC. You’ll learn the key differences between Add Required, Add Available, and Add Update Only, and when to use each:
Add Required – Automatically installs the app for all assigned users or devices.
Add Available – Makes the app optional, allowing end users to install it on demand from the Company Portal.
Add Update Only – Exclusive to Intune apps, this ensures updates are applied to existing installations without deploying the base app to new devices.
By the end, you’ll know exactly how to choose the right option to streamline deployments, improve user experience, and keep devices up to date.
Hi, my name is Zonak and I’m a Customer Engineer here at Apache PC. Today we’ll be talking about the different type of assignments that we have in the cloud portal, how easy it is to configure them and what are the differences in those different assignment types that we have. So let’s go. So once you successfully onboard to the cloud portal and you have started deploying the application, assignment would be a go-to. So let’s take an example of one password over here. We’ll talk about the assignments here by deploying the application.rnrnSo I’ll go with one password, I’ll click on deploy here. And from here, you will start configuring the package. You will select the architecture, installer type, and the sol context that you want. Configuration is where you apply customization to that package. What are the different type of customization you want for the package to be applied? You can use the configuration tab here. Next is the assignment. This is where you’ll apply customization to that package. We have multiple assignment types to choose from.rnrnThink of this tab as the place where you tell Intune how and to whom your app should be delivered. Now, we see different assignment types here. Add required, add available, add update only, and add uninstall. Add required, this means the app is mandatory. Once deployed, Intune will automatically install it on every device or user group you have targeted.rnrnAn example could be if you’re deploying one password and if you want one password to be installed on all your company laptops, then this would be your go-to. Client-side behavior, the app installs silently in the background, no user action needed. Then we have an ad available. If you make the application as available, that means the app will be visible in the company portal where user can go ahead and simply install it themselves.rnrnPerfect for software that are not very essential for every customer. Let’s say, notepad plus plus, VLC, power toys as an example. Client set behavior. It does not auto install. The user can open the company portal and choose to install it themselves. Add update only. This is different from required and available. Add update packages will only update the app if an older version is already present on the machine.rnrnIt will not install a base application. It will just update the application if an older version is already present. How exactly is detecting that? So with every update package we publish, we also add an additional PowerShell requirement strip that detects the presence of the app on those machines. If it’s present, go ahead and update it. If it’s not in there, do not do anything. And then we have add uninstall. As the name suggests,rnrnthe assignment will remove the application from the targeted device or group we have selected. Client set behavior. The app gets silently uninstalled using the PatchMPC packages that you deploy. Okay, so let’s talk about the assignment. We have talked about the assignment types now. Let’s see how we’ll configure it. So let’s say I’m setting it as required to one of my group here. Let’s say this one. I’m setting this as a include assignment. Okay.rnrnThis is required, that means it will automatically install the application on the client machine. Then we have available, as we talked about, available will show the application in the company portal, where user can go ahead and install it. using it, I’m deploying it as available to this particular group. And then just to update the application, if you aware, if the applications there on the client machine already, then use the add update only assignment.rnrnSo in this case, let’s take an example of, or let’s say this one, okay? So I’ve created all the three assignment types here. Just for the example, update only, that will just update the application on the client machine if an older version already present. Available will show that app in the company portal where user can go ahead and install it. And required assignment will automatically install the application on the client machines. You have also an option to set filters.rnrnIf you want to include or exclude a specific group or specific, let’s say a device type, device type for your department, you can also do that. These filters that you see here, these are created in Intune. That’s when you will see it here. Once you select it, those groups will be included or excluded or devices will be included or excluded. rnrnWe also have notifications here where if you want to show the notification to the user, hide them or just show the restart notification. You can also do that. Then the content download. You can pick foreground. This is by default for installs and background by default for updates. PatchMPC by default will auto optimize these settings based on the best practices, but you can tweak them as you need. You can set as foreground or even a background here.rnrnSo this is how the assignment works. These are different diverse assignment that we have. Now easy you can configure it. And when you click on next, you will see a short summary of what you have configured. And then when you click on deploy, this will now start creating those packages in the Indian portal, along with the assignment that you have selected.rnrnNow, one more thing to add up here. We talked about these three assignments, add available, required, and uninstall. Now, what if I want to manage the assignments from the Intune portal? I just want the packages to be created. So I’ll take one more example of Chrome here. I’ll click on deploy, continue anyway and go next, we’ll come to the assignment. rnrnWe have these two assignments as well. App without assignment, install app and update only app. These two will create the application package and update packages for Google Chrome in the Intune portal. The way it’s been used, there are many admins who wants to manage the assignment from the Intune portal instead from the cloud. If they want to do that, then they can use the assignment.rnrnThis will create an application package. This one will create an update package. Once it’s visible in the Indian portal, from there they can simply go ahead and assign them to whichever group they would like to target. Now in the Indian portal for one password that we have created, let’s confirm if the packet got created or not. So I can see the package is here, it’s still getting assigned. This is an application package, and this is an update packet that starts with update for as a prefix. Right now the assignment is set to no.rnrnSo if I even click on this, for this one, it’s set to yes now. So if I click on one password, and if I go to the assignments tab, I will see the assignment that I’ve configured. So let’s go to the properties of it and review the assignment that we have enabled.rnrnSo if I scroll down, I can see the assignment that I’ve selected required for this group I’ve selected, and it’s available for this particular group. For update package, this is the update package now. And if I go to the properties of this update package, still getting created now. App is not yet in ready state. So let’s wait for a few moments here and we should see the update package as well.