
You can create a PKI-based WSUS signing certificate from a local PKI such as Active Directory Certificate Services (AD CS) or even use a public certificate authority such as DigiCert for code-signing certificate. Using a PKI based code-signing certificate can be an alternative to using a self-signed certificate.
Topics covered in this article:
- Step 1: Create the WSUS Code Signing Template via Certificate Authority in AD CS
- Step 2: Issue the Certificate Template
- Step 3: Request the WSUS Signing Certificate Template
- Step 4: Export the WSUS Signing Certificate to a PFX File with Password
- Step 5: Import the PFX to WSUS Using the Patch My PC Publisher
- Create PKI-Based WSUS Code-Signing Certificate (Video Guide)
- Helpful Resources
Step 1: Create the WSUS Code Signing Template via Certificate Authority in AD CS
The first step to creating a PKI-based code-signing certificate is to create the template in the Certification Authority. Perform the following actions:
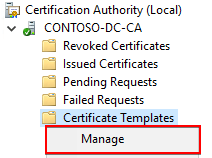
Open the Certification Authority application
Right-click Certificate Templates and click Manage
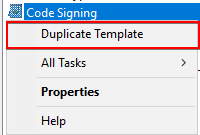
Right-click the default Code Signing template and click Duplicate Template
On the Compatibility tab, ensure the following settings are applied:
Certificate Authority = Windows Server 2003
Certificate recipient = Windows XP / Server 2003
Note: We have tested templates successfully in internal labs using higher-level Certificate Authority and Certificate recipient levels, but Microsoft documents in this Microsoft blog to use Windows Server 2003. We aren’t aware if there are any niche cases where a newer compatibility level could cause issues.
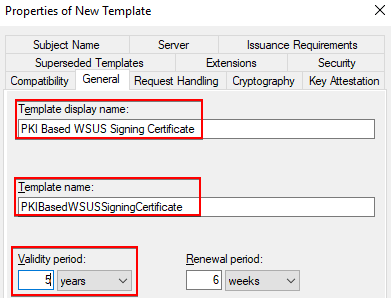
On the General tab, give a descriptive Template display name and Template name and optionally the Validity period
In the Request Handling tab, you need to check the box Allow private key to be exportable
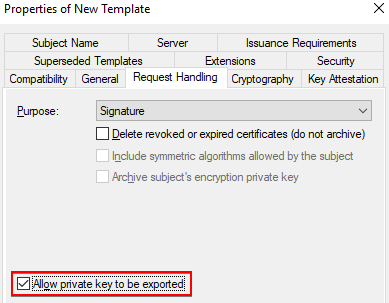
Note: The private key needs to be exportable because an exported PFX certificate file needs to import it using a WSUS API.
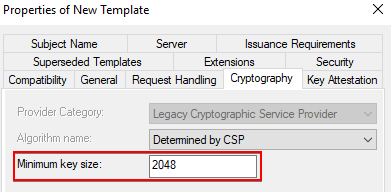
In the Cryptography tab, ensure the Minimum key size is 2048
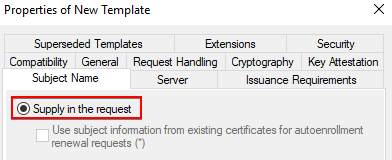
In the Subject Name tab, change the radio box to Supply in the request. This will allow us to use a custom subject name such as “WSUS Code-Signing” rather than the requester’s user principal name.
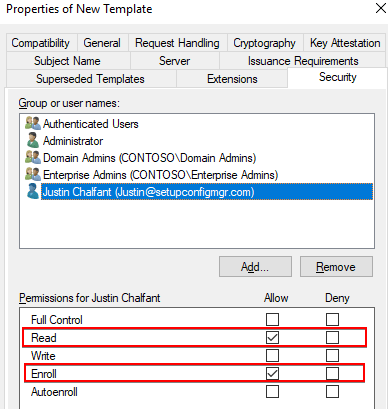
Within the Security tab, click Add and configure a user or group that can Read and Enroll this certificate template.
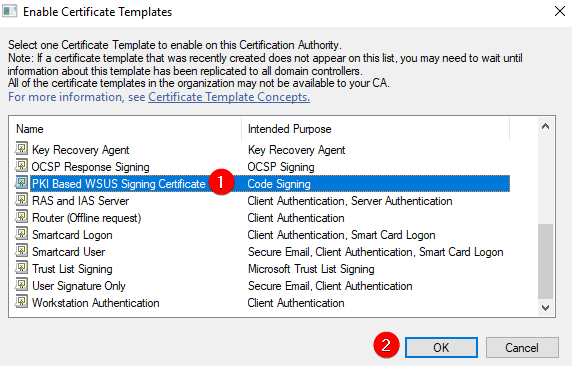
Step 2: Issue the Certificate Template
Now that the certificate template is created, we need to issue it for enrollment.
Right-click the Certificate Templates node > New > Certificate Template to Issue
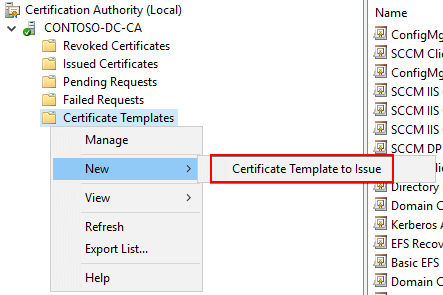
Select the template you created in Step 1 for your WSUS code-signing certificate and click OK
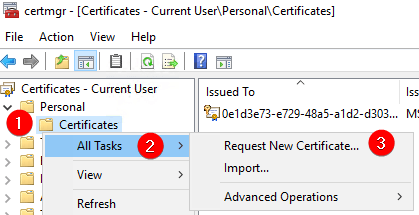
Step 3: Request the WSUS Signing Certificate Template
On a device in the same domain, open the Manage user certificates application (certmgr.msc)
Right-click Personal > All Tasks > Request New Certificate…
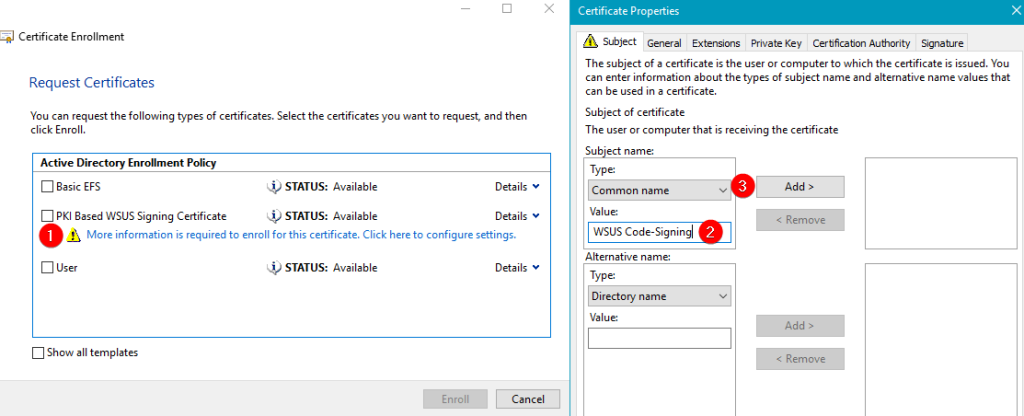
In the Select Certificate Enrollment Policy, select Active Directory Enrollment Policy, and click Next
In the Request Certificate, click the More information is required to enroll this certificate on the certificate templatee issued in Step 2.
In the Subject tab, add a descriptive Common name and click Add >
In the General tab, we recommend adding a descriptive Friendly name and Description.

Click OK, then select the template in the Request Certificates dialog and click Enroll
Click the Finish button on the Certificate Installation Results Succeeded
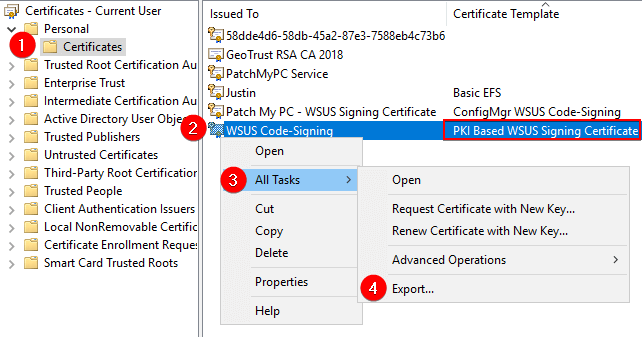
Step 4: Export the WSUS Signing Certificate to a PFX File with Password
Next, you need to export the certificate so it can be imported into WSUS
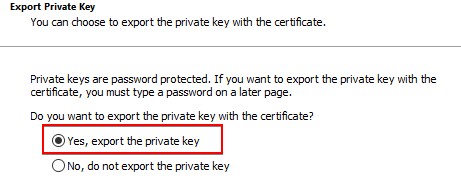
On the Export Private Key, you must choose Yes, export the private key
Leave the default options on the Export File Format and click Next
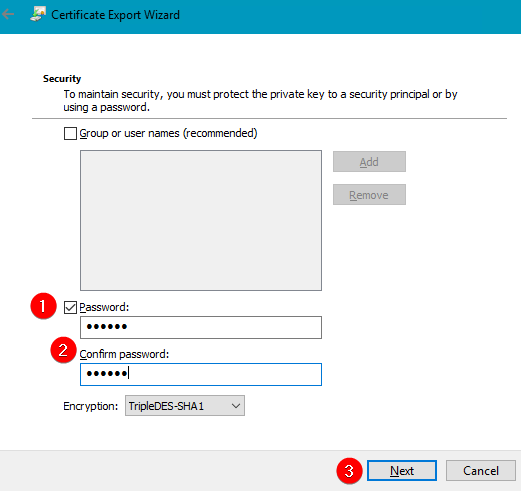
In the Security dialog, define a Password and click Next
Step 5: Import the PFX to WSUS Using the Patch My PC Publisher
Next, you need to Import the PFX file using the Patch My PC Publisher
In the General Tab, click the Import PFX Certificate

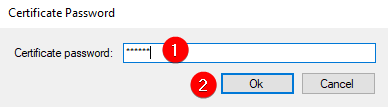
Enter the Certificate password used in the export step and click Ok
Click OK on the Certificate Imported Successfully dialog
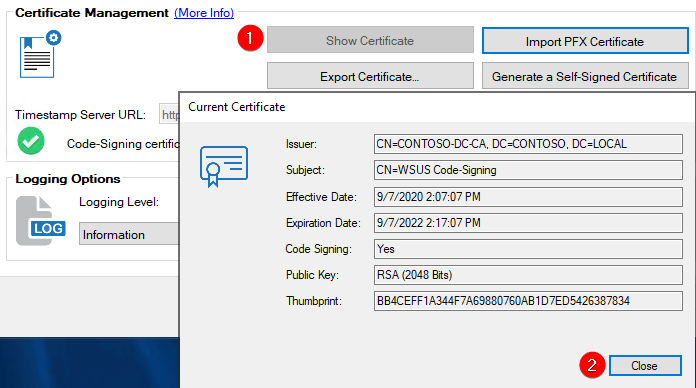
Optionally, you can click the Show Certificate in the General tab
Create PKI-Based WSUS Code-Signing Certificate (Video Guide)
You can also review the video guide for creating a PKI-based certificate below:
Helpful Resources
You can find some additional resources below that may be helpful: