Microsoft Intune Deployment and Getting Started Guide
Microsoft Intune helps you manage your corporate devices. The guide below will describe how to set up and configure Microsoft Intune and activate a 90-day trial. Many of the steps in the video and article below are also available on the Microsoft docs Quickstart – Try Microsoft Intune for free.
Topics covered in this article:
- Video Guide for Microsoft Intune Setup
- Request a 30-Day Intune Trial
- Set Up a Custom Domain Name (Optional)
- Enable Automatic Enrollment for Windows Devices and Enterprise Mobility + Security E5 90-Day Free Trial
- Create User for Intune Enrollment via Windows Autopilot
- Enable Company Branding in Azure Active Directory (Optional)
- Disable Windows Hello for Business
- Enroll a Windows 11 Device Into Microsoft Intune Using Windows Autopilot
Video Guide for Microsoft Intune Setup
If you prefer to learn using video guides, you can review the video below that covers all the steps in the article below.
Request a 30-Day Intune Trial
Trying out Microsoft Intune is free. To start, request a 30-day trial at Microsoft Intune 30-Day Trial Request.
On the Microsoft Intune Trial page, enter your work email and click next.
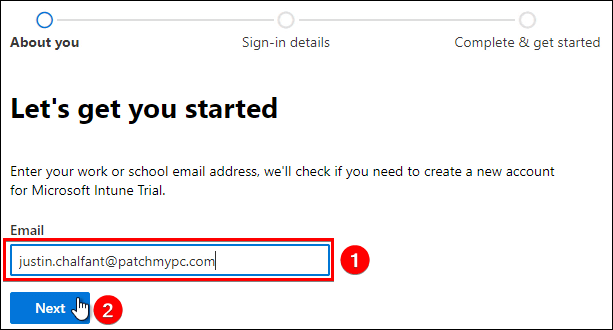
![]() Note: In the example above, the domain used for the email was “patchmypc.com“. If there is any Intune instance setup for the domain, the option will be “Sign In” or “Create a new account instead“. If Intune hasn’t been set up for your domain, the button will say “Set up account“.
Note: In the example above, the domain used for the email was “patchmypc.com“. If there is any Intune instance setup for the domain, the option will be “Sign In” or “Create a new account instead“. If Intune hasn’t been set up for your domain, the button will say “Set up account“.
If Intune hasn’t been used before for your email domain, click Set up account.
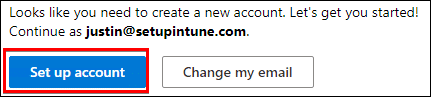
If Intune has been configured for your domain before, you can create a new Intune tenant by clicking “Create a new account instead“.

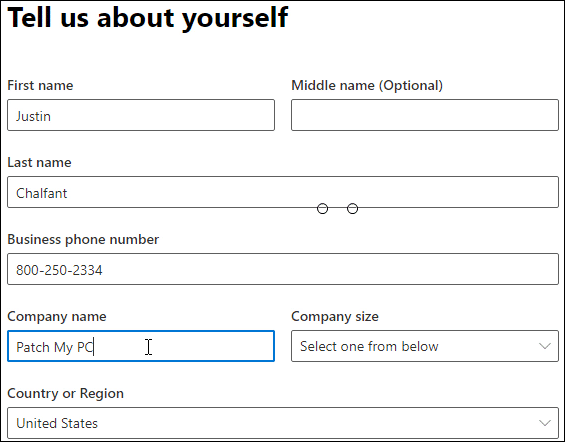
Complete the Tell us about yourself form and click Next
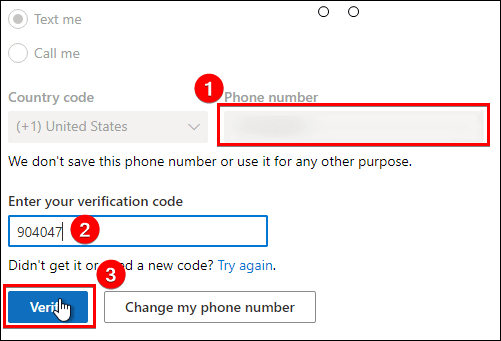
You will need to verify you are a person using the Text me or Call me option. Enter your phone number and click Send verification code.
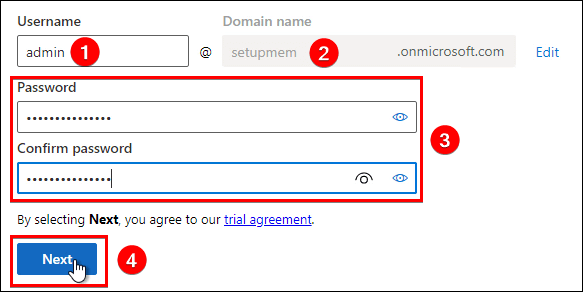
On the How you’ll sign in form, you will need to enter the tenant’s username, Domain name, and password and click Next.
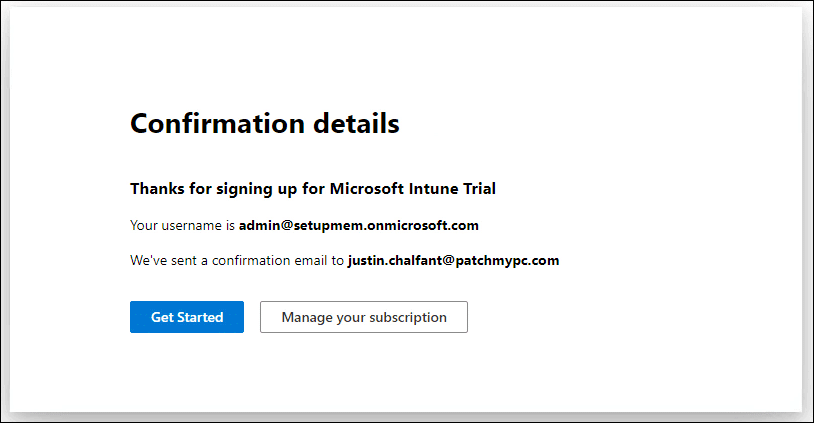
You will be redirected to the Confirmation details screen, which shows details about the Intune tenant.
Set Up a Custom Domain Name (Optional)
If you don’t have a domain name already purchased, you can buy a custom domain name that you can optionally use for Microsoft Intune user accounts. Purchasing a domain name is generally under $10.
![]() Note: Using a custom domain is optional. If you don’t use a custom domain, you can log in using the [email protected] domain for example rather than [email protected].
Note: Using a custom domain is optional. If you don’t use a custom domain, you can log in using the [email protected] domain for example rather than [email protected].
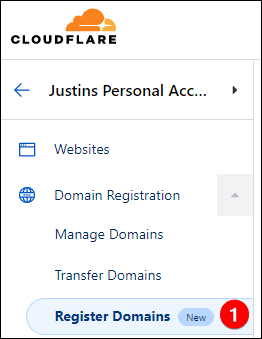
For this guide, we are going to use a custom domain setupmem.com. I used Cloudflare to purchase the domain name. To buy a domain in Cloudflare, you follow the steps below.
Log in to Cloudflare and navigate to the Register Domain page.
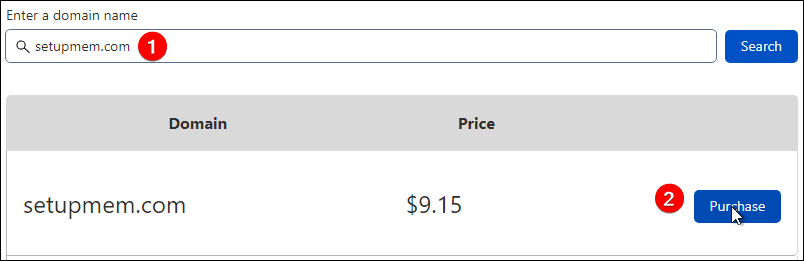
Search for your desired domain name and click Purchase. Complete the prompts to purchase the domain.
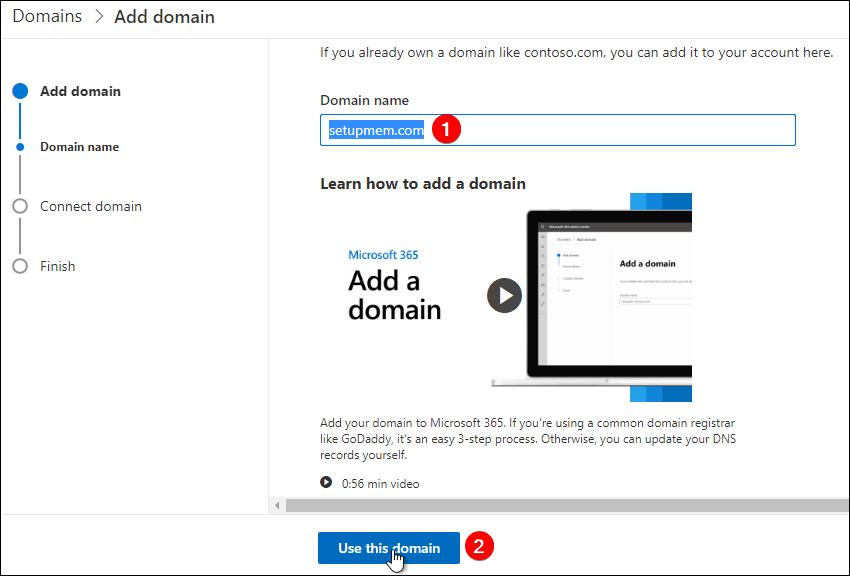
After purchasing the domain, navigate to the Add a domain wizard in the Microsoft 365 admin center. Enter the domain name and click Use this domain.
You can find more about adding a custom domain name at Add a domain to Microsoft 365 – Microsoft 365 admin.
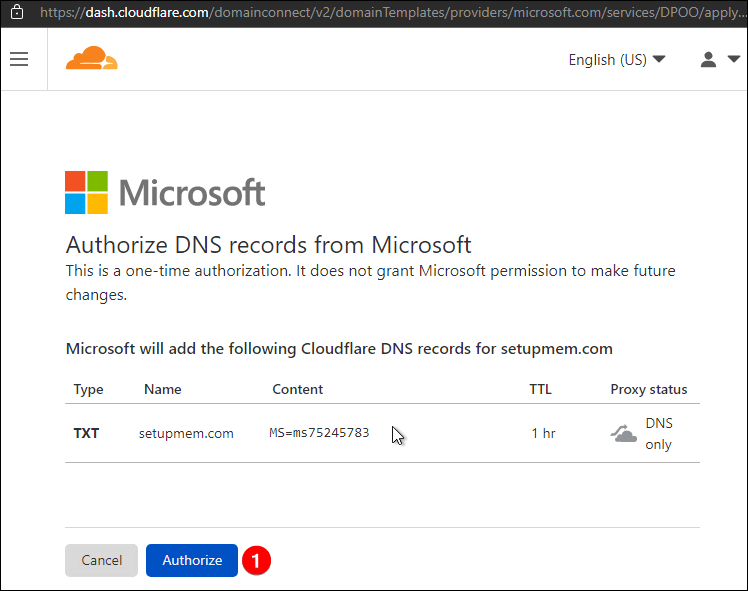
Click Verify on the Verify you own your domain page. If your domain registrar supports the Microsoft Domain Connect feature, the Verify wizard will automatically add a text record in DNS for you. Cloudflare does support this feature. Click Authorize in the popup to validate the domain name.
Click Done on the Domain setup is complete dialog.
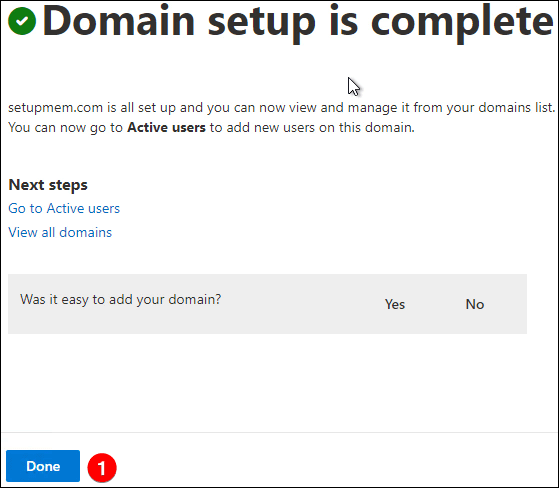
Congrats, you have now added a custom domain to your tenant!
Enable Automatic Enrollment for Windows Devices and Enterprise Mobility + Security E5 90-Day Free Trial
The Microsoft Intune subscription doesn’t include automatic enrollment. If you want to enable automatic enrollment for Windows devices, you can request a 90-day free trial of Enterprise Mobility + Security E5.
Log in to the Microsoft Endpoint Manager and navigate to Devices > Windows > Windows enrollment > Automatic Enrollment. Click the message about Automatic MDM enrollment, expand the Free trial for Enterprise Mobility + Security E5, and click Activate.
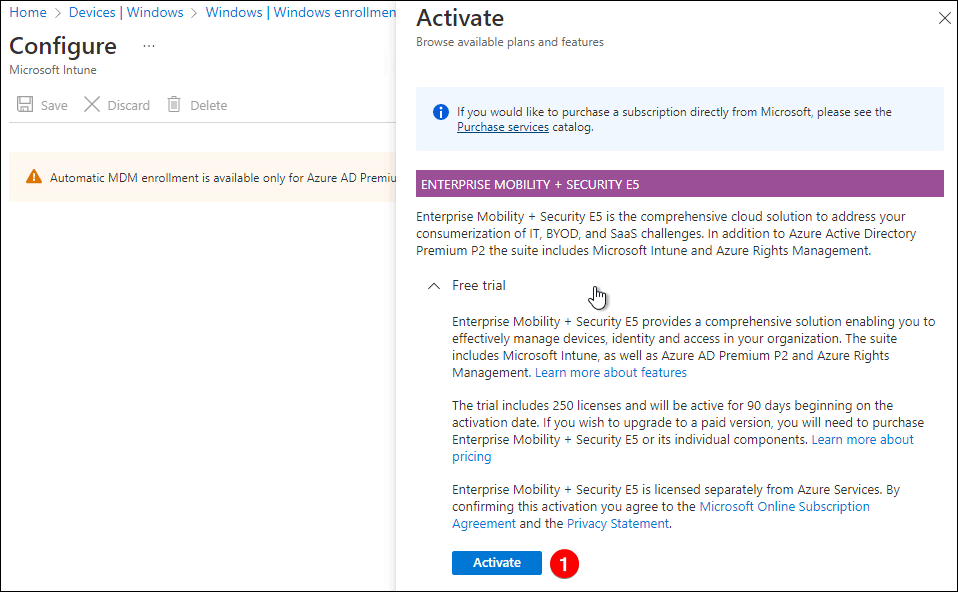
![]() Note: The trial may take a few minutes to activate. Once activated, you can enable Automatic enrollment for Windows devices. The Enterprise Mobility + Security E5 includes the Microsoft Intune license.
Note: The trial may take a few minutes to activate. Once activated, you can enable Automatic enrollment for Windows devices. The Enterprise Mobility + Security E5 includes the Microsoft Intune license.
Navigate to the Licenses page in the Microsoft 365 admin center.
Assign a license for the Enterprise Mobility + Security E5 to the user account you used to create the tenant.
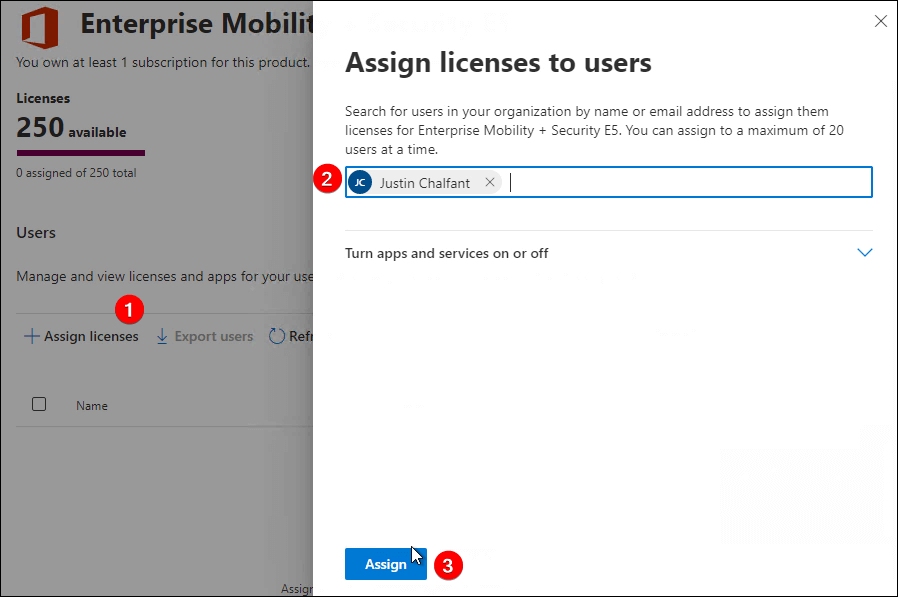
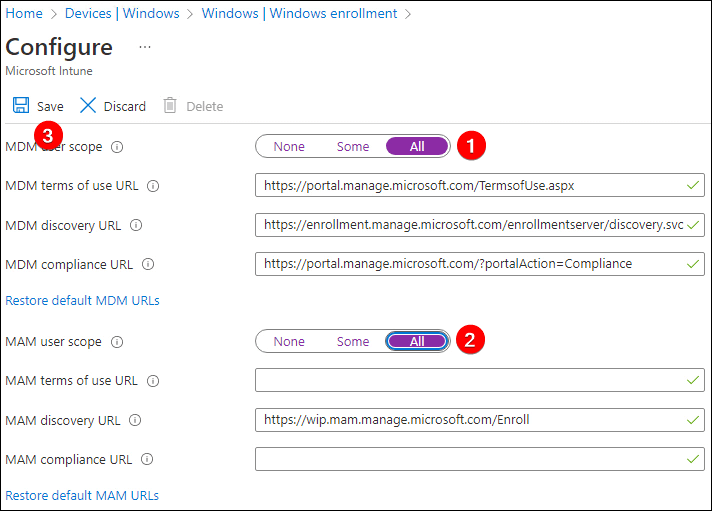
Refresh the Microsoft Endpoint Manager page, and navigate to Devices > Windows > Windows enrollment > Automatic Enrollment. If the trial license is applied, you can enable All for the MDM user scope and MAM user scope and click Save.
Create User for Intune Enrollment via Windows Autopilot
Next, we will create a standard Azure AD user account that we will use for Windows Autopilot.
Navigate to the Active users page in the Microsoft 365 admin center. Click add a user.
In our example, we created a user named John Smith with the email of [email protected].
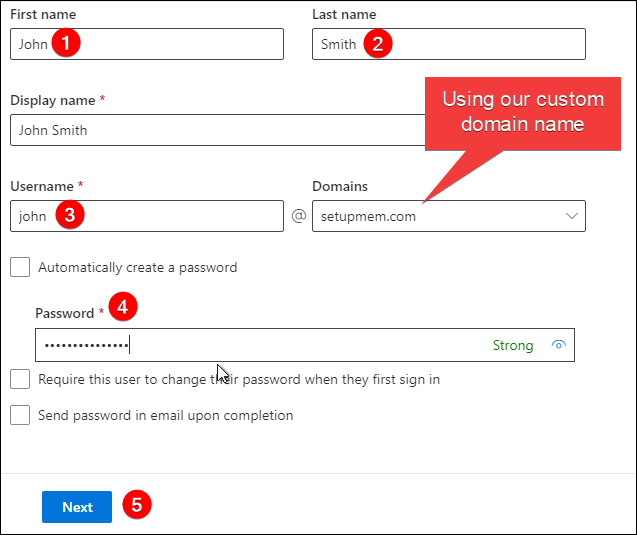
![]() Note: If you added a custom domain and it doesn’t show up in the Domain drop-down menu, try to refresh the Active users page and try again. It may take a few minutes to become available after verifying the domain name.
Note: If you added a custom domain and it doesn’t show up in the Domain drop-down menu, try to refresh the Active users page and try again. It may take a few minutes to become available after verifying the domain name.
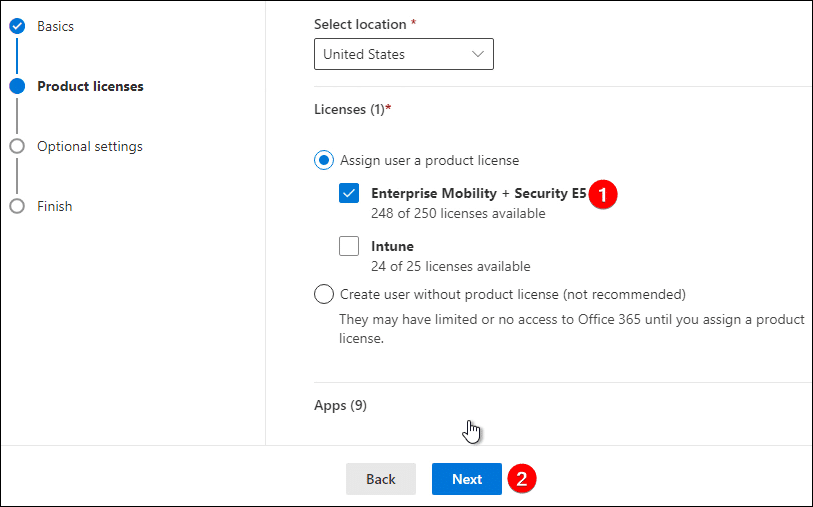
In the Product licenses dialog, assign the license for Enterprise Mobility + Security E5 and click Next.
Click Next on the Optional settings, then click Finish adding on the Review and finish dialog and Close on the confirmation page.

Enable Company Branding in Azure Active Directory (Optional)
If you want to be fancy (and why wouldn’t you), you can enable Company branding in Azure Active Directory.
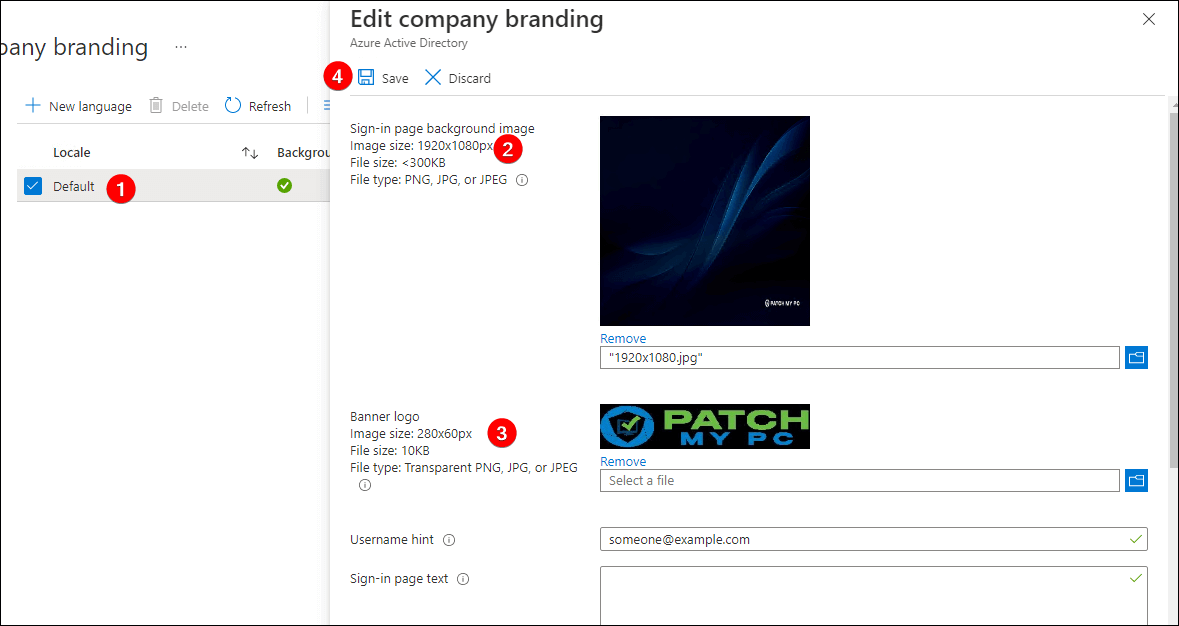
To enable Company branding, navigate to the Company branding page in Azure Active Directory.
Click the Default locale, and upload the branding images, which include the followings sizes:
- 1920x1080px
- 280x60px
- 240x240px (light theme)
- 240x240px (dark theme)
If you want, you can download the Patch My PC Company branding we used here.
![]() Tip: Want more Patch My PC themed content? Download a variety of wallpapers at Patch My PC Logos, Wallpapers, and Brand Resources
Tip: Want more Patch My PC themed content? Download a variety of wallpapers at Patch My PC Logos, Wallpapers, and Brand Resources
Disable Windows Hello for Business
Since this is a lab environment, we will disable Windows Hello for Business. Enrolling devices in a test lab is easier without this feature enabled.
To disable Windows Hellow for Business, log in to the Microsoft Endpoint Manager and navigate to Devices > Windows > Windows enrollment > Windows Hello for Business.
For the settings “Configure Windows Hello for Business:” and “Use security keys for sign-in:” choose disabled on the drop-down menu and click Save.

![]() Note: You probably wouldn’t want to disable Windows Hello for Business in a production environment.
Note: You probably wouldn’t want to disable Windows Hello for Business in a production environment.
Enroll a Windows 11 Device Into Microsoft Intune Using Windows Autopilot
Now you are ready to enroll your first Windows device into Microsoft Intune.
We installed Windows 11 on a virtual machine and booted to the Autopilot / OOBE (Out of the Box Experience).
We clicked next on the screens related to regions, keyboards, and languages.
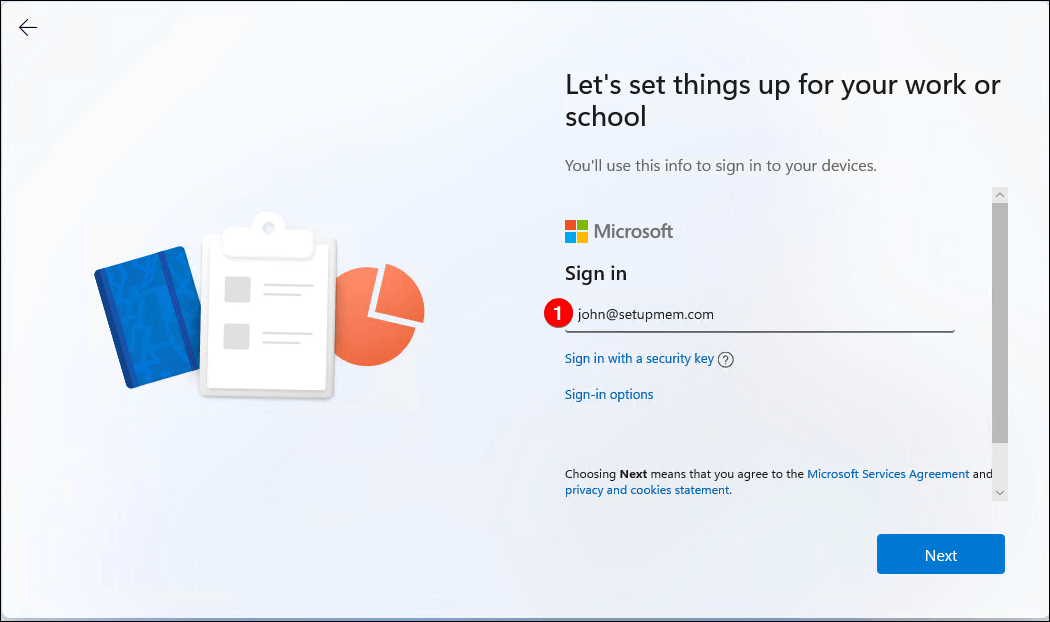
In the Let’s set things up for your work of school dialog, we entered our user’s email of [email protected] and clicked Next.
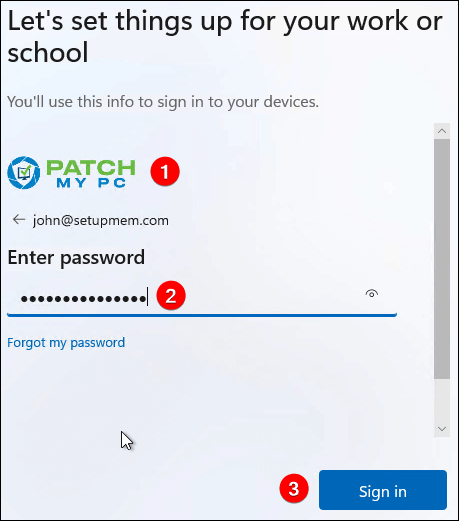
After clicking Next, we can see the custom Company branding is now available. Enter the password and click Sign in.
In the Choose privacy settings for your device dialog, choose the options you prefer and click Accept.
Once logged in, you can open Settings > Accounts > Access work or school.
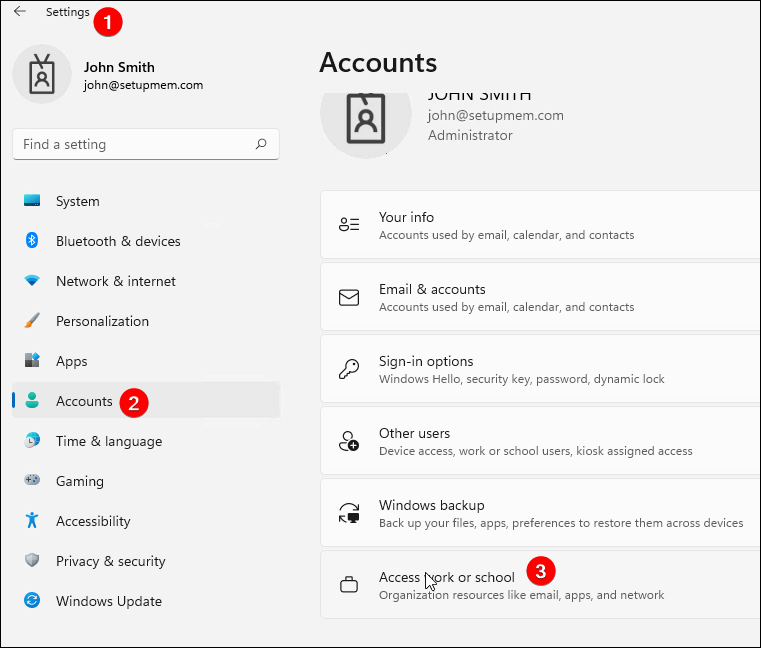
Click the Info button for your user’s account in the Access work or school.

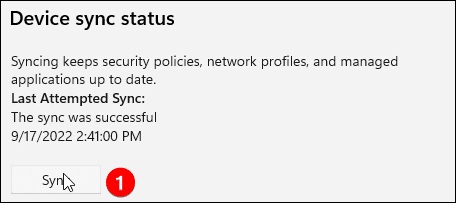
You will see the Device sync status if the device automatically enrolled in Microsoft Intune successfully. Click Sync to initiate a sync for the device to Microsoft Intune.
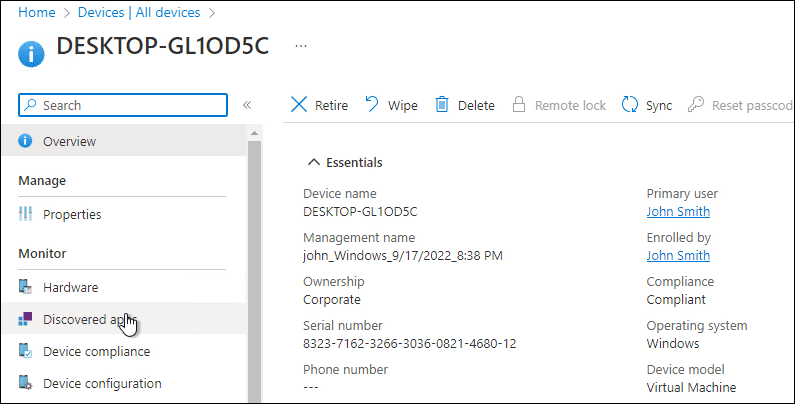
The device should appear in the Microsoft Endpoint Manager console in a few minutes!
Congrats, we have now set up Microsoft Intune !