To onboard to Patch My PC (PMPC) Cloud:
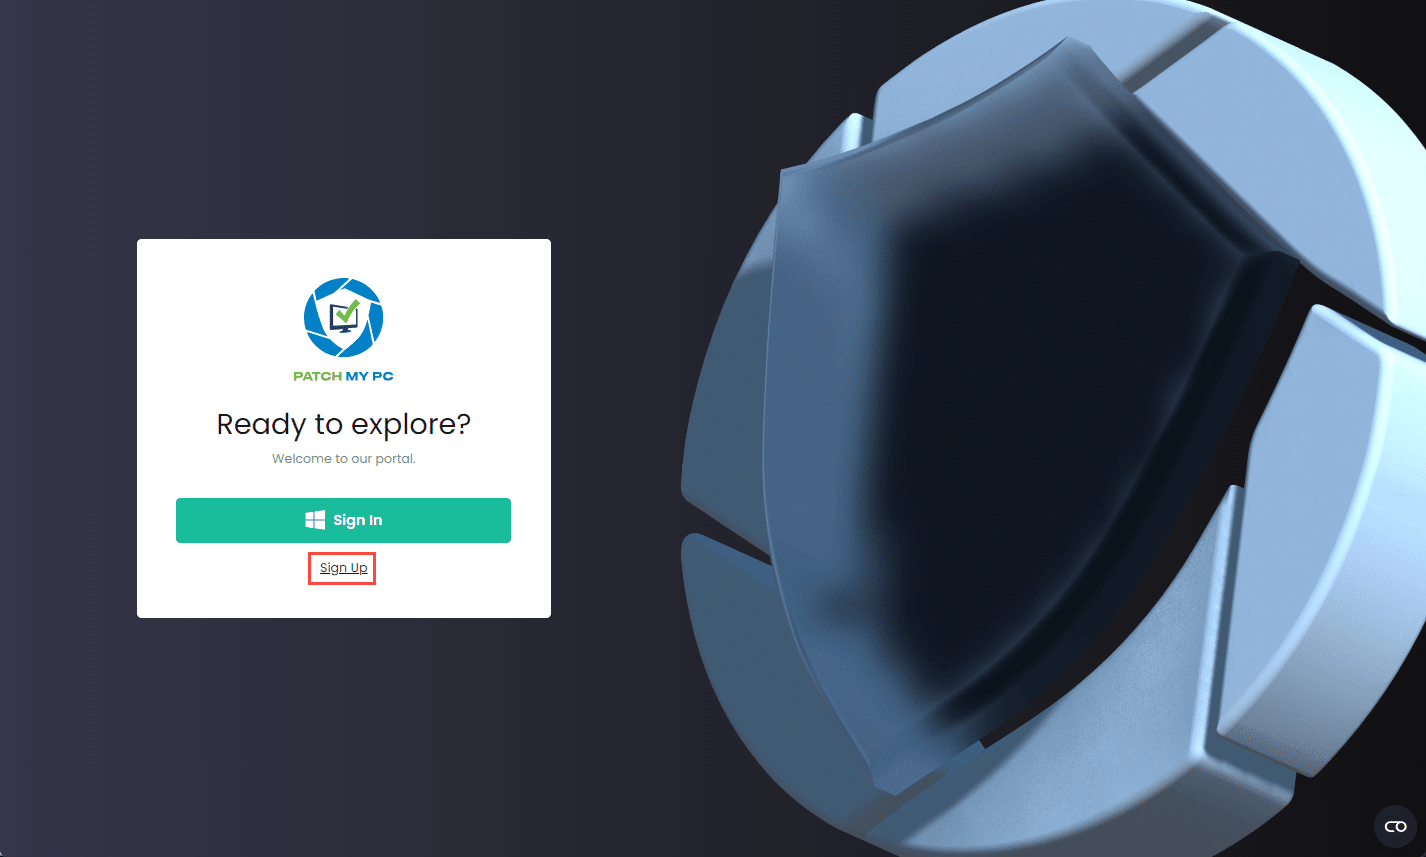
- Navigate to https://portal.patchmypc.com/
- Click Sign Up.
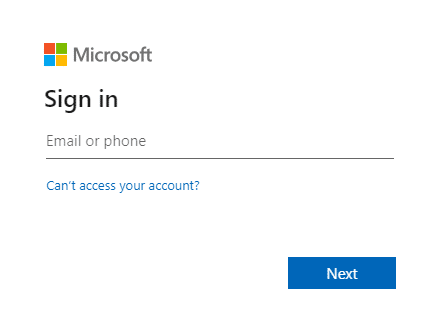
- On the Sign in screen, enter the Entra ID you want to use to onboard to PMPC Cloud or click to select the relevant account from the list of already signed-in accounts. Then click Next.
- Enter the password and click Sign in.
- If the Permission requested screen is not displayed, go to Step 7.
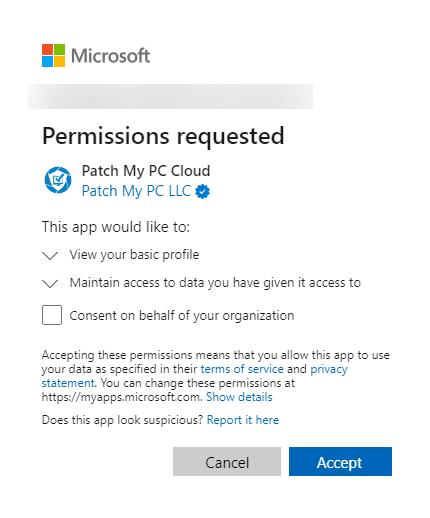
- Review the Permission requested screen, clicking Accept if you are happy to continue.
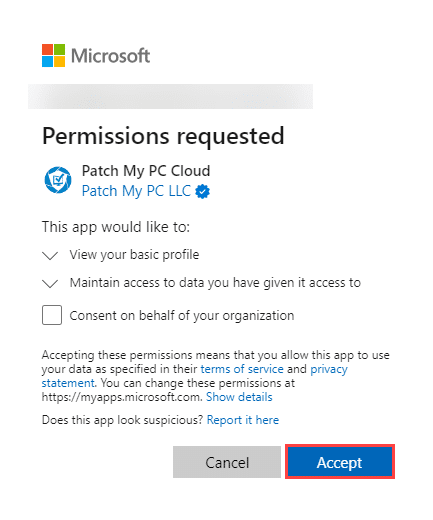
**Note**
This dialog box is for the Enterprise Application Registration process. We require these permissions to authenticate you.
See [Permissions required for Patch My PC Cloud](cloud-reference/cloud-permissions-reference/permissions-required-for-patch-my-pc-cloud.md) for more details.
You do not need to check the optional **Consent on behalf of your organization** checkbox, which is only visible to Global or Application administrators.
However, if you are a Global or Application administrator and want to accept the request to read the profile for all users in your tenant and prevent this message from being displayed for them, you should check it.
Either way, checking or unchecking this checkbox does not affect PMPC Cloud functionality.
Once you accept the permissions, you will not see this dialog box again on subsequent sign-ins.
**Tip**
You can click the down arrow beside each permission to get more information.
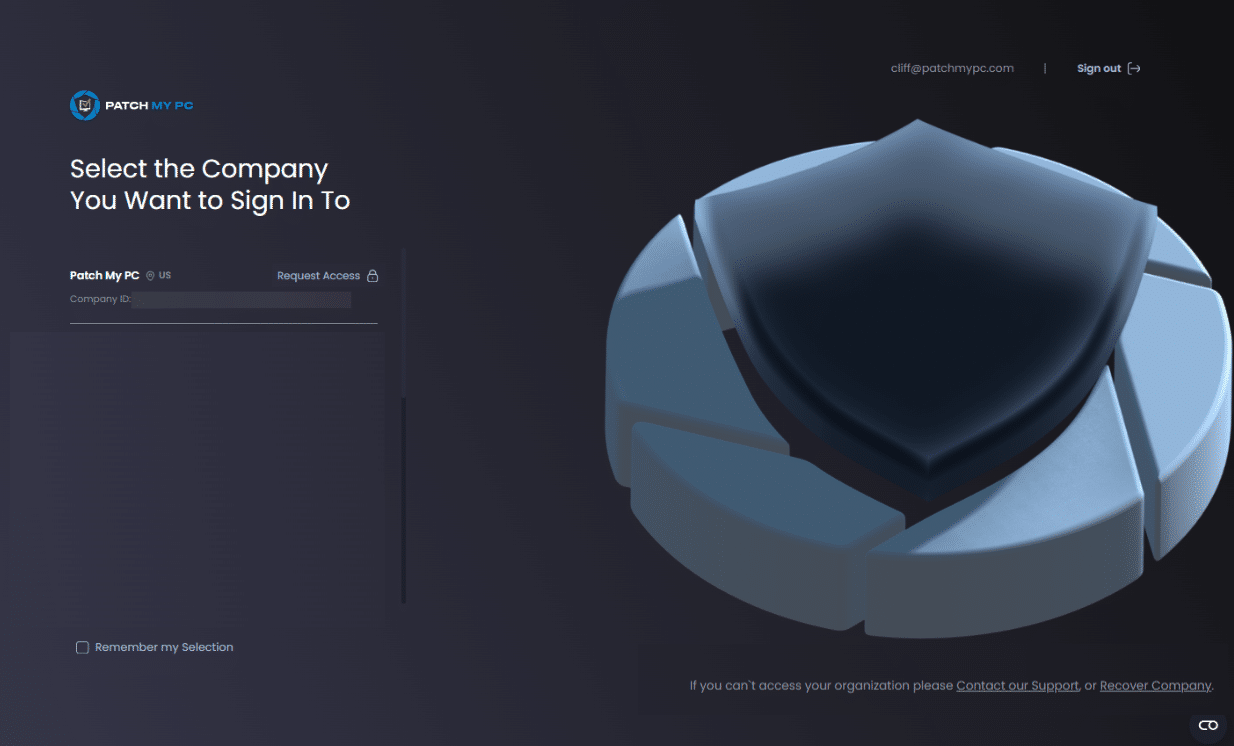
- If you do not see the Select the Company You Want to Sign-In To screen, go to Step 9.
-
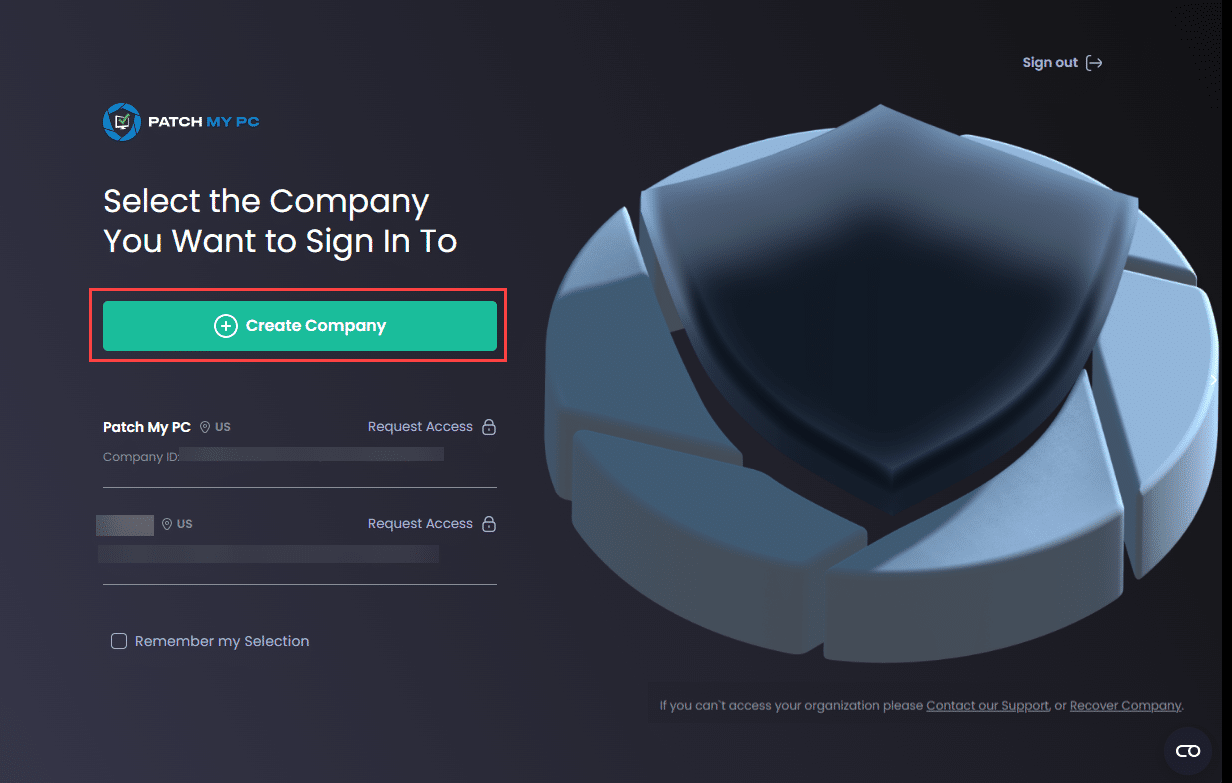
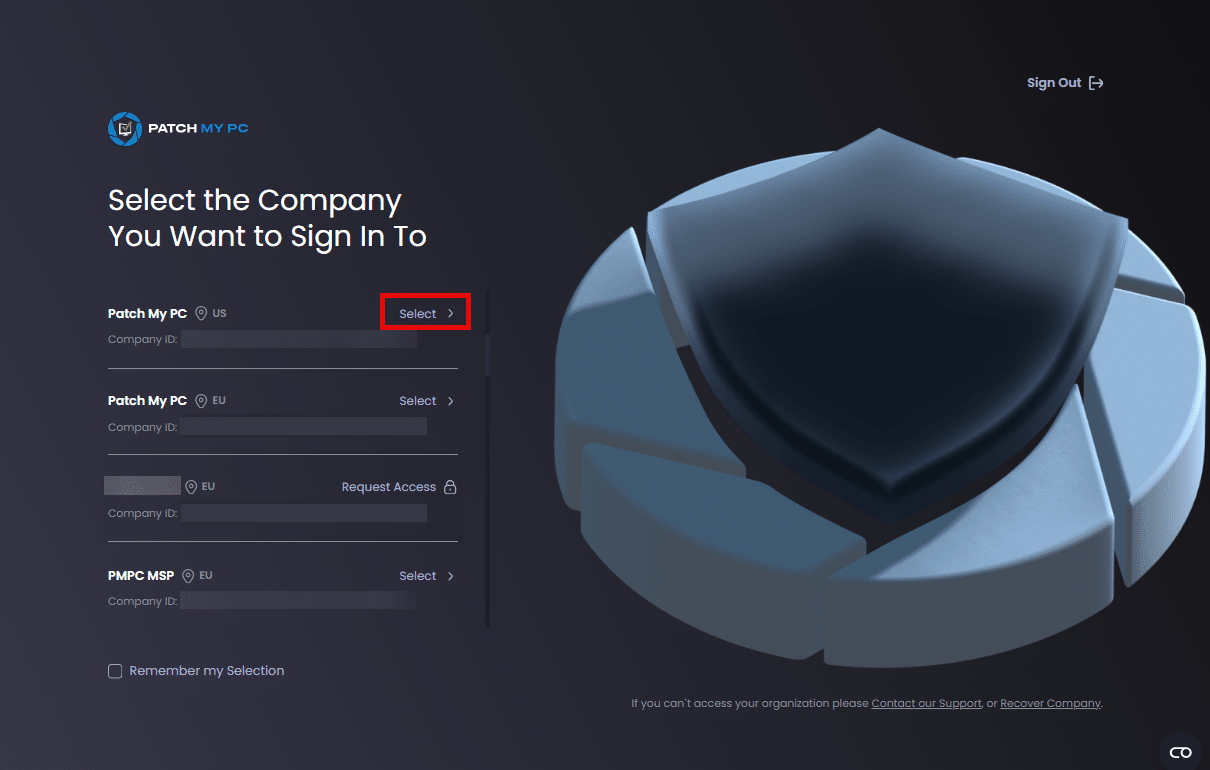
On the Select the Company You Want to Sign-In To screen, select the relevant option:
-
If you are setting up a new company, click Create Company and continue to Step 9.

-
If your email address has already been used to create a user in a PMPC Cloud company, you will see Select beside the relevant companies that you can sign in to.

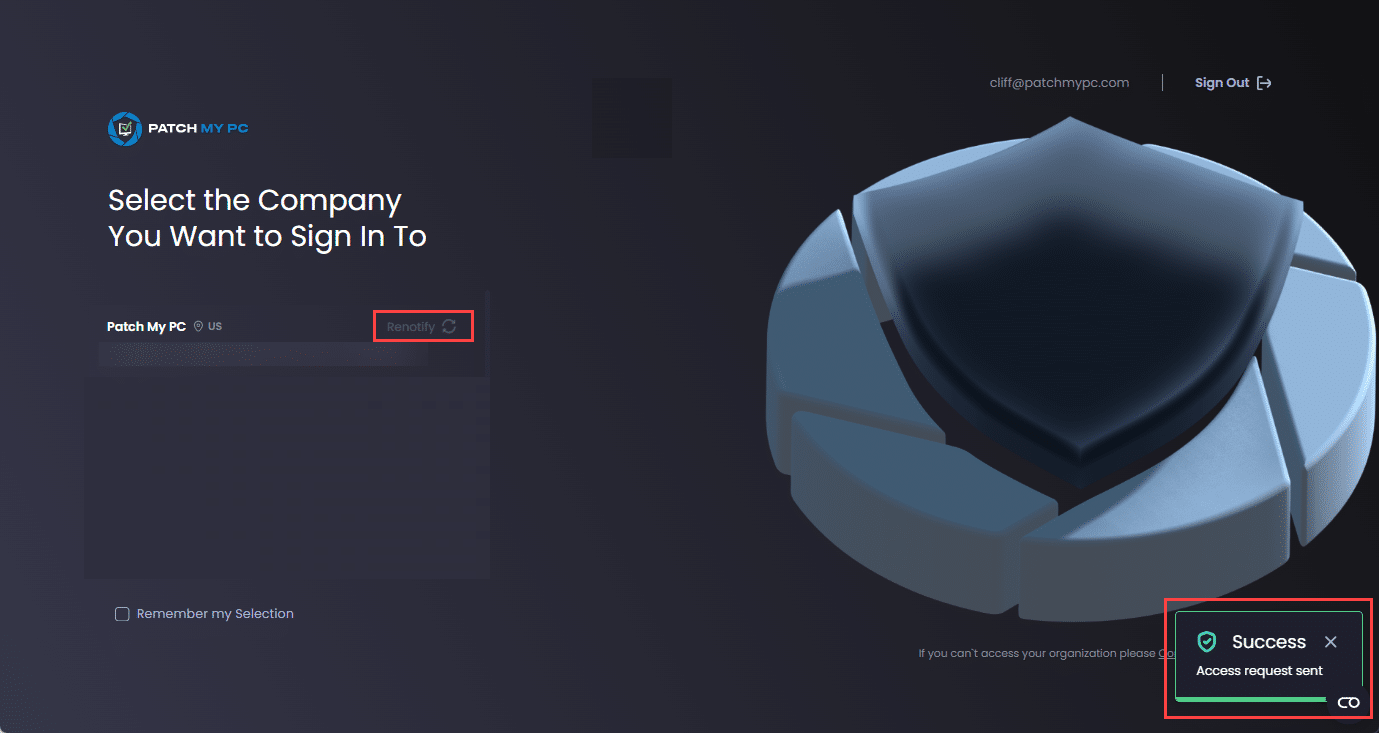
- If your email address is not associated with a user in a PMPC Cloud company, you can click Request Access beside the company you want to join.

The Request Access to join <company_name> popup appears.
.png>)
Enter an optional Reason for Request then click Submit.
The Request Access text changes to Renotify and the Success – Access request sent notification is shown.

You now need to wait for a user with the Full Admin with Access Management role to review and approve your request.
-

**Tip**
You can click the **Remember my Selection** checkbox to on the **Select the Company You Want to Sign-In To** screen to save your choice to save you having to chose the company you want to sign into each time.
**Note**
Users will receive an email from the [[email protected]](mailto:[email protected]) mailbox advising whether their request to join a company was accepted or rejected.
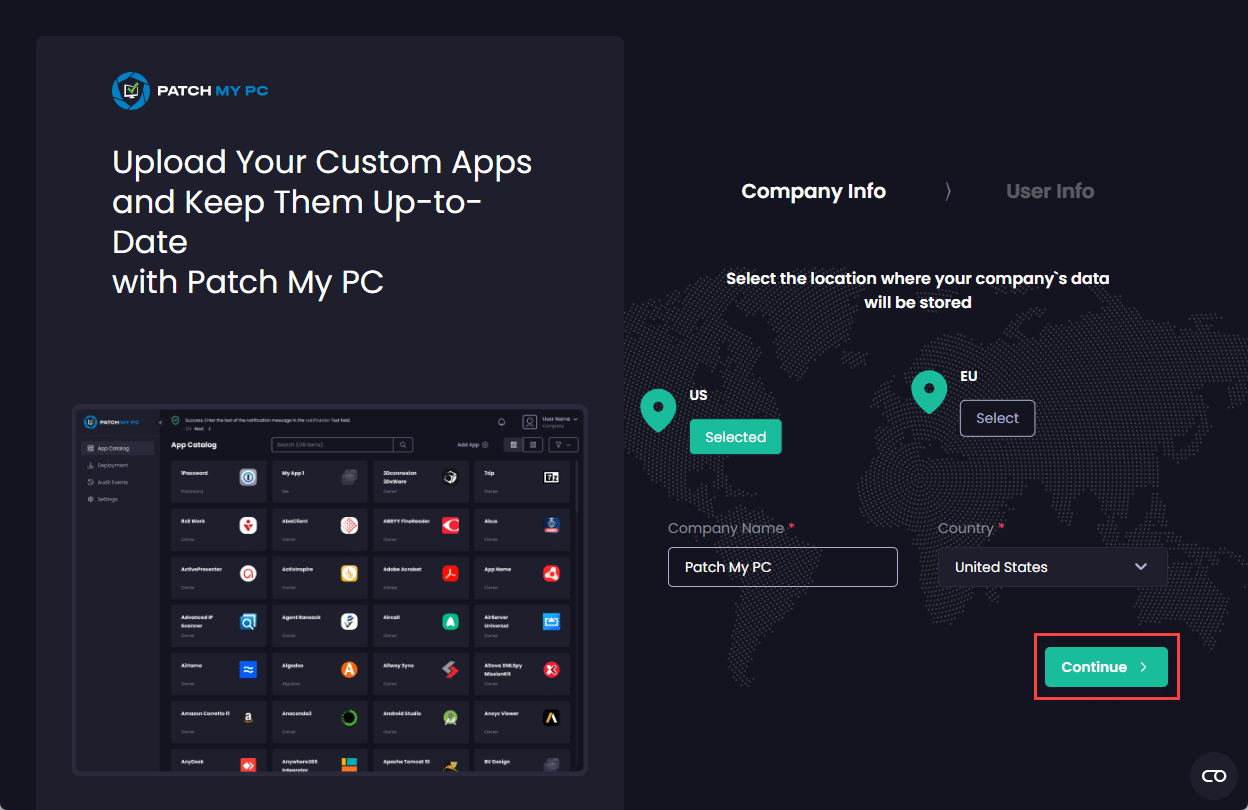
- On the Company Info screen, click Select for the location where your company’s data will be stored.
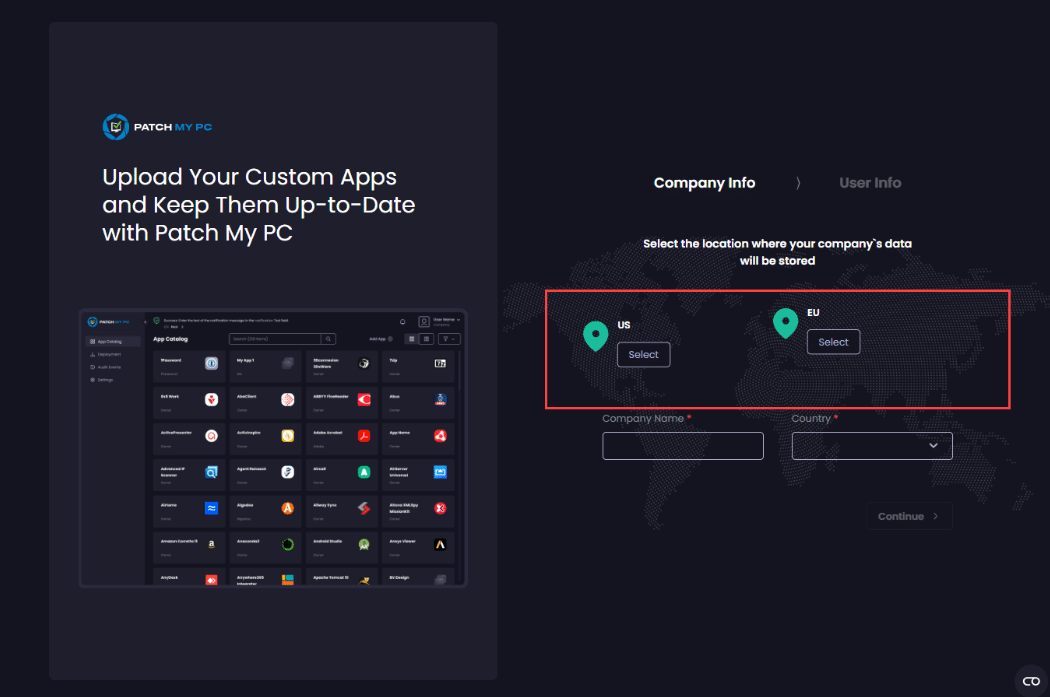
- In the Company Name field, type your company’s name.
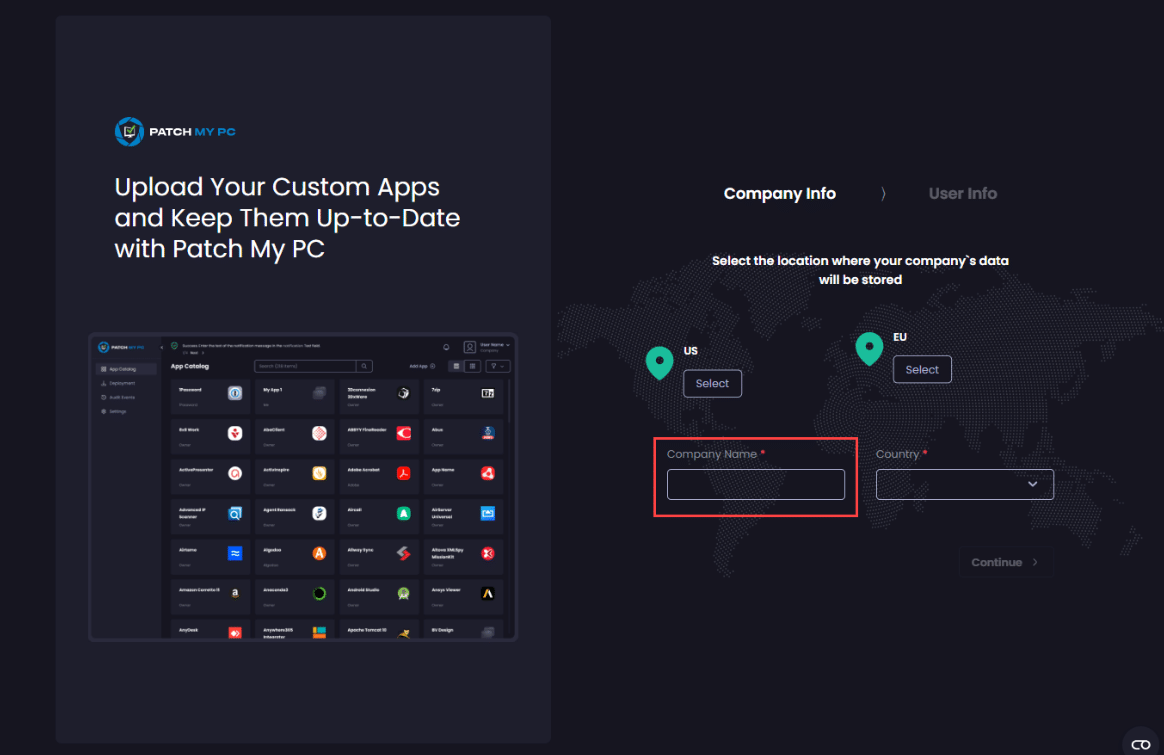
**Important**
You cannot use the AT symbol (**@**), forward slash (**/**) or plus (**+**) symbols in your Company Name.
- Select your company’s country from the Country dropdown.
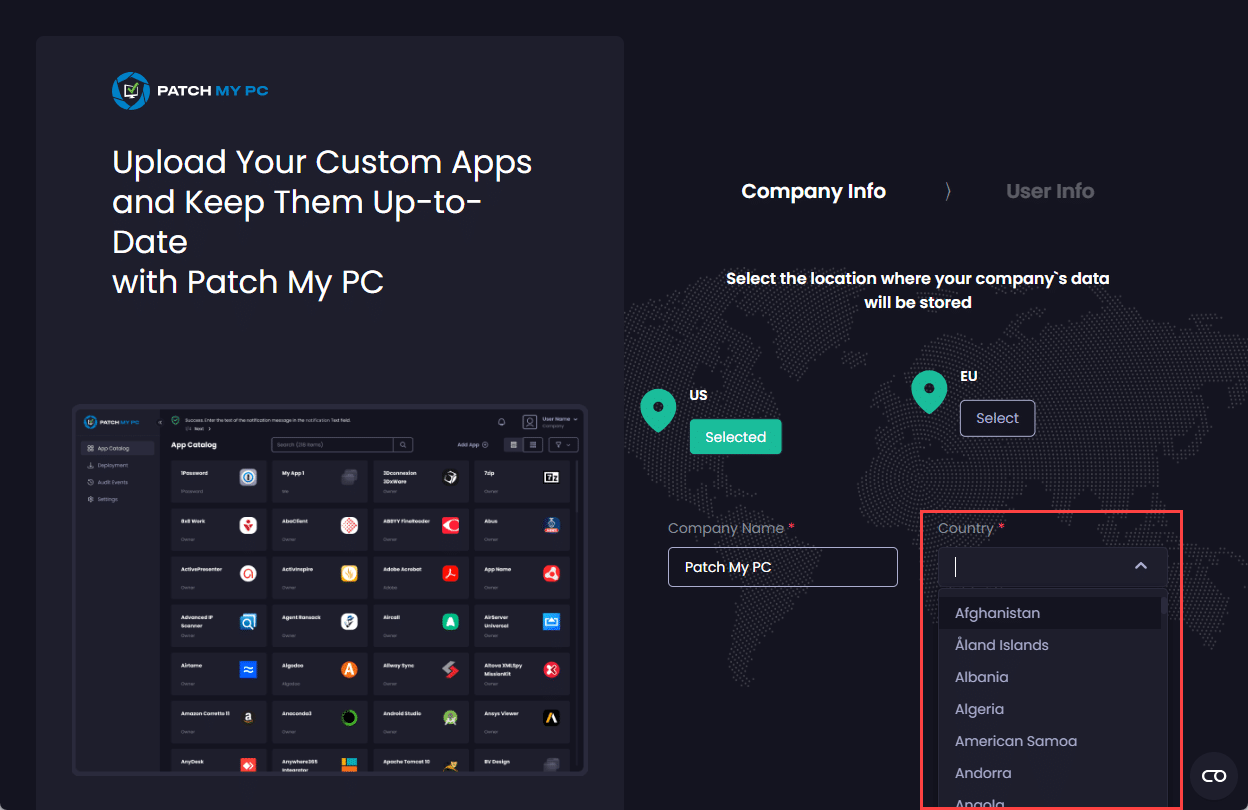
- Click Continue.
- On the User Info screen, verify your First Name and Last Name are correct, amending as required.
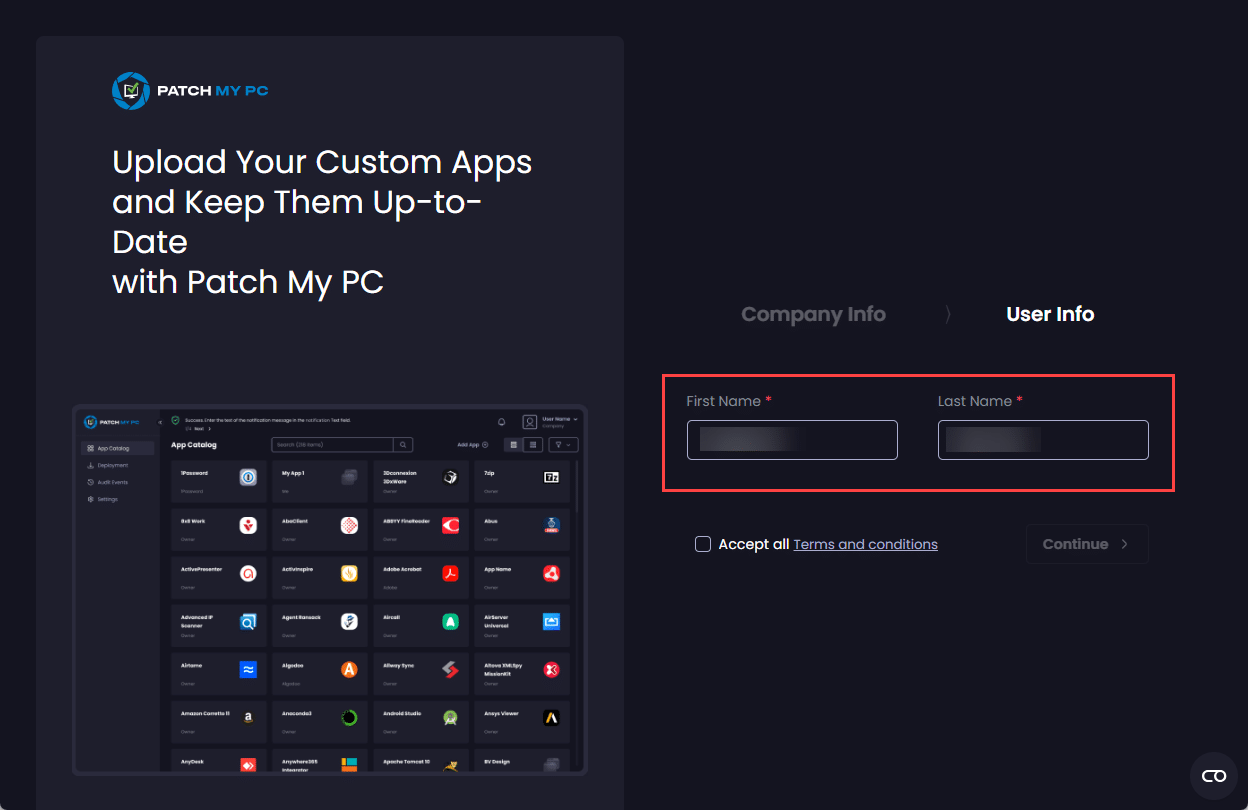
- Click the Terms and Conditions link to see these for using PMPC software and services.
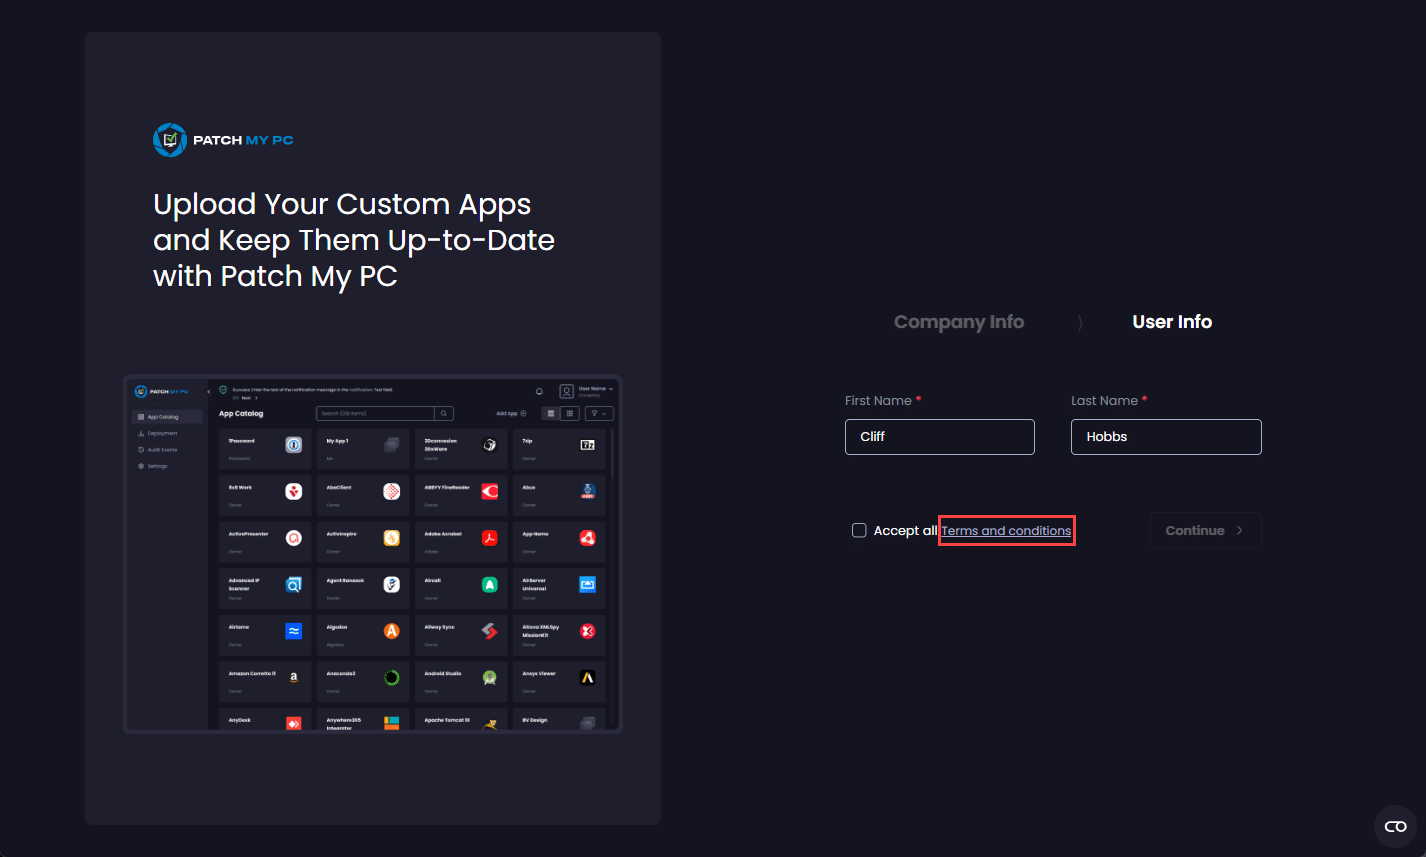
The Terms and Conditions page is displayed. Once you’ve reviewed them, click the X in the top right-hand corner to close this window.

- If you agree with our terms and conditions, check the Accept all Terms and conditions checkbox.

**Note**
You cannot proceed with the onboarding without checking this checkbox.
- Click Continue.
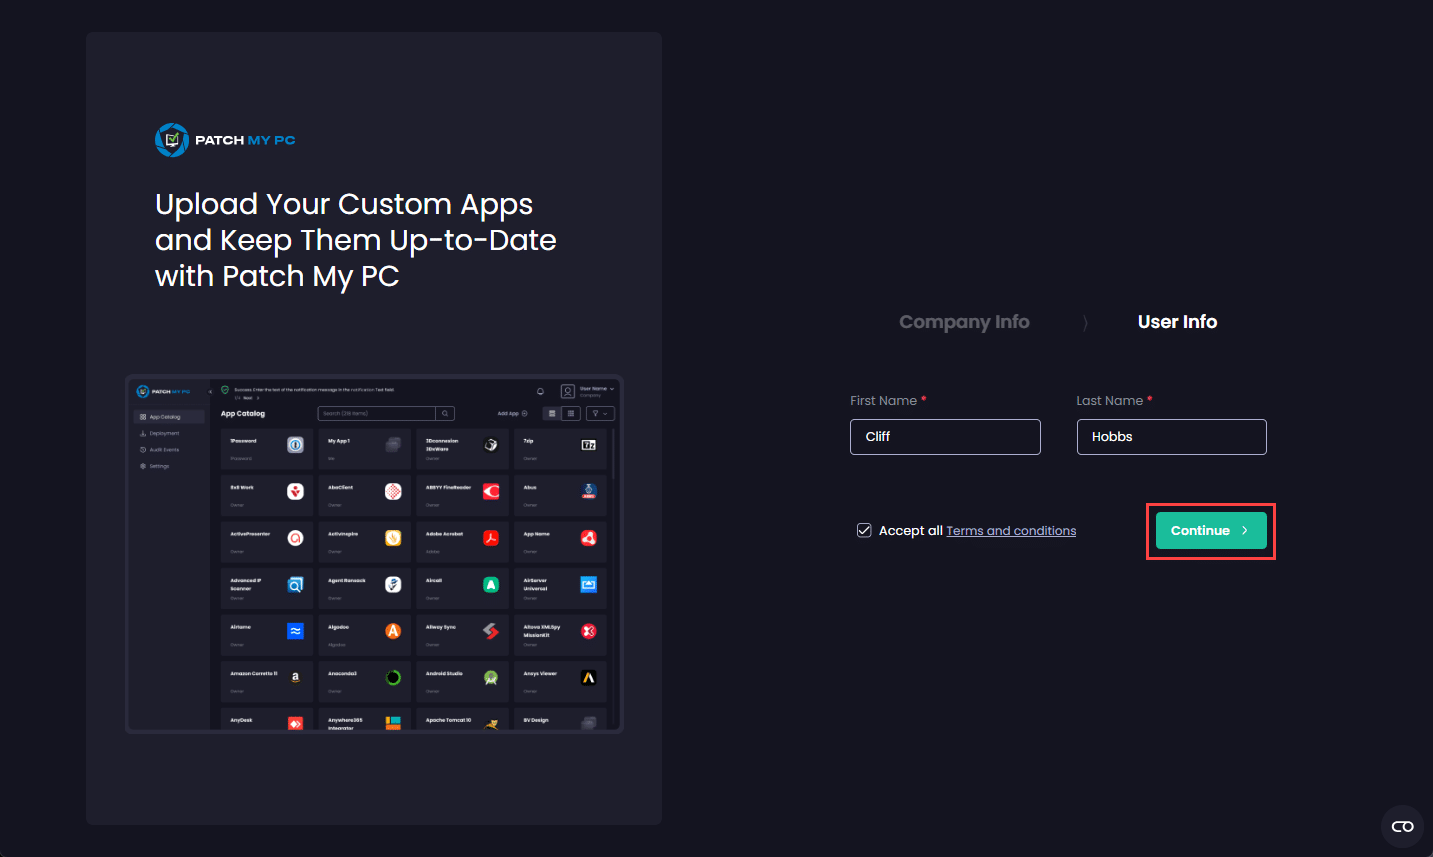
The PMPC Portal loads, showing the App Catalog page.
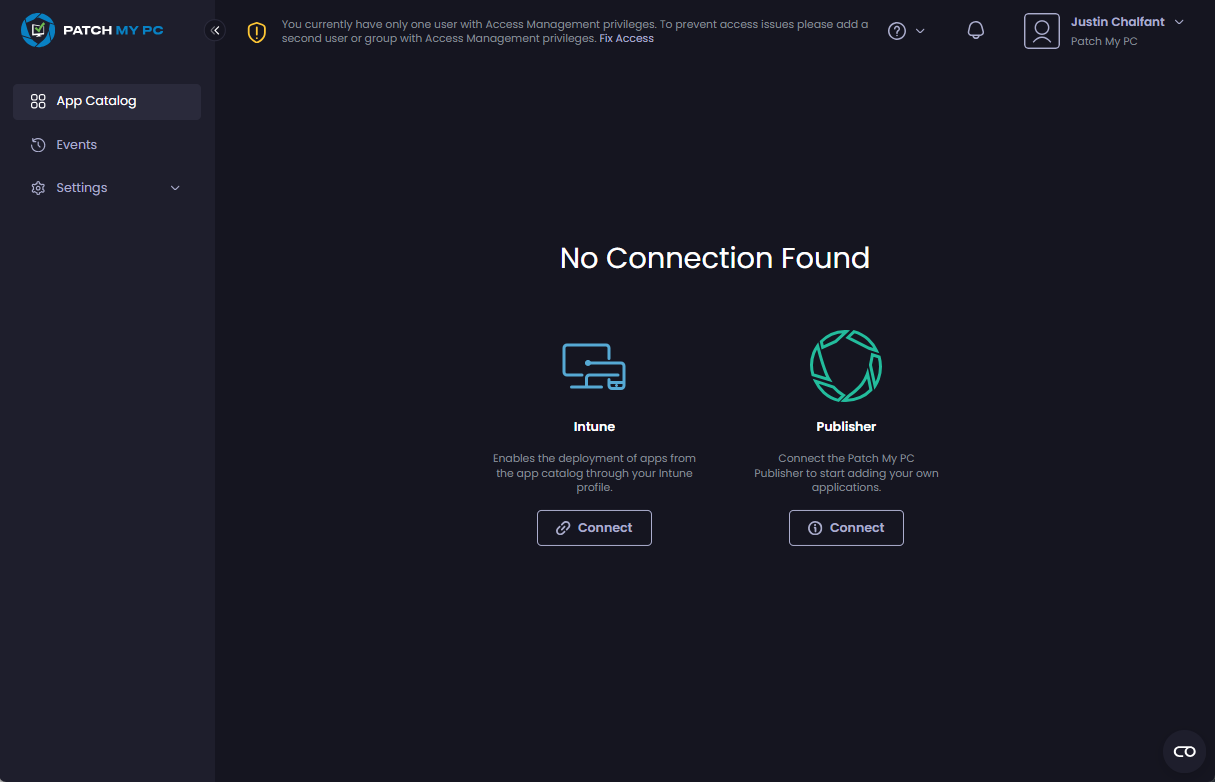
**Note**
The first time you sign into a new PMPC Cloud Company, you will see the following message at the top of your screen:
**You currently have only one user with Access Management privileges. To prevent access issues in the future, please add a second user with Access Management privileges.**
This is warning you that you only have one user who can control access to this company and that we recommend you create at least another user in this company with the [Full Admin with Access Management user](cloud-administration/manage-cloud-users/cloud-user-roles-reference.md) role. See [Add a Cloud User](cloud-administration/manage-cloud-users/add-a-cloud-user.md) for more information.
Now you’ve finished onboarding to PMPC Cloud, you should consider:
- Connecting Publisher by following the Add a Connection process.
**Note**
You only need to connect Publisher if you are using the Custom Apps or other features that require our On-Premises Publisher. If you are just using PMPC Cloud, you do not need to connect to Publisher.
- Connecting your Intune tenant by following the Connecting to an Intune tenant process.