**Important**
This documentation is under construction. Once it is finalized, this banner will be removed.
Creating an App Set is a two-stage process that involves defining:
**Note**
We do not recommend creating a single App Set that you use to deploy all of the required apps to your customers. Instead, you should consider creating separate App Sets by app function, e.g., core apps (apps that should be installed or available everywhere), utilities that should only be deployed to certain groups or users, etc.
Adopting this approach reduces the impact of working with App Sets on your infrastructure and that of your child companies. Plus, if someone accidentally deletes the wrong App Set, the impact on the targeted users will be reduced, and the time taken to recreate and redeploy the App Set will be reduced.
Defining which apps to include in the App Set
To define which apps to include in the App Set:
- Sign in to the parent MSP Company at https://portal.patchmypc.com/
-
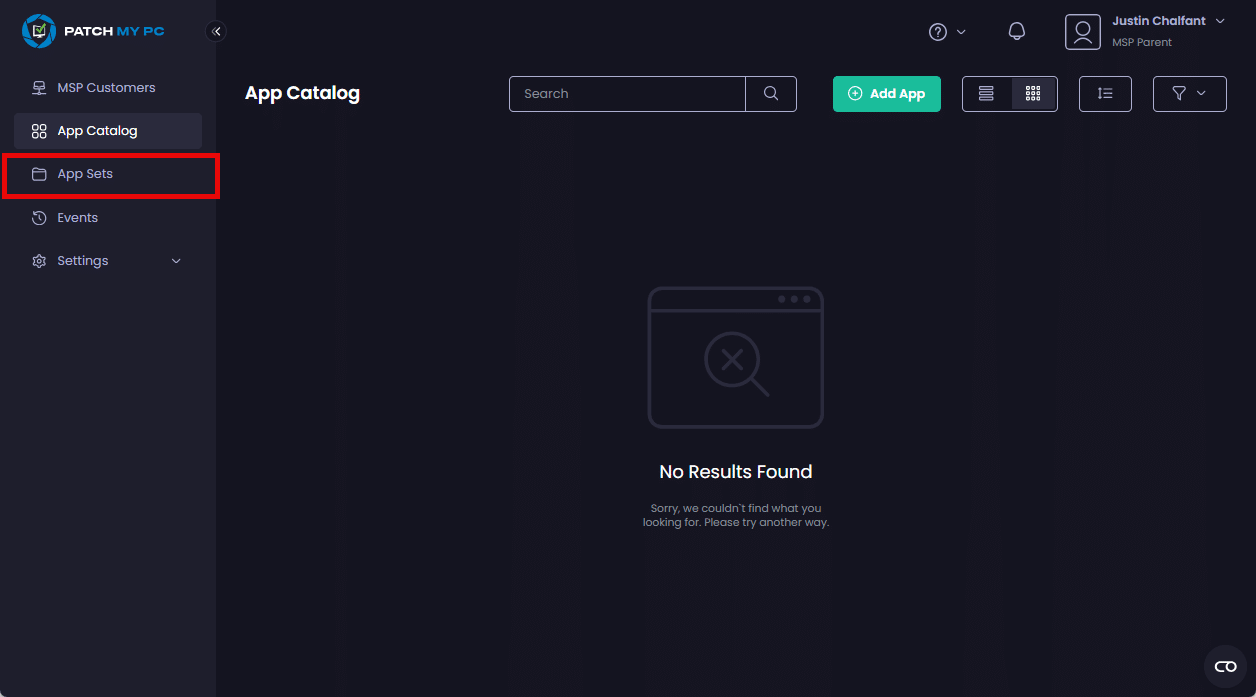
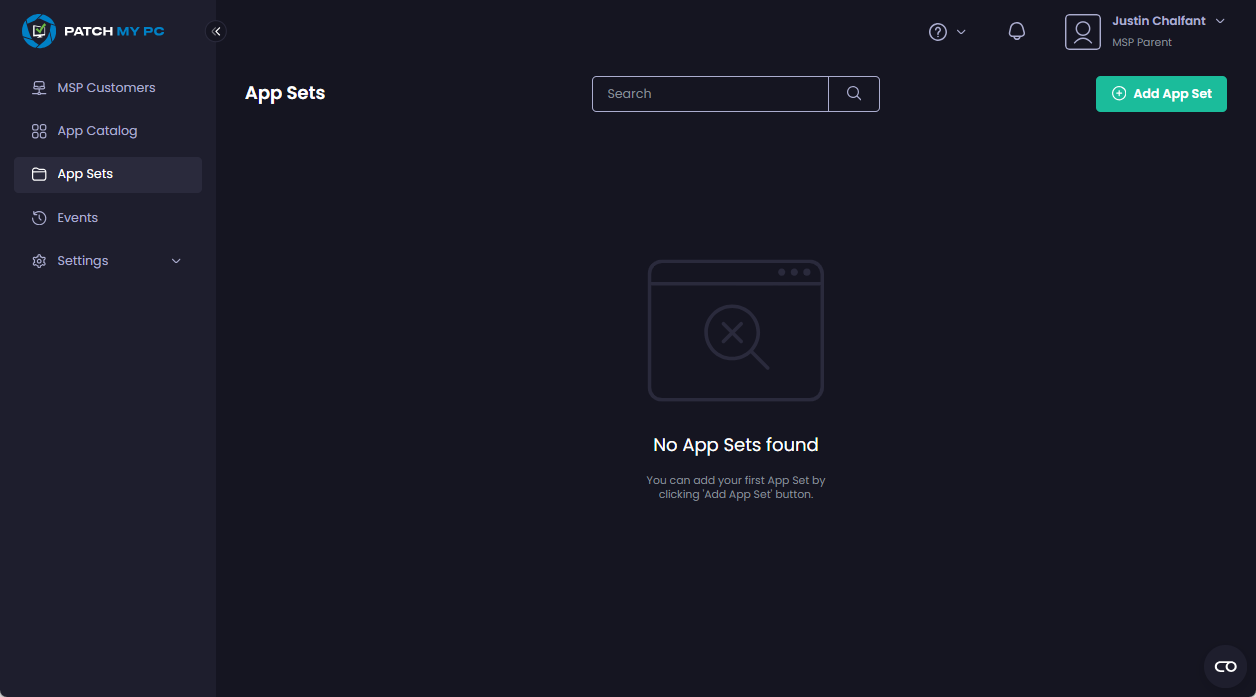
Navigate to App Sets

The App Sets page shows any existing App Sets.
-
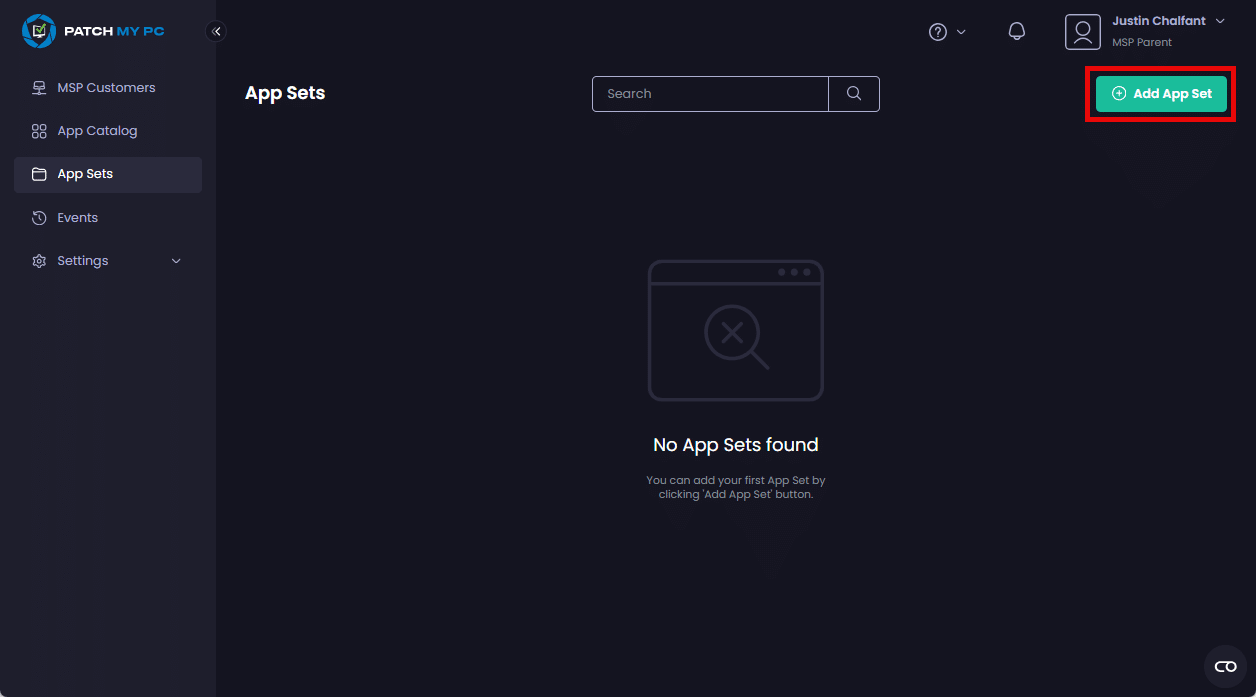
Click Add App Set
- On the Add App Set screen, enter a unique name for the new App Set in the App Set Name field and click Add
.png>)
The App Set is created and the <appset_name> screen opens (where <appset_name> is the name of the App Set).
**Tip**
You can click **Edit Name** beside the App Set name if you want to rename it.
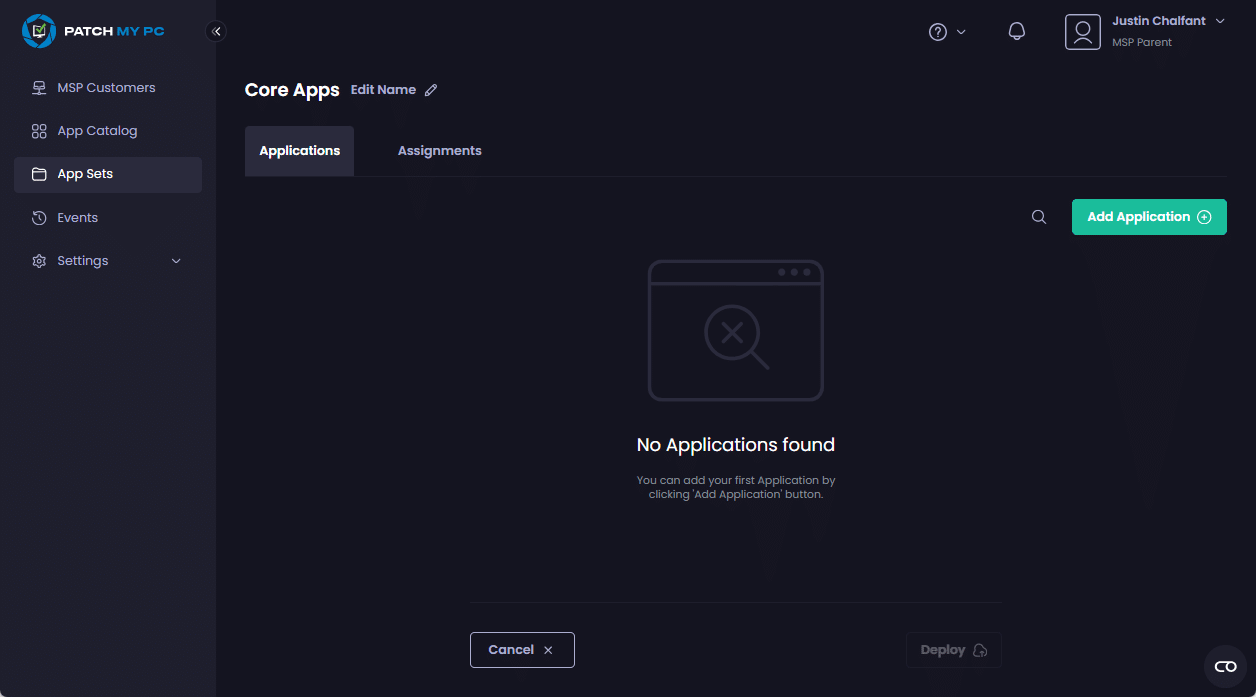
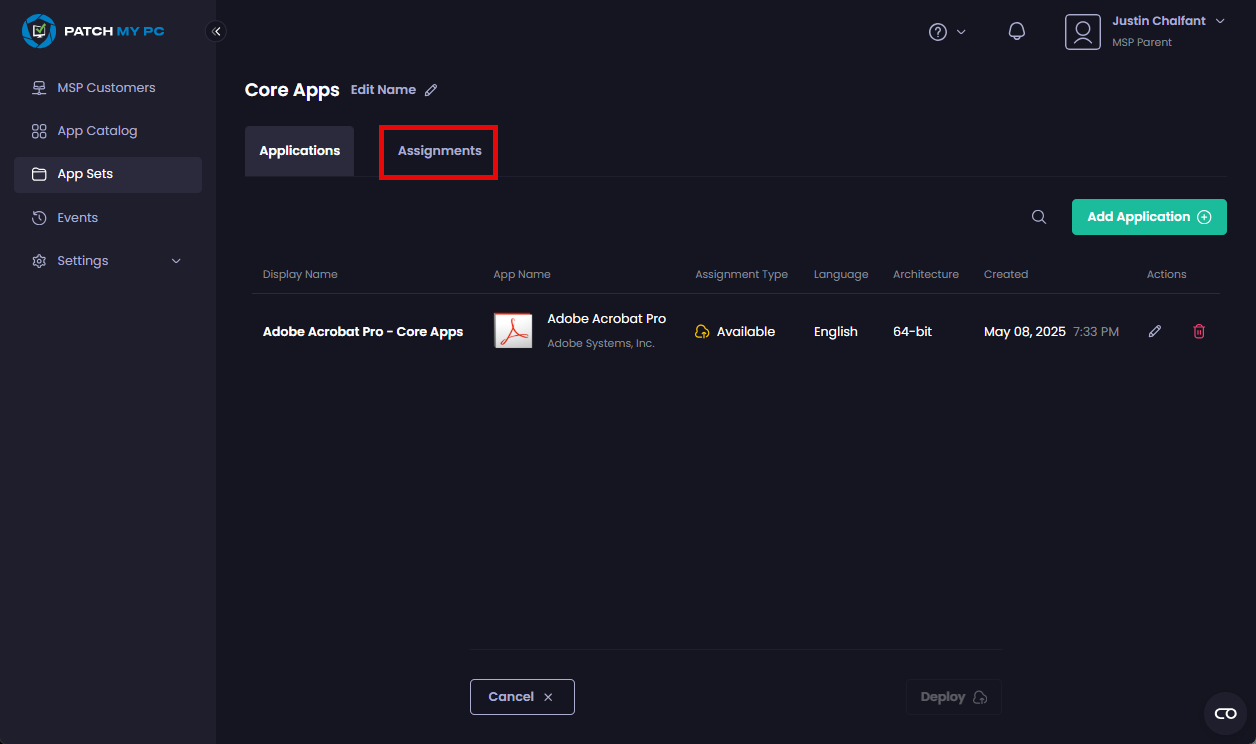
- To add an application to this App Set, click Add Application
**Note**
You can add up to 100 apps per App Set, but each app can only be added to an App Set once.
You can also add an [MSP Custom App](../msp-custom-apps/) to an App Set, provided that app has been created and assigned to all customers.

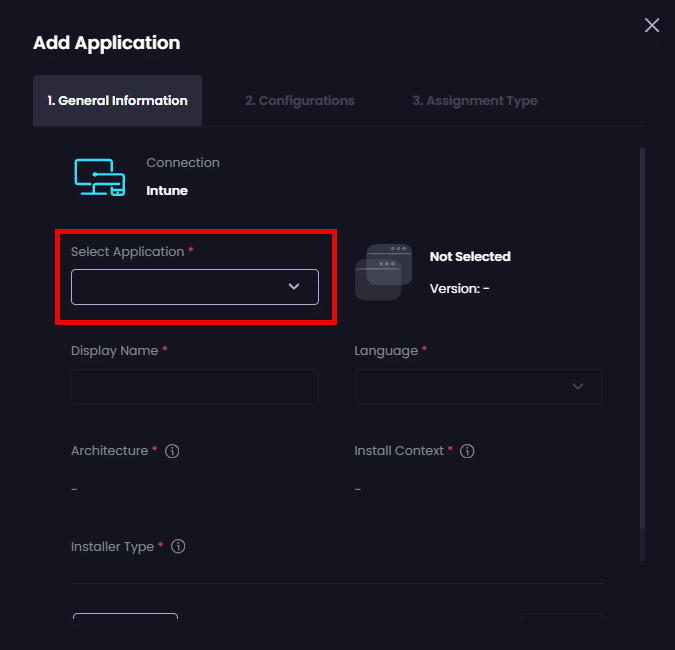
- On the General Information page, select the relevant app you want to add from the Select Application dropdown or start typing its name.
**Note**
Only apps that have been deployed successfully will appear in the **Select Application** dropdown.
An MSP Custom App will only appear in the **Select Application** dropdown if it has been added and assigned to all customers. If the Custom App has only been assigned to a specific customer or only to the MSP, it will not appear in the dropdown.
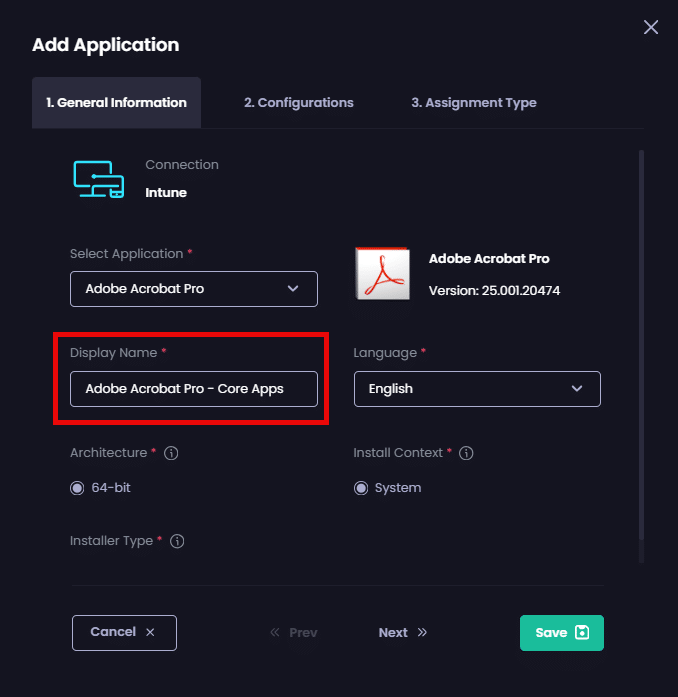
-
In the Display Name field, we suggest you add the name of the App Set as a suffix.
For example, if the App Set’s name is Core Apps and you are deploying Adobe Acrobat Pro, we recommend changing the Display Name from just Adobe Acrobat Pro to Adobe Acrobat Pro – Core Apps.
**Note**
The reason for the above recommendations is that by default, when an app in an App Set is deployed, if the app has already been deployed in your company, we automatically add the **_AppSet<**_**number**_**>** suffix (for example **_AppSet7**) to the deployment’s name, where **<**_**number**_**>** is the next available sequential number. This is because all deployment names need to be unique.
So in our Acrobat example, the default deployment name would be something like:
**Adobe Acrobat Pro_AppSet7**
This is potentially confusing as you won’t know which deployment belongs to which App Set. We are working on improving this.
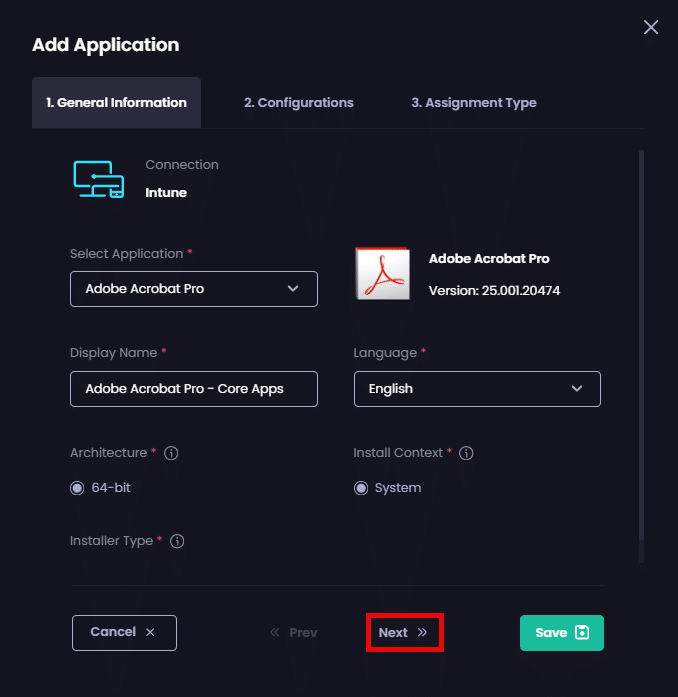
- Modify any other settings on the General Information page as required, then click Next
**Note**
In the current release, this page contains a subset of the options for creating a regular PMPC Cloud Deployment. See [General Information (Deployments)](../../cloud-deployments/deploying-an-app-using-cloud/cloud-general-information-deployment-tab.md) for more details on each option.
- On the Configurations page, configure the required options, then click Next.
**Note**
In the current release, this page contains a subset of the options for creating a regular PMPC Cloud Deployment. See [Configurations (Deployments)](../../cloud-deployments/deploying-an-app-using-cloud/cloud-configurations-deployment-tab/) for more details on each option.

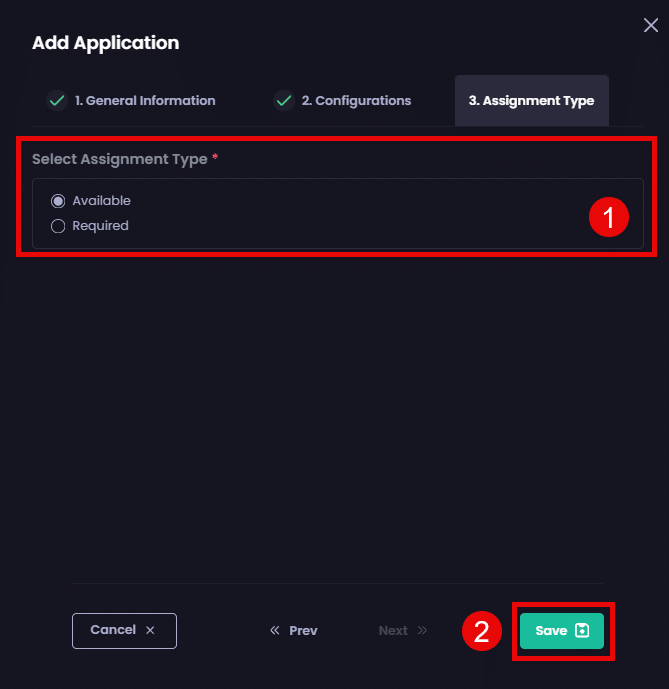
- On the Assignment Type page, select which assignment type(s) you want to apply to this App Set, then click Save to save your changes.
**Note**
As this is an App Set, only certain assignment types are supported compared to a regular PMPC Cloud Deployment. See [Assignments (Deployments)](../../cloud-deployments/deploying-an-app-using-cloud/cloud-assignments-deployment-tab.md) for more details on each option.
Selecting the **Update Only** type (if available) will create an Update Only app in Intune alongside the Available or Required type selected.
- Repeat steps 5 to 10 to add any additional apps to the App Set.
Defining where to deploy an App Set
Once you have added the required apps, next you need to define where to deploy the App Set.
To define where to deploy an App Set:
-
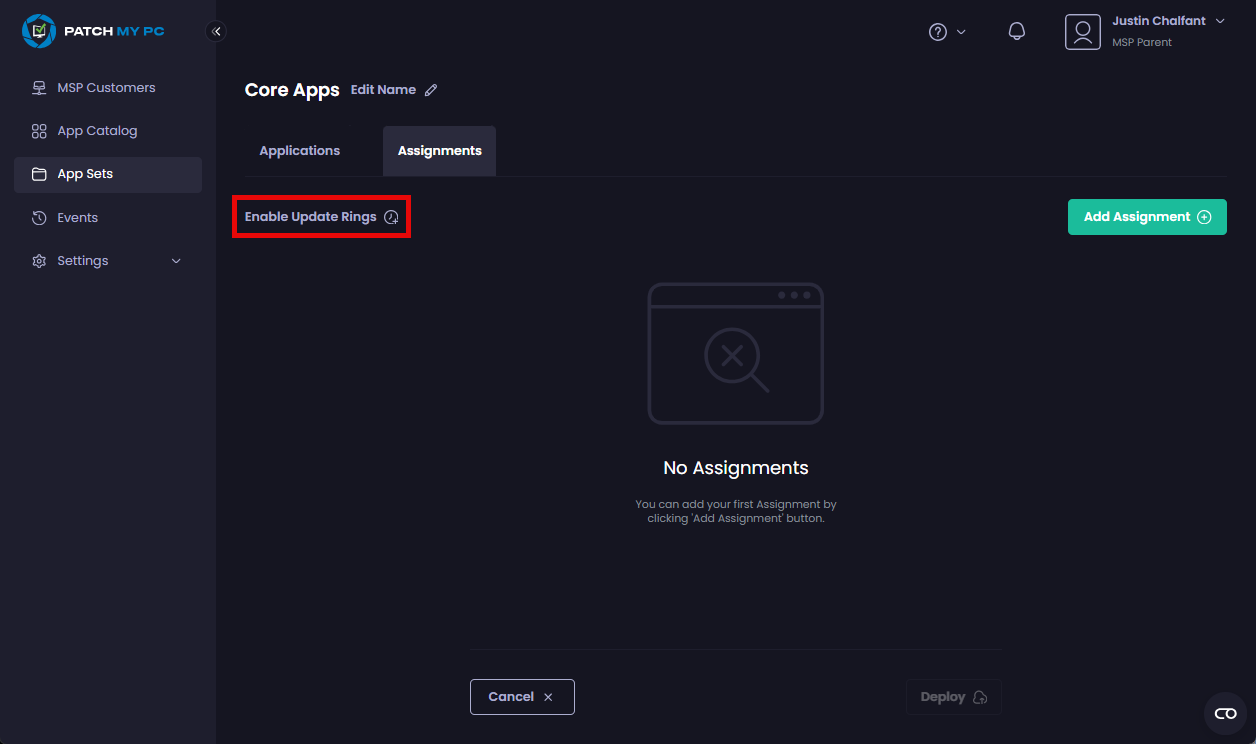
Click the Assignments tab.

- If you don’t want to use Update Rings, go to step 4.
- Click Enable Update Rings and configure them as required.
**Note**
In App Sets, we only support Immediate Update Rings.
You can add multiple companies to an App Set and to the same set of Update Rings.
A child customer also doesn’t need to be present in all rings. For example, if you create four Update Rings for an App Set, but a child customer only requires two rings, you only need to add that child customer to the two relevant rings. On the child customer side, only the rings they are part of will be created in the child company, not all four rings defined in the App Set.
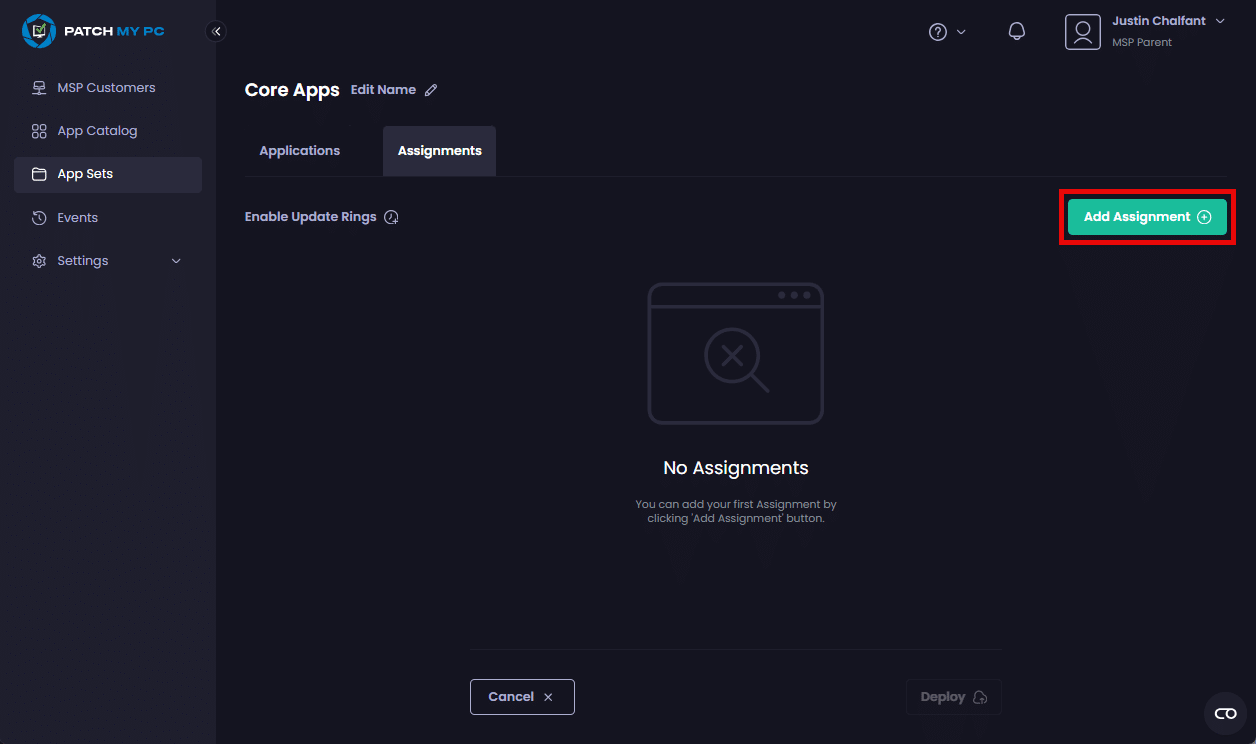
-
Click Add Assignment
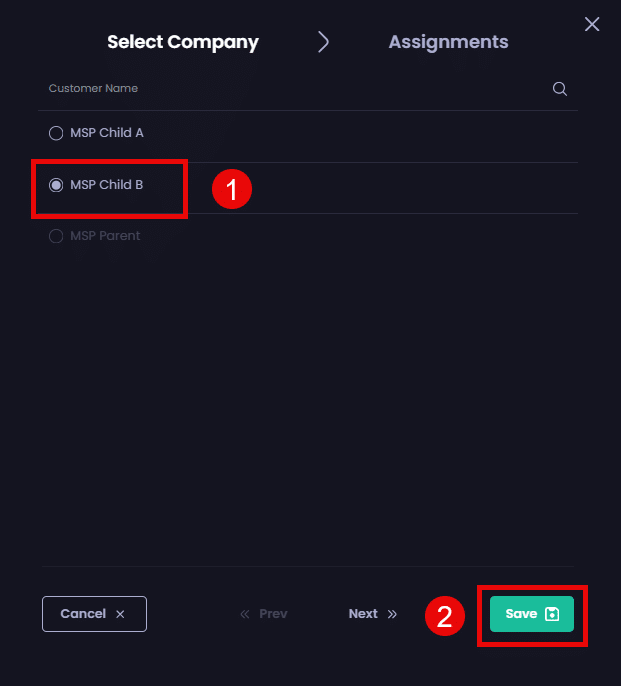
- Select the relevant company that has an Intune connection that you want to assign this deployment to and click Next
**Note**
You can only select a single company at a time (up to a maximum of 100), as every company’s Entra ID setup in terms of resources will be different.
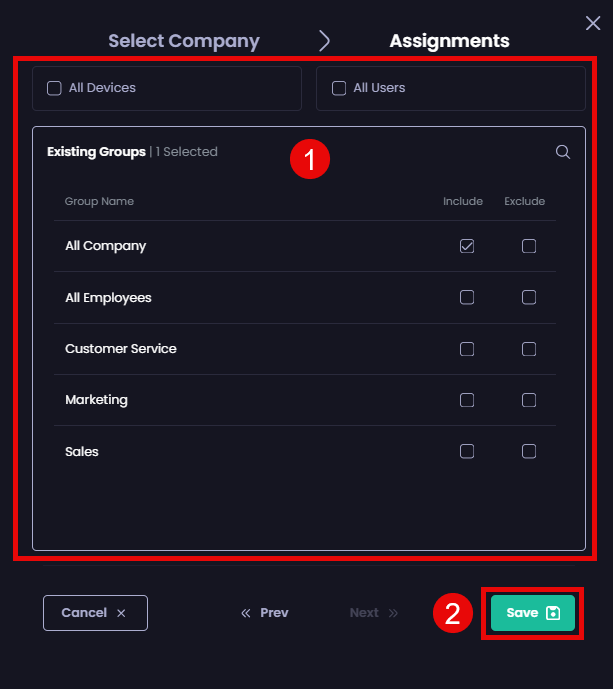
- On the Assignments tab, select the relevant resources you want to deploy this app to and click Save.
- Repeat steps 4 to 6 to add any additional companies you want to deploy this App Set to.
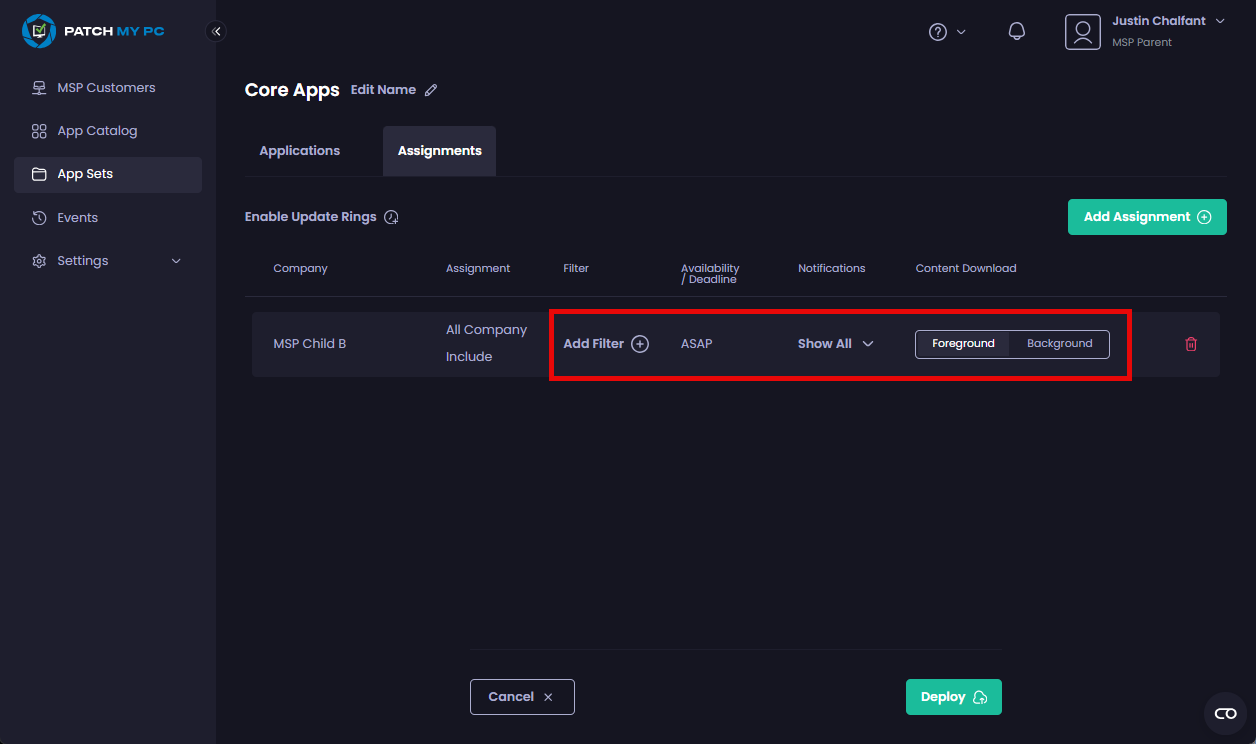
- On the App Set page, configure any required settings for the assignments.
**Tip**
If you are using Update Rings for this App Set, we recommend you create all of the assignments first, which adds all of them to the first Update Ring. Then drag and drop the assignments to the relevant rings.
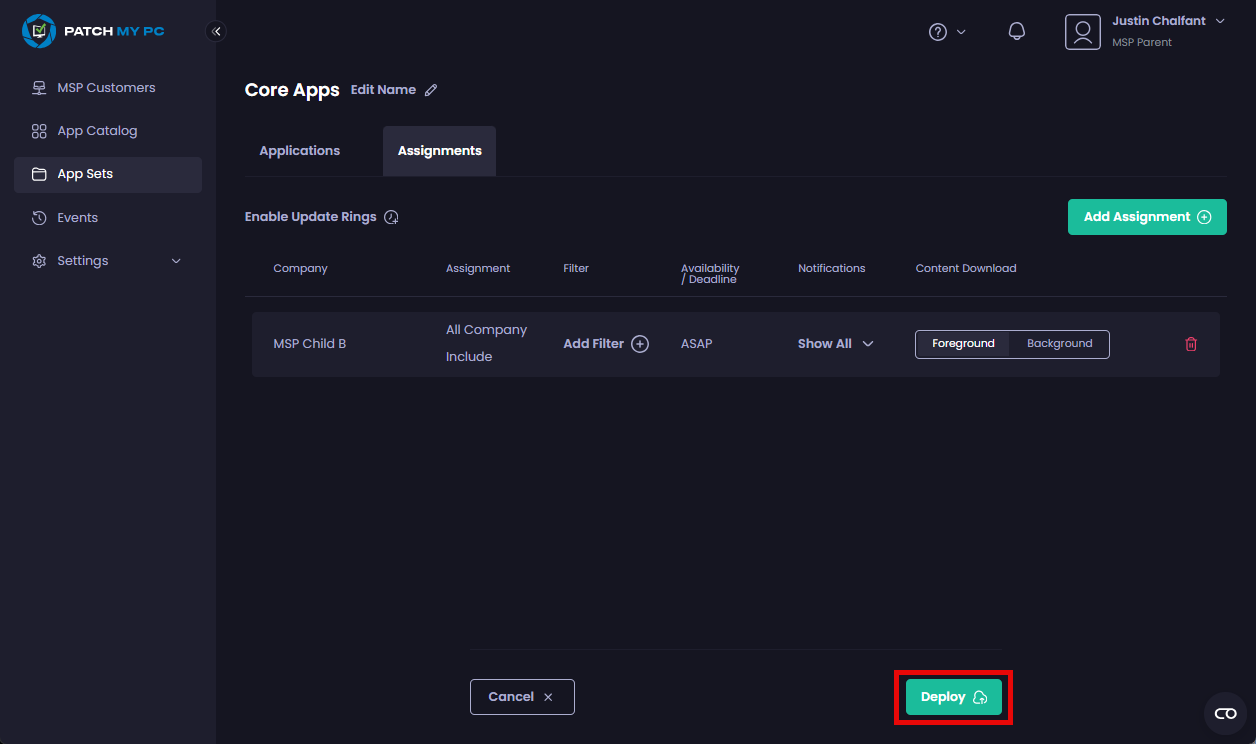
-
Click Deploy to deploy this App Set.
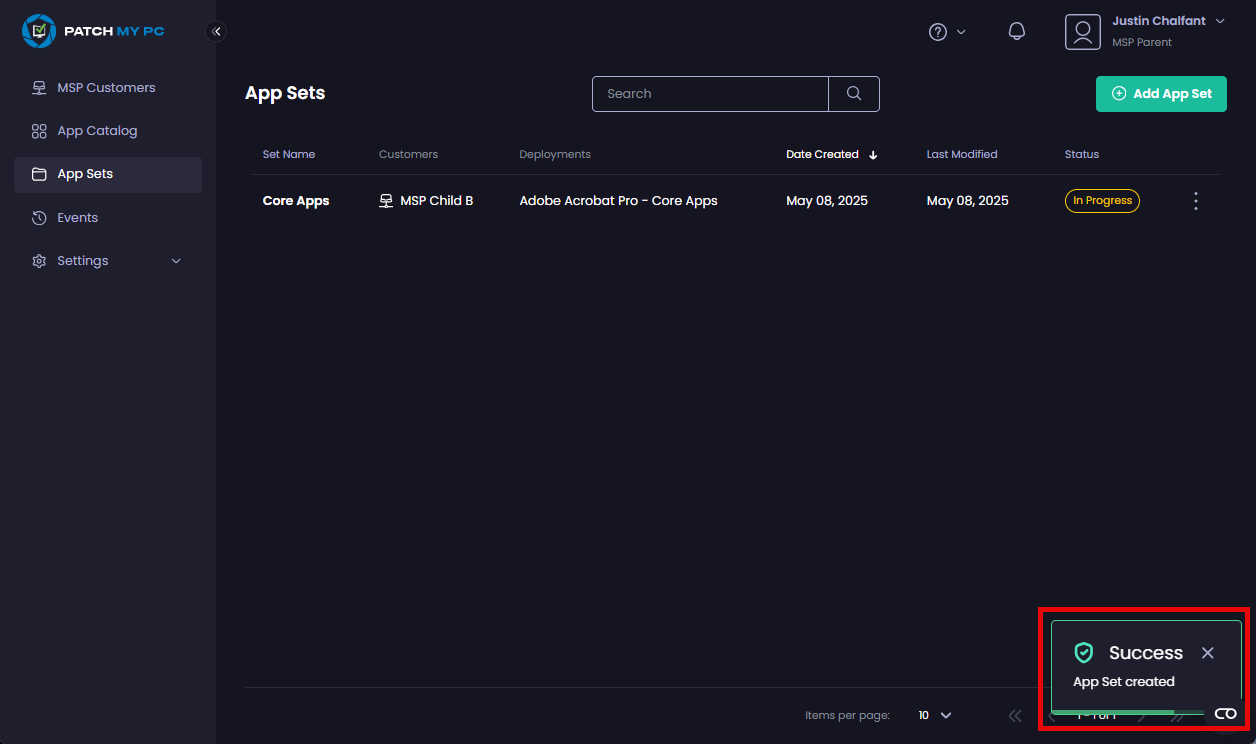
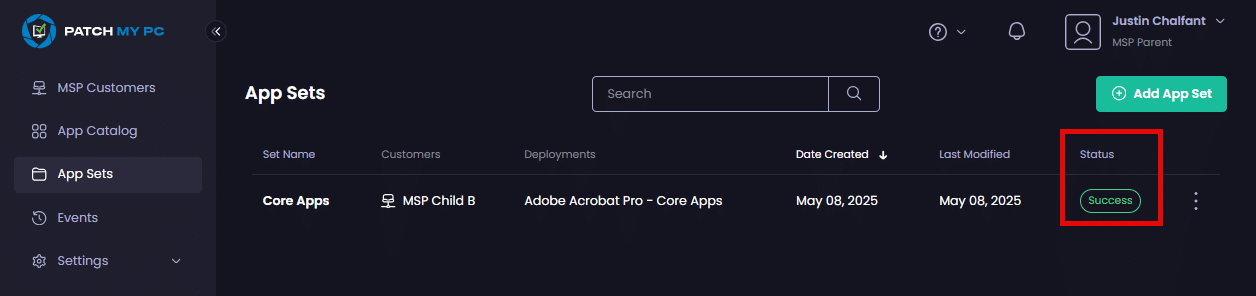
The App Sets page is redisplayed along with the Success – App Set created notification. The newly created App Set will show a Status of In Progress, followed by Success once all the deployments within the App Set have been completed successfully.
**Note**
The **Status** will show as **Failed** if one or more of the deployments fails.
**Tip**
You and the admins at the child company can monitor the status of each individual deployment from the **Deployments** node of the targeted company.
.png>)
**Important**
You cannot **Edit** or **Delete** a deployment from the **Deployments** node if it belongs to an App Set (these options are unavailable when clicking on the ellipsis (**⋮**) beside the deployment). This is another reason for adding the App Set’s name as a suffix to the app’s **Display Name** so that when you are viewing all of your deployments, you and the admins at your child companies can easily identify which deployment belongs to an App Set.
Once the App Set has been deployed successfully, it will show a Status of Success on the App Sets page.
**Note**
Once successfully created, any deployments created as part of an App Set will be updated based on the Sync Schedule configured at each child customer. So even if you have a single App Set with deployments to multiple child customers, you can end up with different versions of the same app at different child customers depending on when the [Sync Schedule](../../cloud-administration/manage-the-sync-schedule-in-cloud.md) runs. See [Manage Updates](../../cloud-deployments/manage-updates-in-cloud/) for more information.