Configure General Information
The General Information tab is where you configure the basic information for the Custom App:
-
To upload an icon for the app either:
- Click Upload Icon to upload a suitable file (png, jpg or jpeg) to use as the icon for this app.
- Drag and drop the image file onto this page.

-
In the App Name field, enter a unique name for the app.

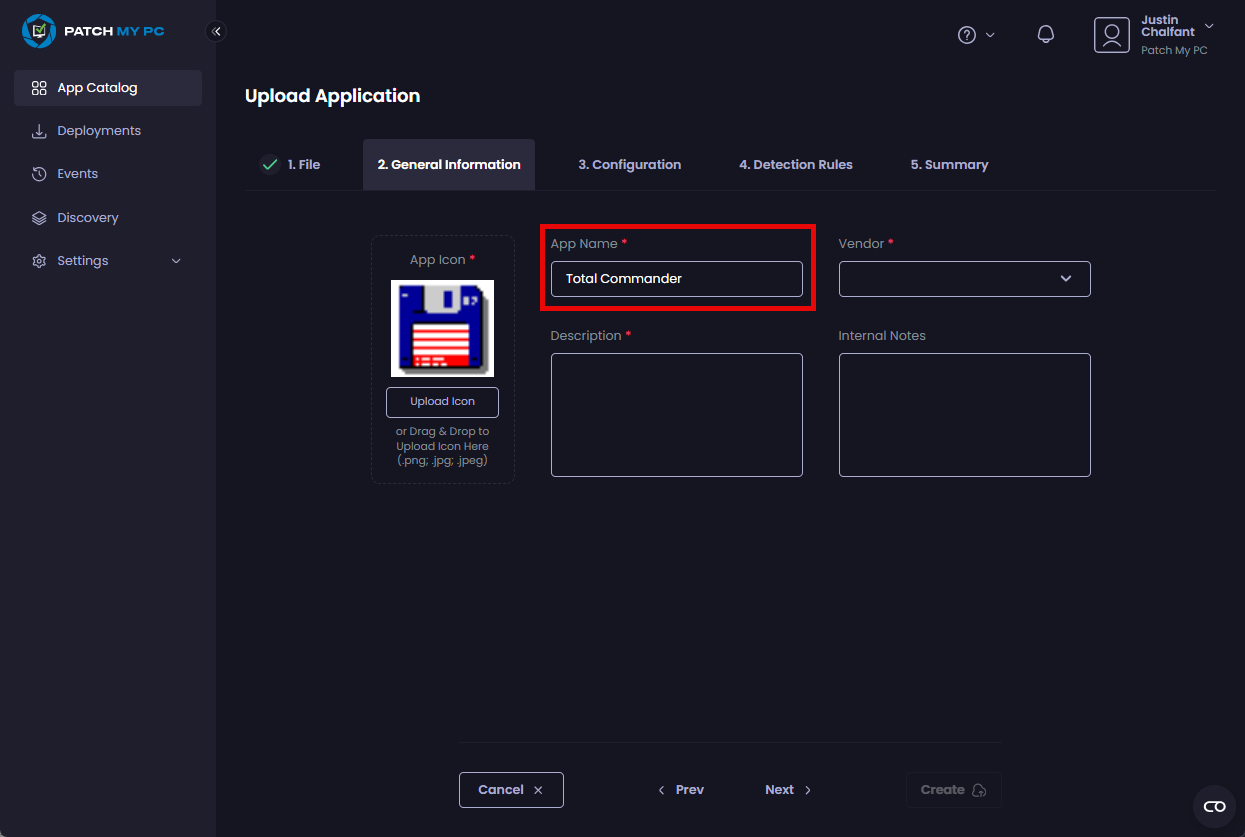
**Tip**
Avoid specifying the version number in this field, as this field does not get updated whenever you add a new version
-
In the Vendor field, either select an existing entry from the dropdown or enter the required name.
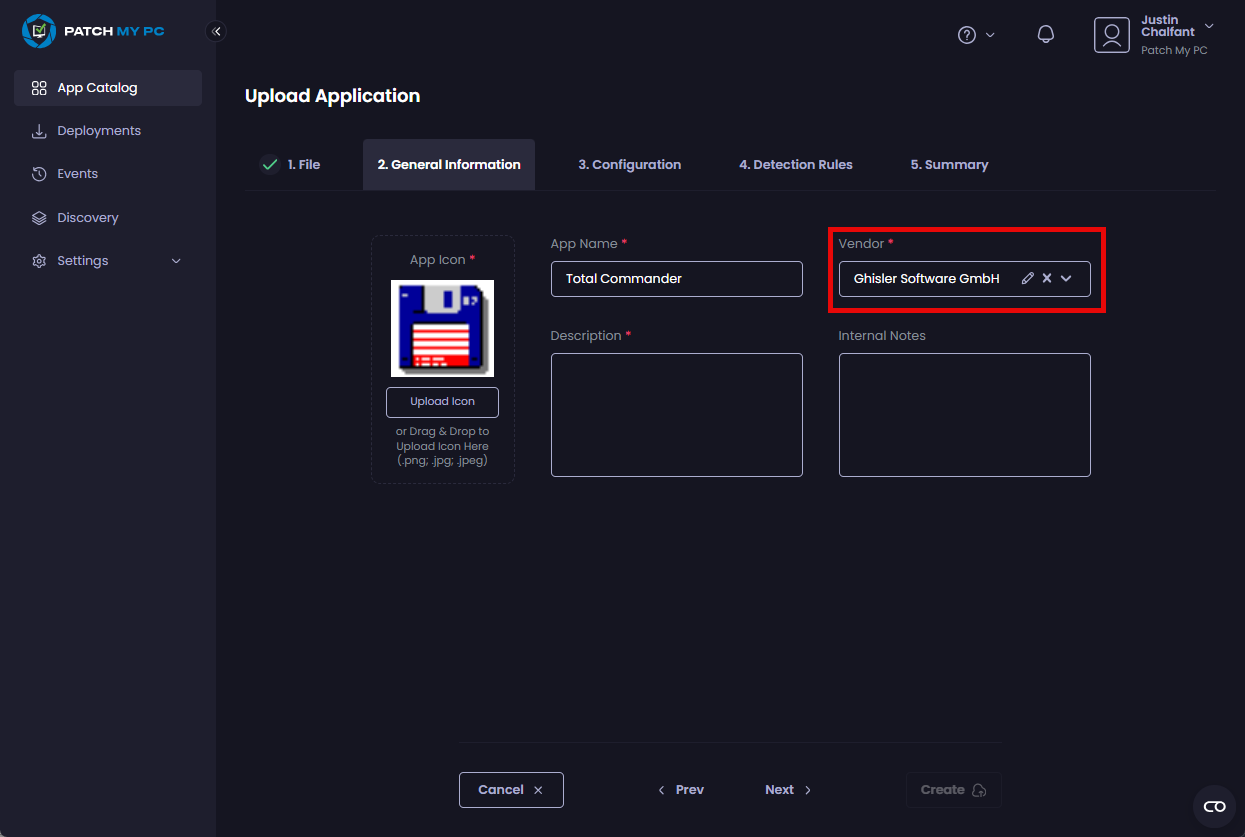
**Note**
If the vendor is new to your portal, you will see the **Success – The vendor <**_**vendor_name**_**> has been created** notification. The next time you add an app, this vendor will appear in the **Vendor** dropdown.
-
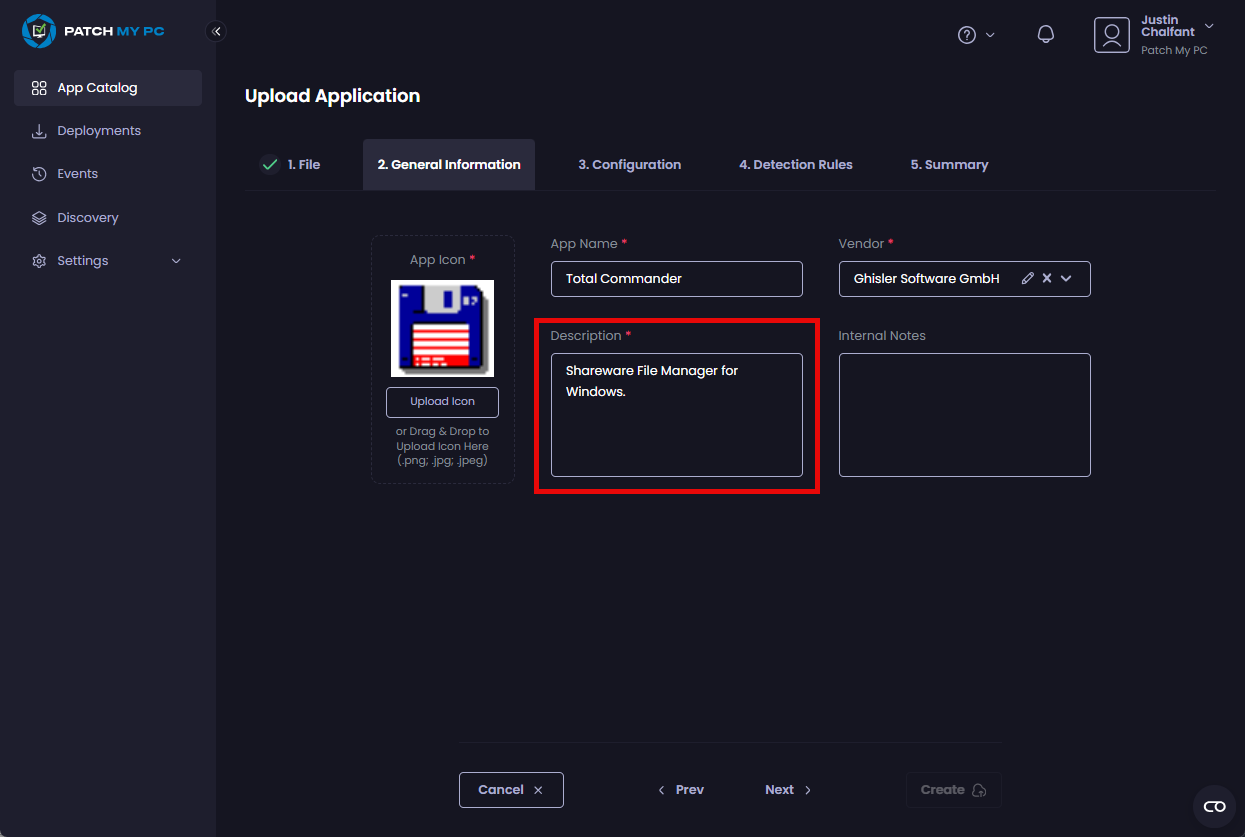
In the Description field, enter a description of the app.
-
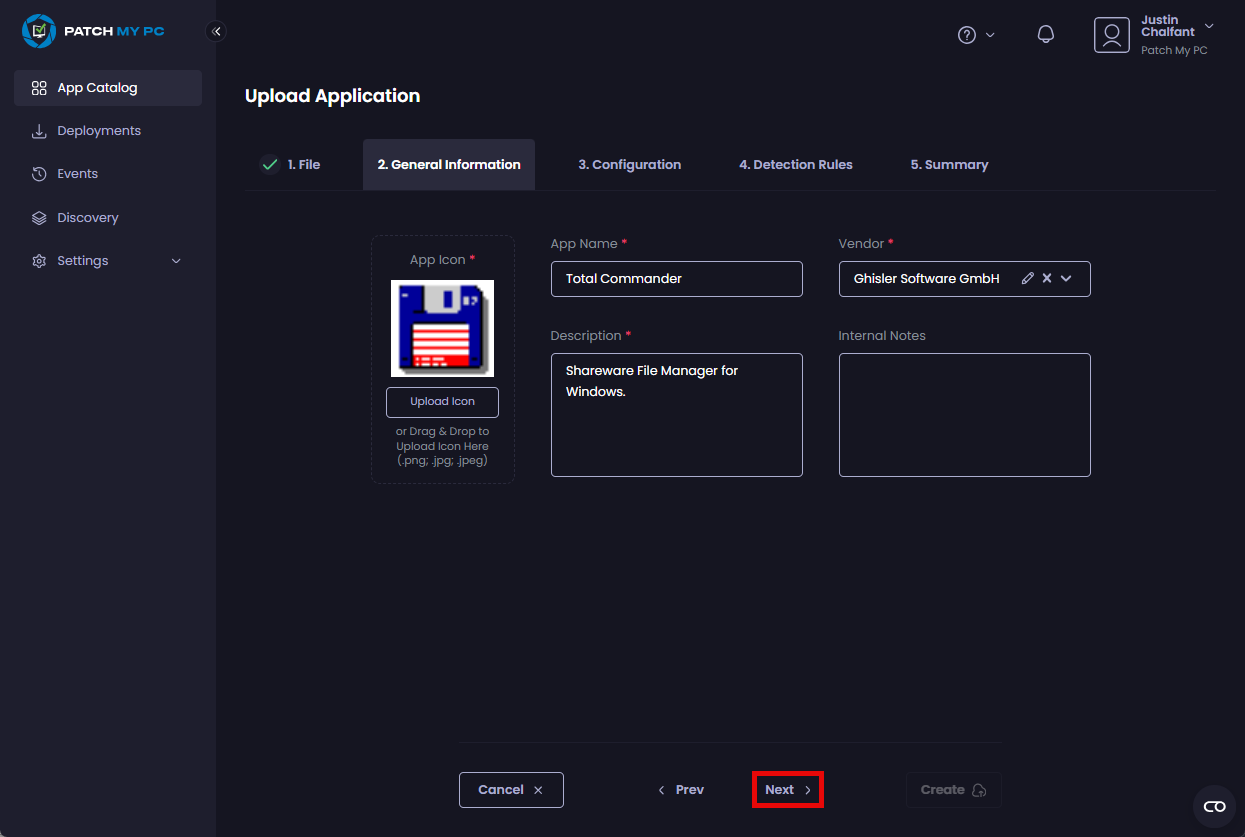
Enter any optional internal notes, then click Next to move to the Configuration tab.