A Post-Install Script is a script that can be run after the installer runs.
To add a Post-Install script:
- Click Add beside the Post-Install option.

- To import an existing script, click Import, browse to the location containing the script, and select it.

The Add Post-Install Script page is populated with the imported script.
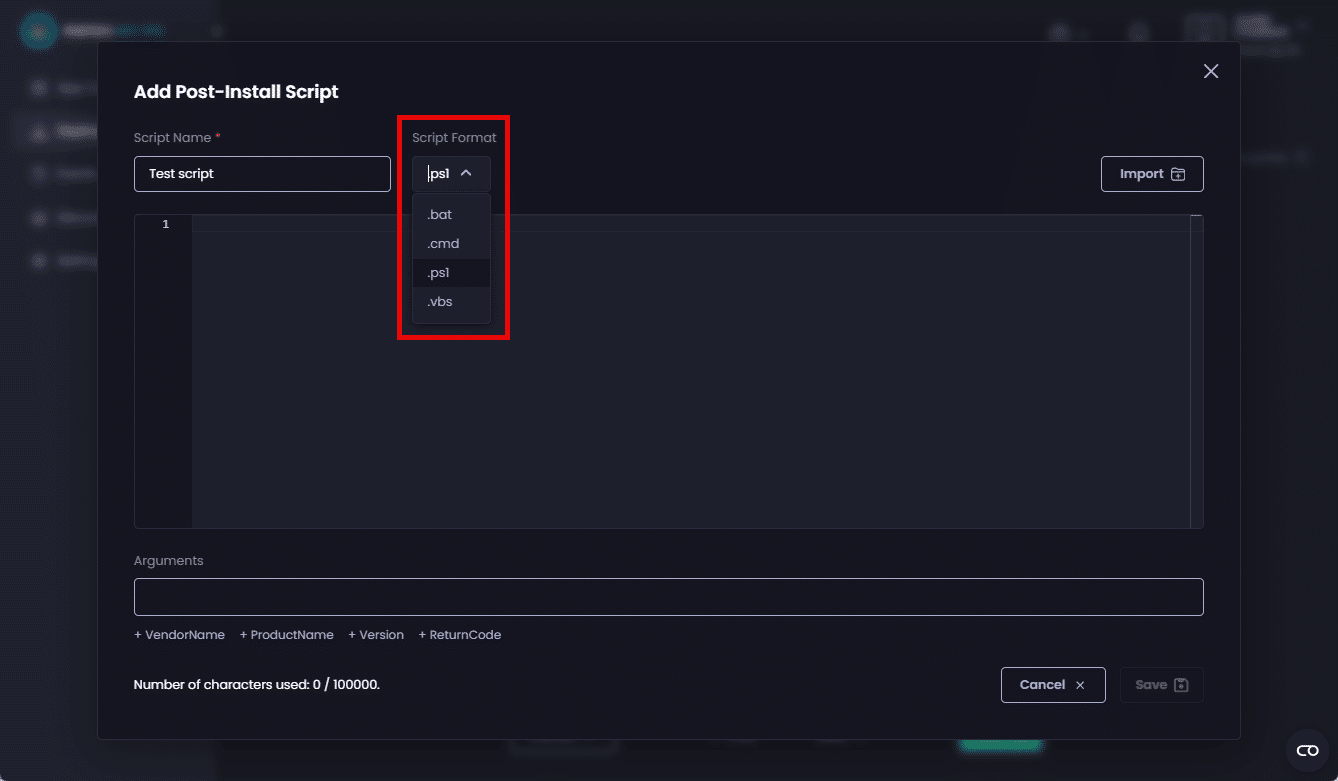
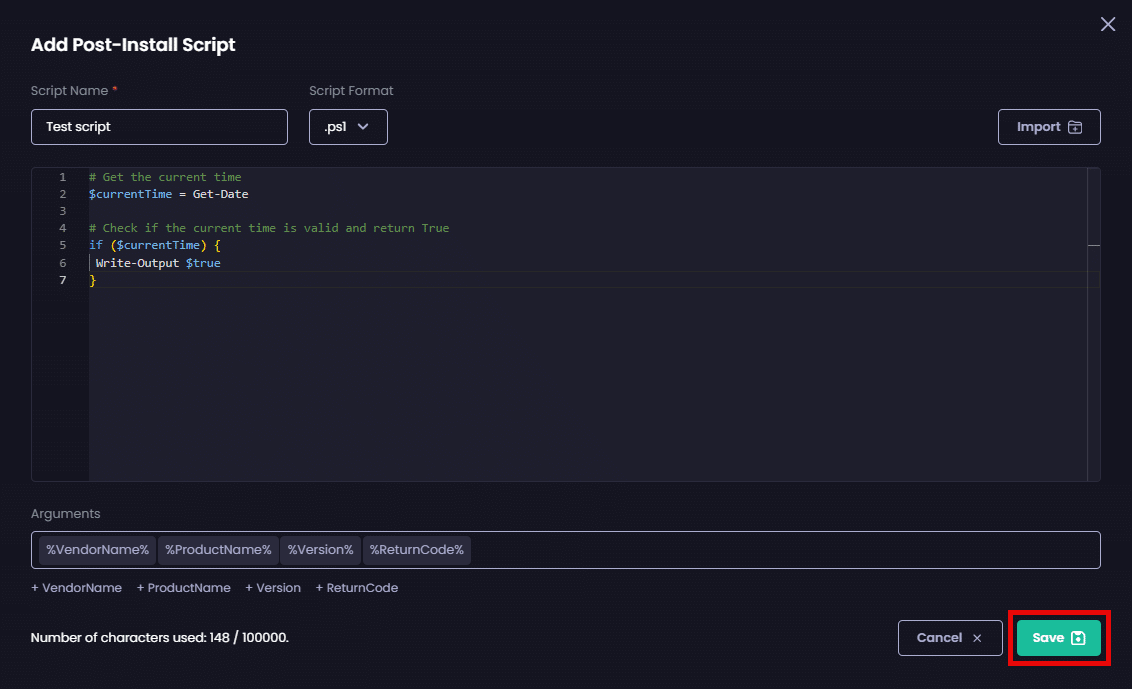
- To manually add a script, enter a unique name for the script in the Script Name field.

- Select the type of script from the Script Format dropdown.
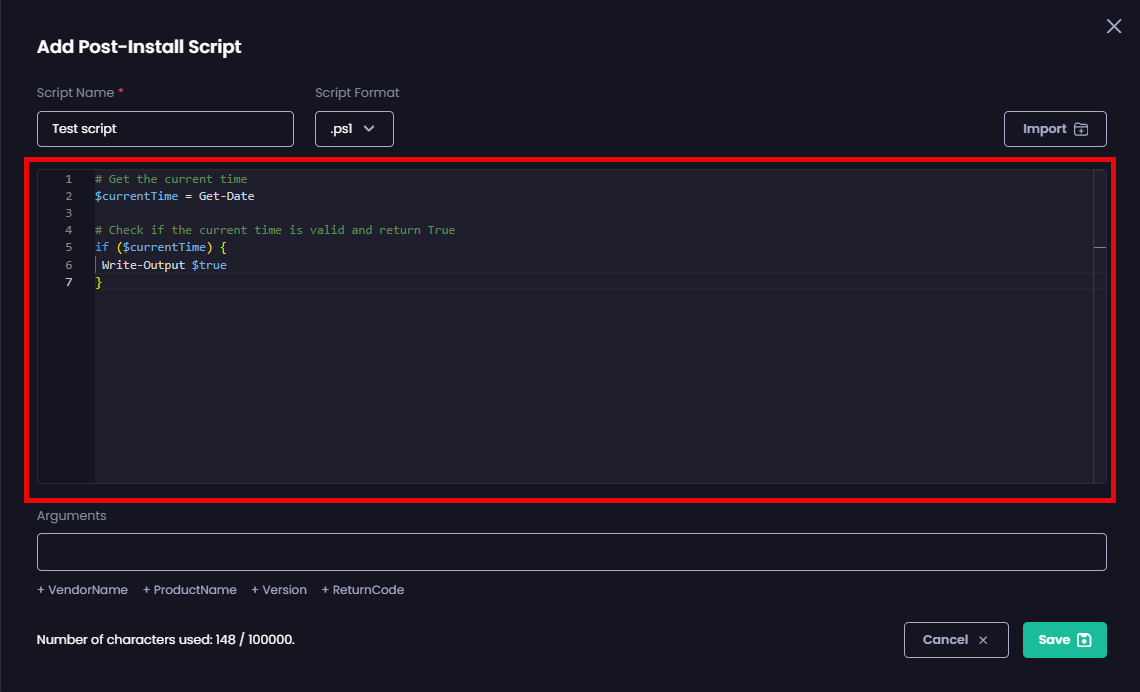
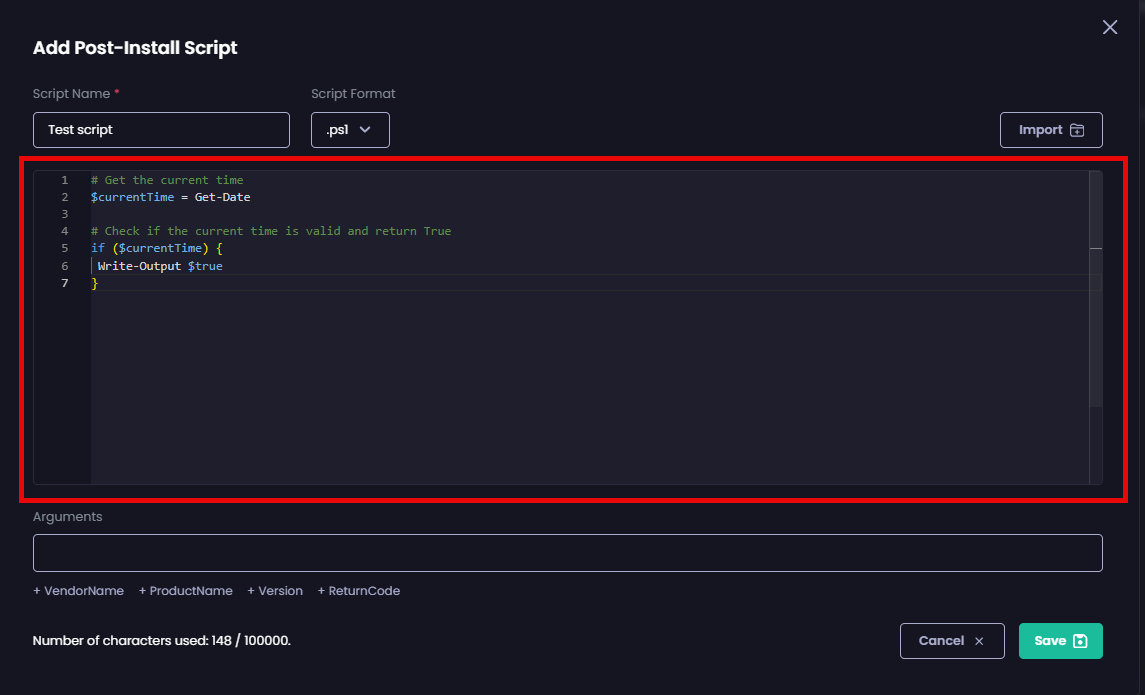
- In the script editor, type your script.
**Note**
We currently have a limit of 50,000 characters per script. Use the **Number of characters used** counter to keep track of the number of characters you’ve entered in the script editor.
-
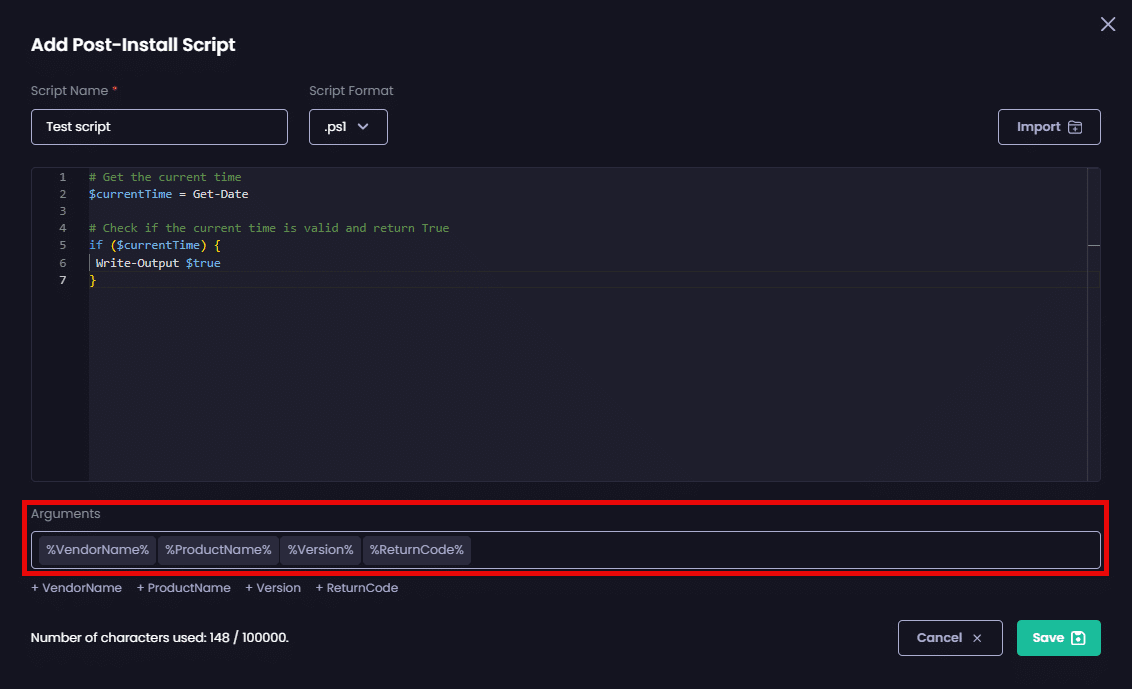
In the Arguments field, enter any arguments you want to provide to the script.

**Tip**
You can use variable names as arguments, provided they are enclosed by percentage signs (`%`). We provide common variables under this field, which you can add by clicking the plus (`+`) symbol or relevant variable name.
`%ReturnCode%` is currently only supported on post-scripts.
**Important**
Using script Arguments is currently unsupported when deploying an app to macOS.
-
Click Save to save your script.
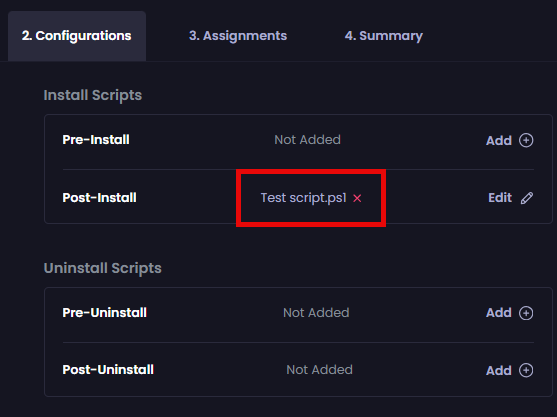
The Configurations tab is re-displayed with the name of the configured script beside it.
**Tip**
You can click **Edit** to edit a script or its settings. You can also click the red “`x`” beside a script to delete it.
If you do not want to configure any of the optional tabs under the Tools section, click Next to move to the Assignments tab.
Otherwise, click on the relevant tab under Tools to configure the required settings, which are explained in the relevant article.