To create a Microsoft Teams (Teams) webhook notification in Patch My PC (PMPC) Cloud:
- Create the webhook if you haven’t already, as detailed in the Creating a Microsoft Teams Webhook process.
- On the Add Microsoft Teams screen, enter a unique name for the webhook in the Webhook Name field. For example, Patch My PC.
.png>)
-
In the Webhook URL field, enter the unique URL of your Teams webhook created in Step 1. and click Save.
.png>)
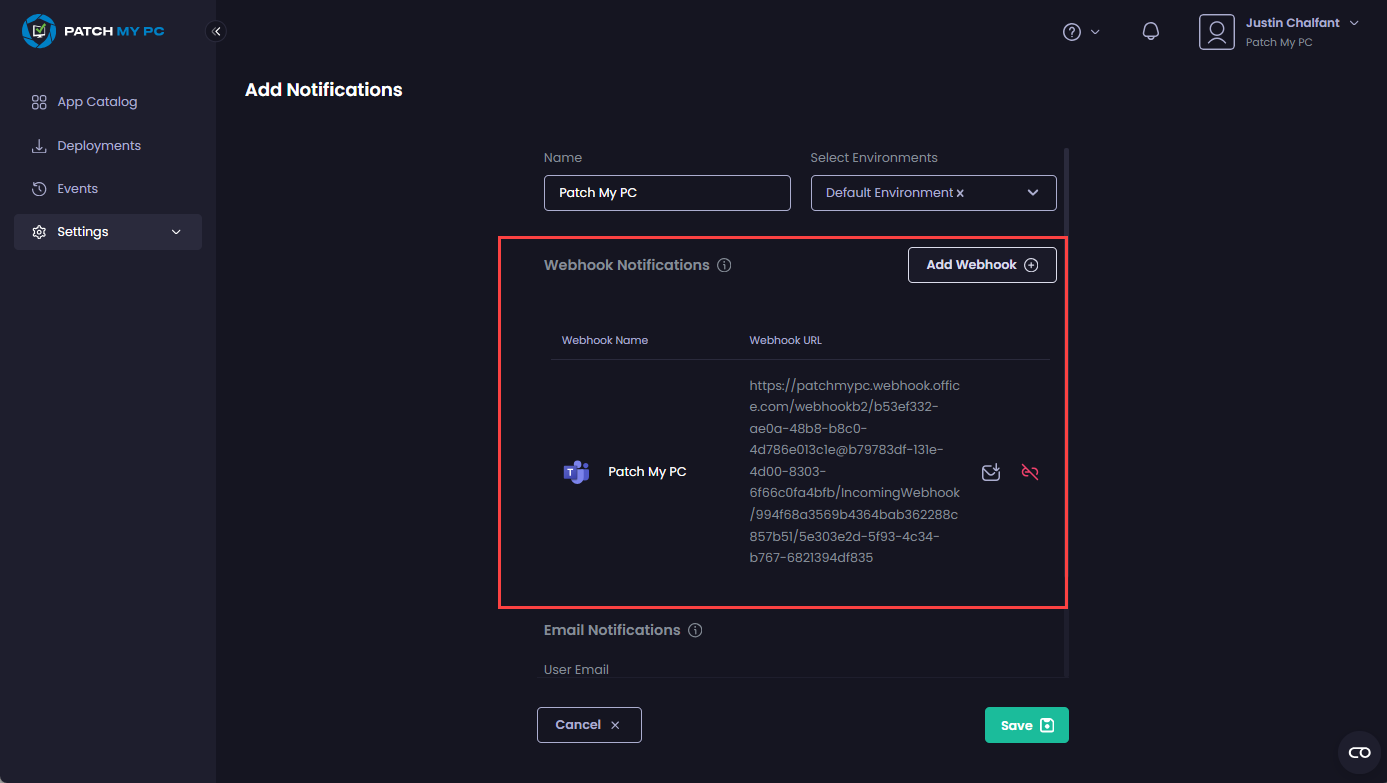
The new webhook notification is shown under the Webhook Notifications section.

**Tip**
You can click the small envelope beside the webhook URL (.png>)) to send a test notification. See [Testing a Microsoft Teams Webhook Notification](cloud-notifications-reference/test-a-microsoft-teams-webhook-notification-in-cloud.md) for more details.
-
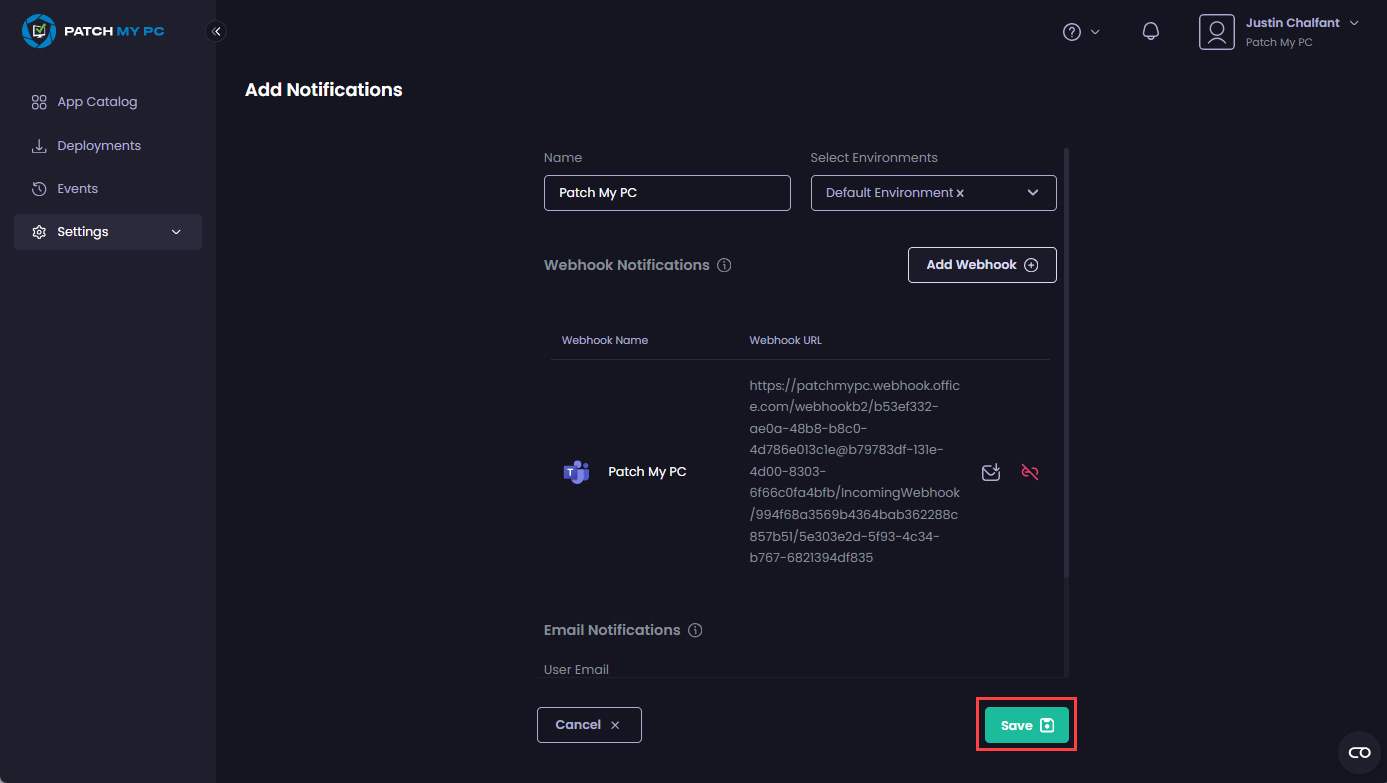
Click Save to save the newly added notification.
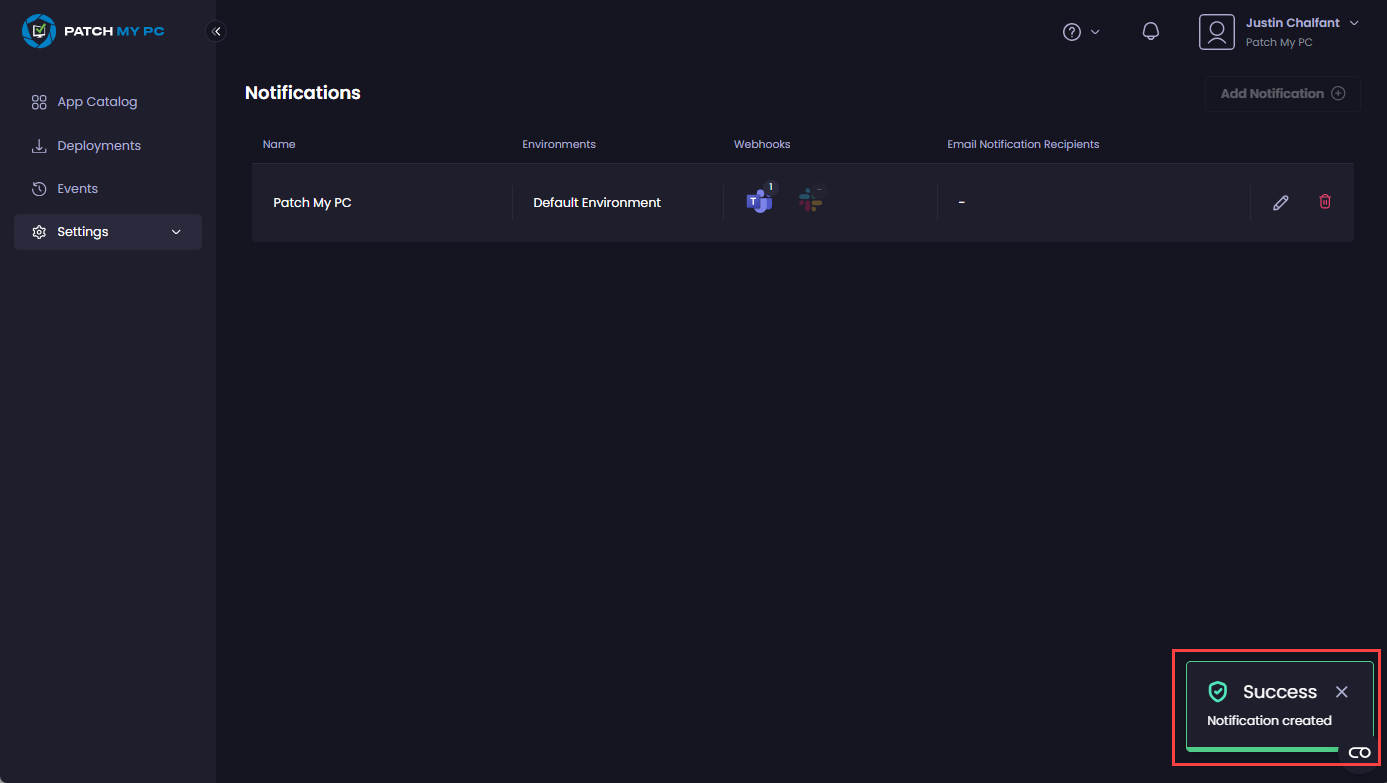
The Success – Notification created notification is shown.
The portal auto-refreshes to show the new notification.