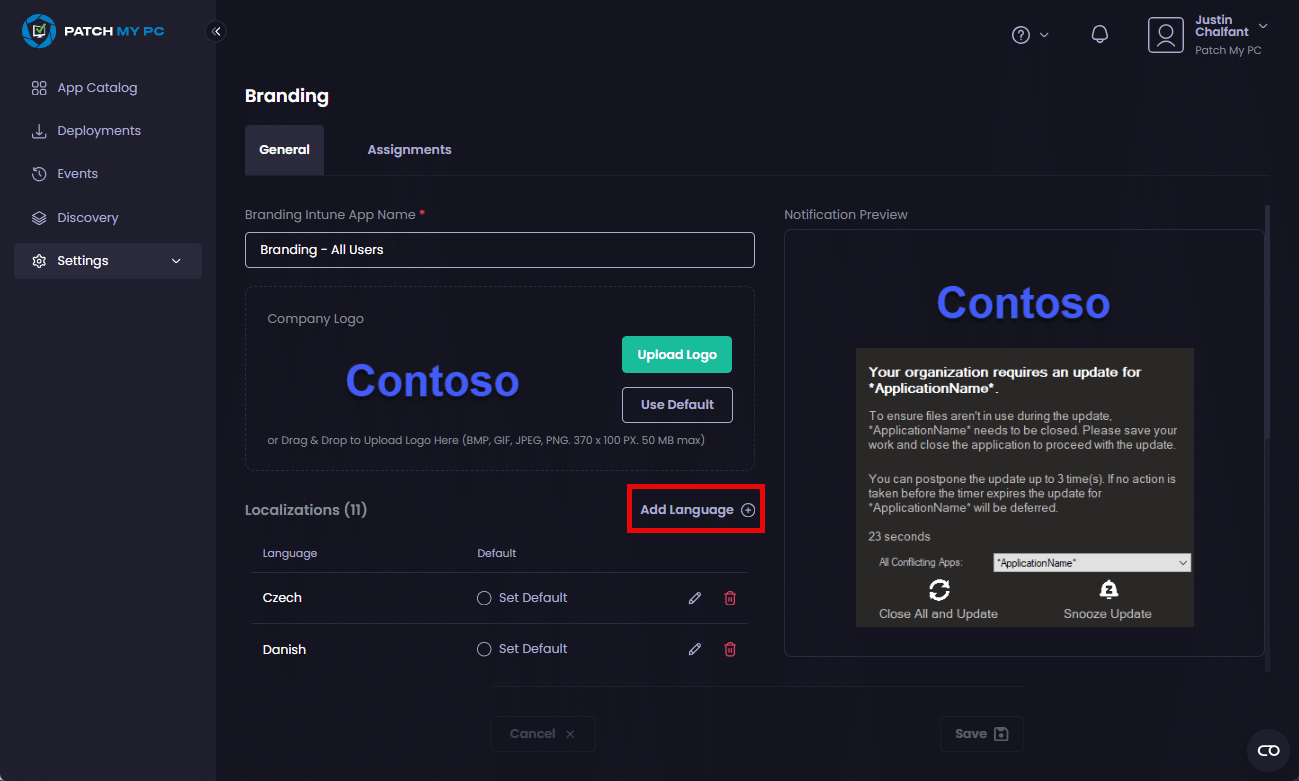
Using the Branding feature of Patch My PC (PMPC) Cloud, you can customize which localizations are used to display the Manage Conflicting Processes notification on your devices.
**Note**
The language displayed when the conflicting processes notification appears on devices is determined by the end user’s operating system locale:
* If the system locale matches a configured Branding language, the message will be shown in that language.
* If the system locale does not match any configured languages, the message will fall back to the default language set by the Cloud Portal Admin.
We recommend you create one branding app per language and then assign this app to the relevant Entra ID Security Groups running the configured language.
Using Branding Apps you can:
Add a Localization
To add a Localization:
- To a new Branding app, follow the Create a Branding app process until Step 7.
- To an existing Branding app, follow the Modify/Recreate Branding process.
- Click Add Language
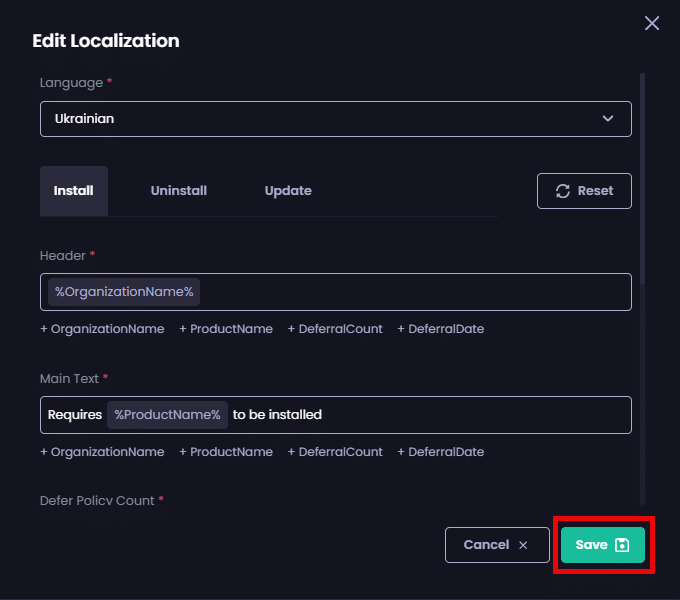
- In the Language dropdown of the Add Localization screen, start typing the name of the relevant language or select it from the dropdown.
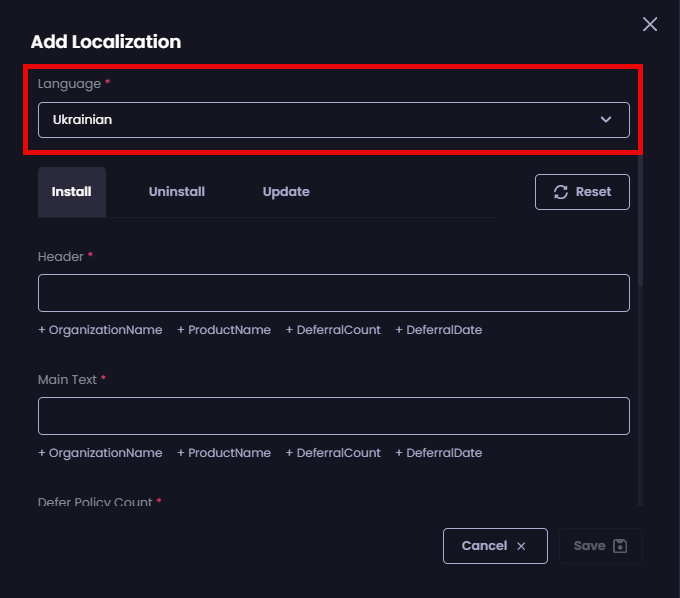
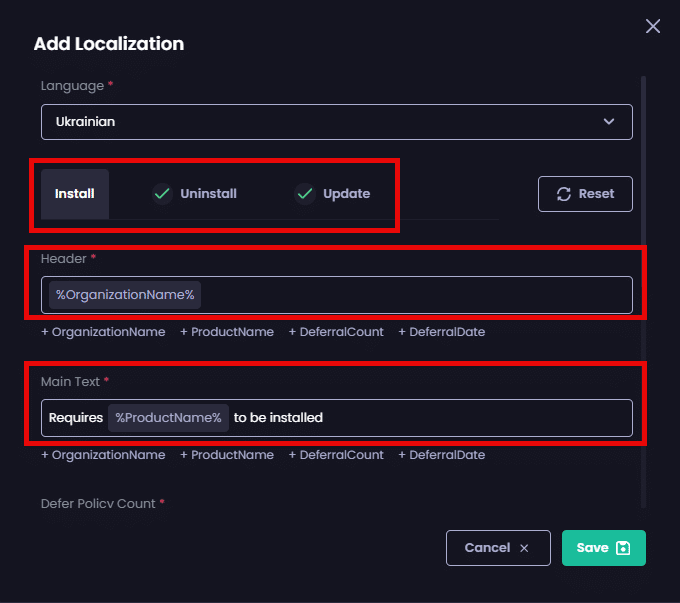
- For each of the three tabs (Install, Uninstall, Update), complete each field with the relevant text and variables you want to use.
**Important**
When you add a new localization, you must complete all of the fields on all of the tabs before you’ll be able to save it.
**Tip**
We include common variable names under each field, which you can add by clicking the relevant variable(s).
Also, see [Default Language Notifications](default-language-notifications-in-cloud.md) for a list of the default language notifications for English, which you can use to help you configure other languages.
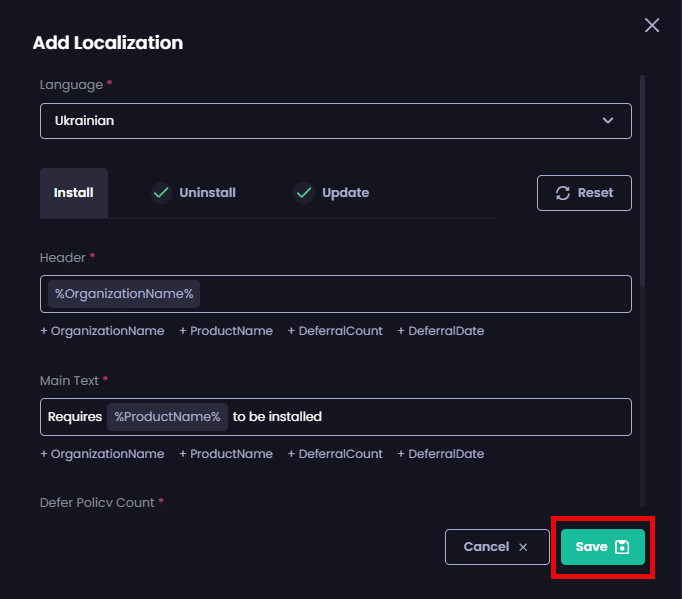
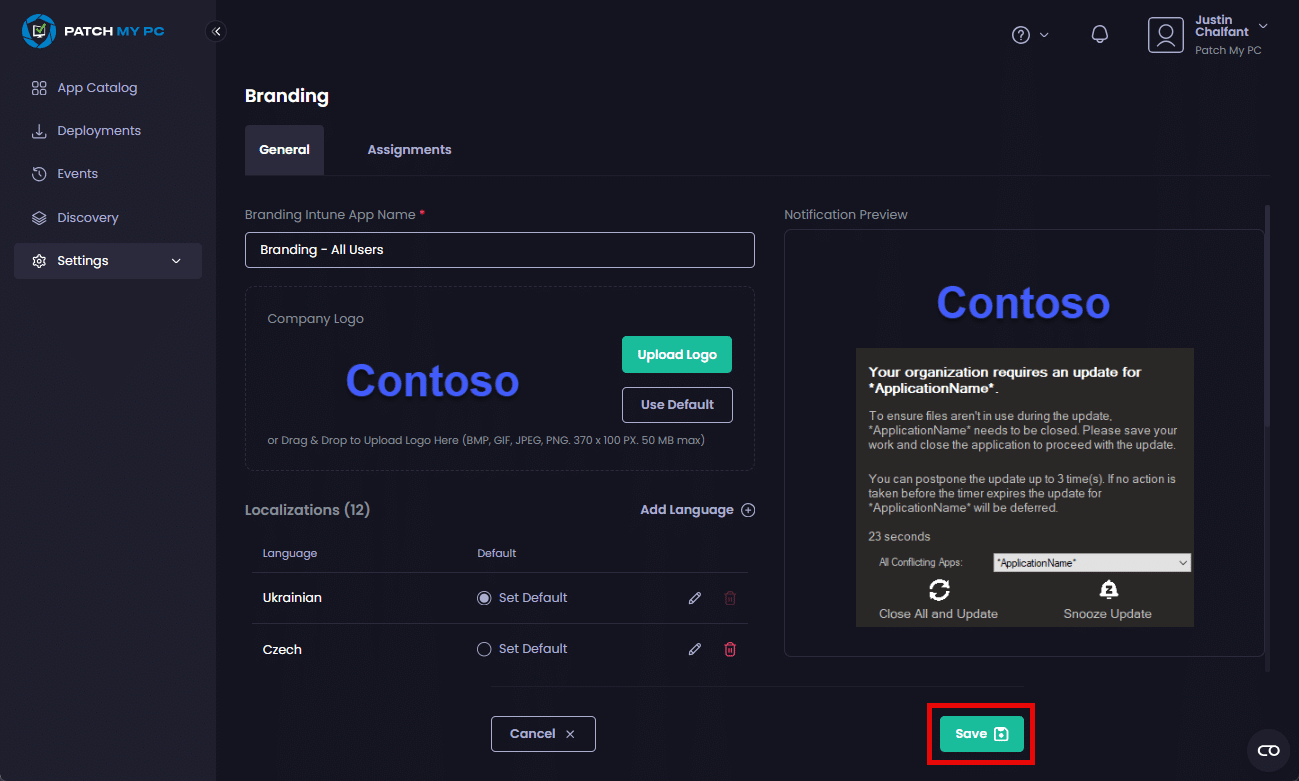
- Click Save to save your settings.
**Tip**
If you make a mistake or want to start again, click **Reset** to reset this screen and start again from the beginning of this process.
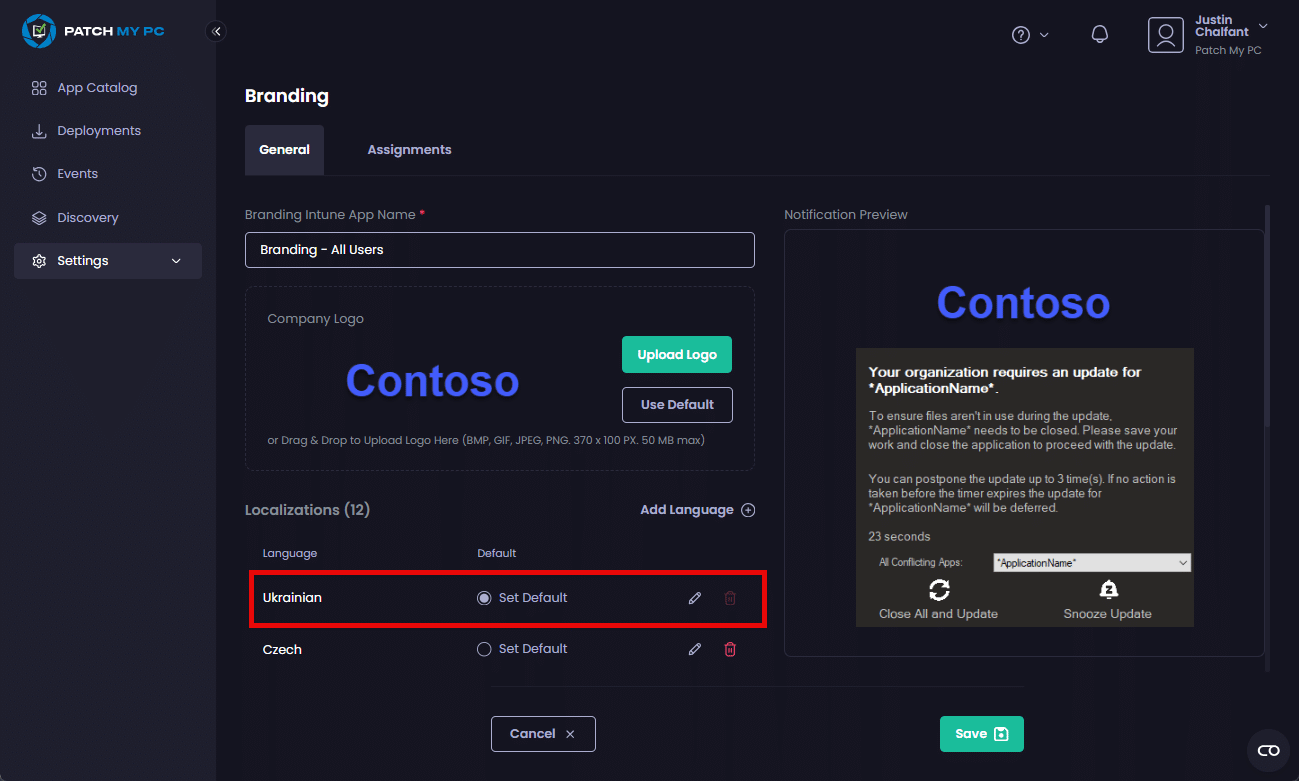
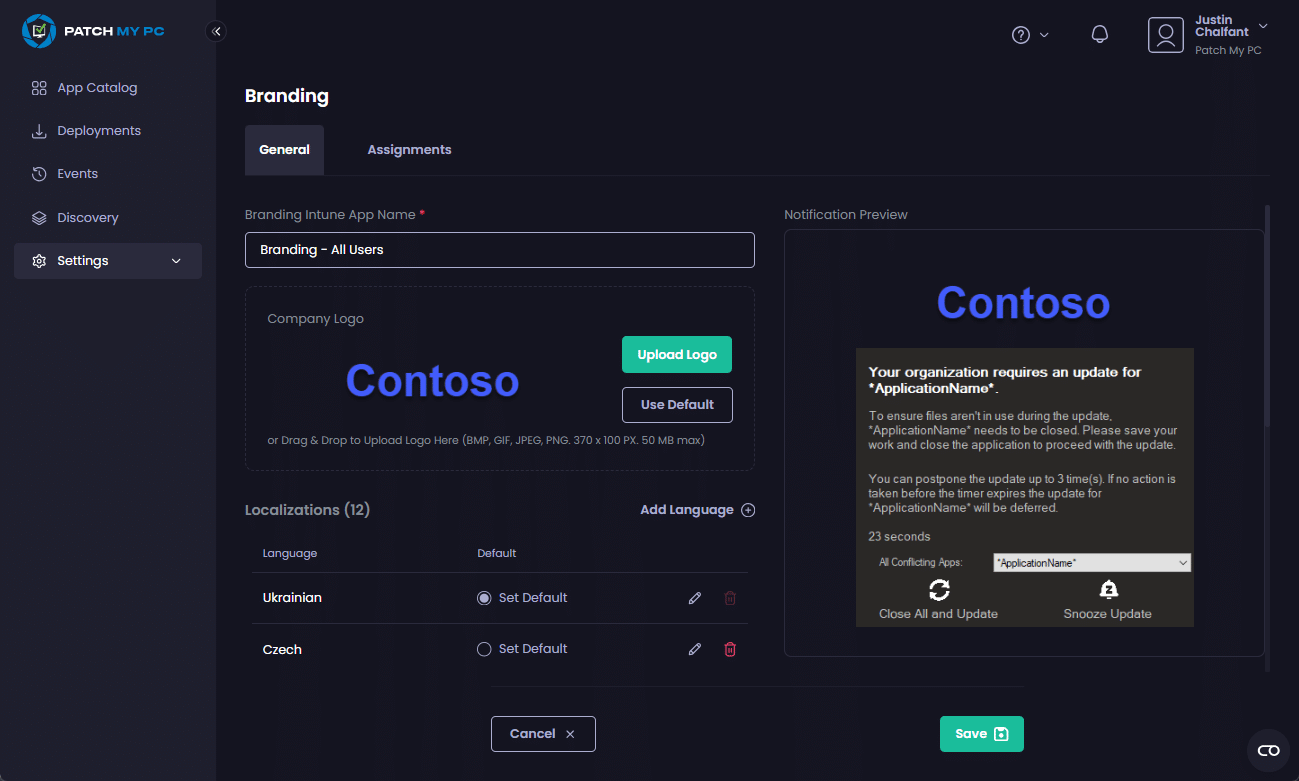
The Branding screen is redisplayed with the newly added localization shown at the top of the list allowing you to select it if required.
Modify an Localization
To modify a Localization for an existing Branding app:
- Follow the Edit Branding process.
- Click Add Language if you want to add a new language and follow the Add a Localization process.
- To modify an existing localization, click the pencil icon (
 ) beside the relevant language.
.png%3E) ) beside the relevant language.
) beside the relevant language.
- Make any required changes, then click Save to save your changes.
The Branding screen is redisplayed.
- Click Save to save your changes.
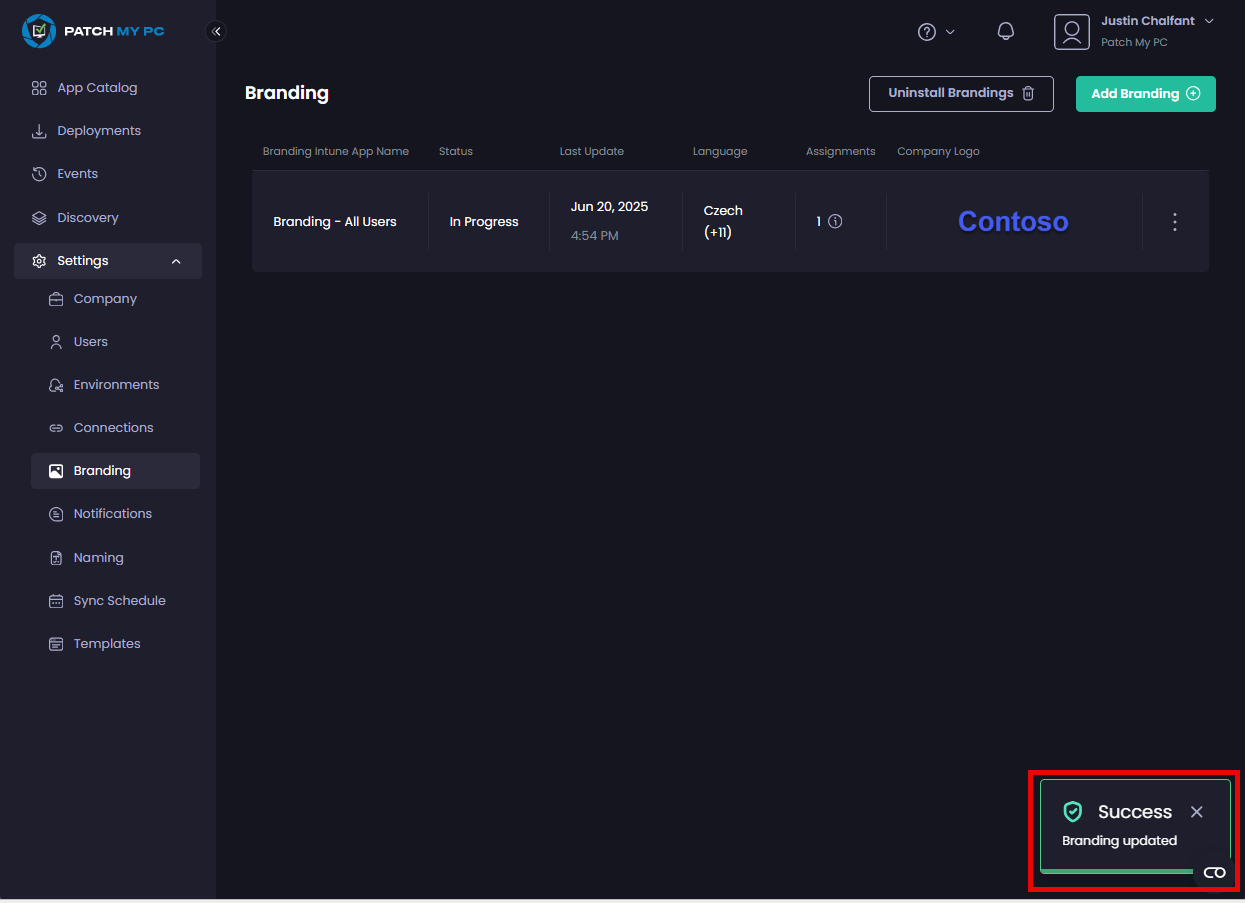
The list of branding apps is displayed along with the Success – Branding Updated notification.
Delete a Localization
To delete a Localization from either a new or existing branding app:
- Edit the branding app.
- Click the red trash can beside the language you want to remove.
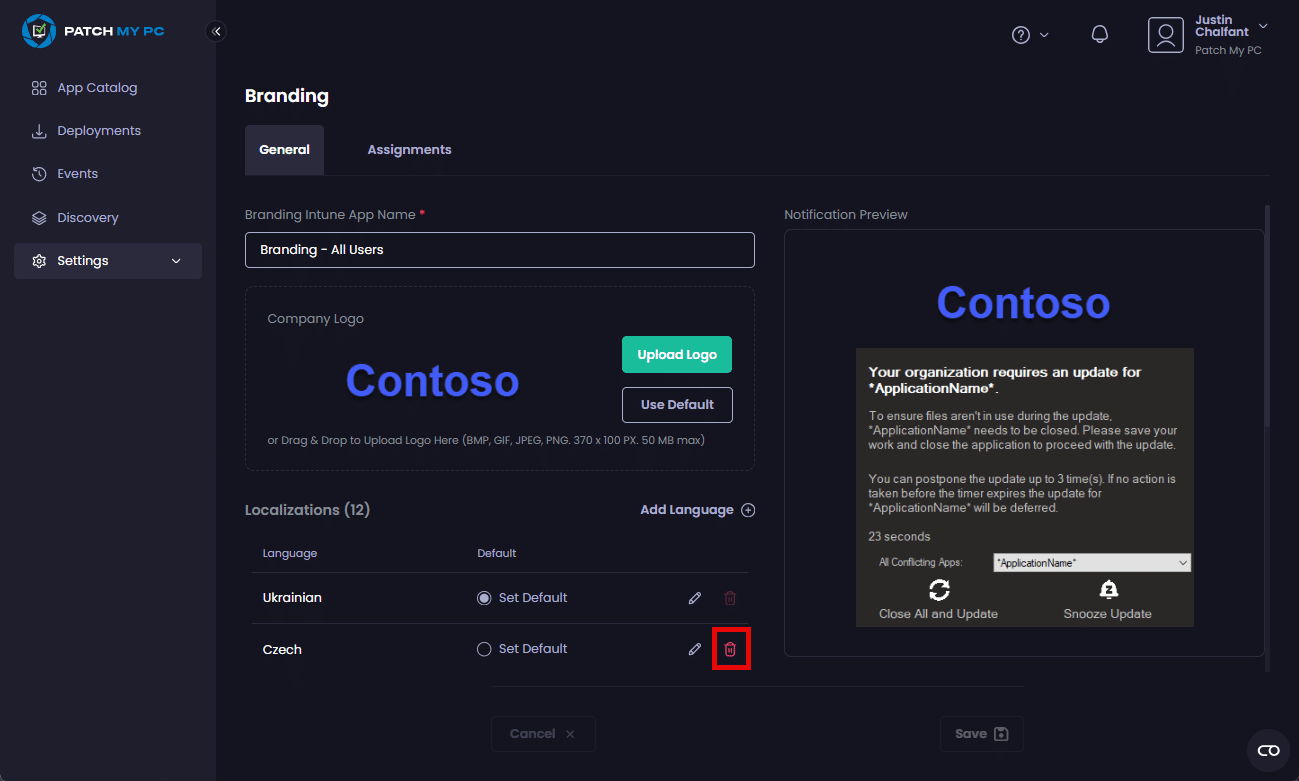
The language is removed.
- Click Save to save your changes.
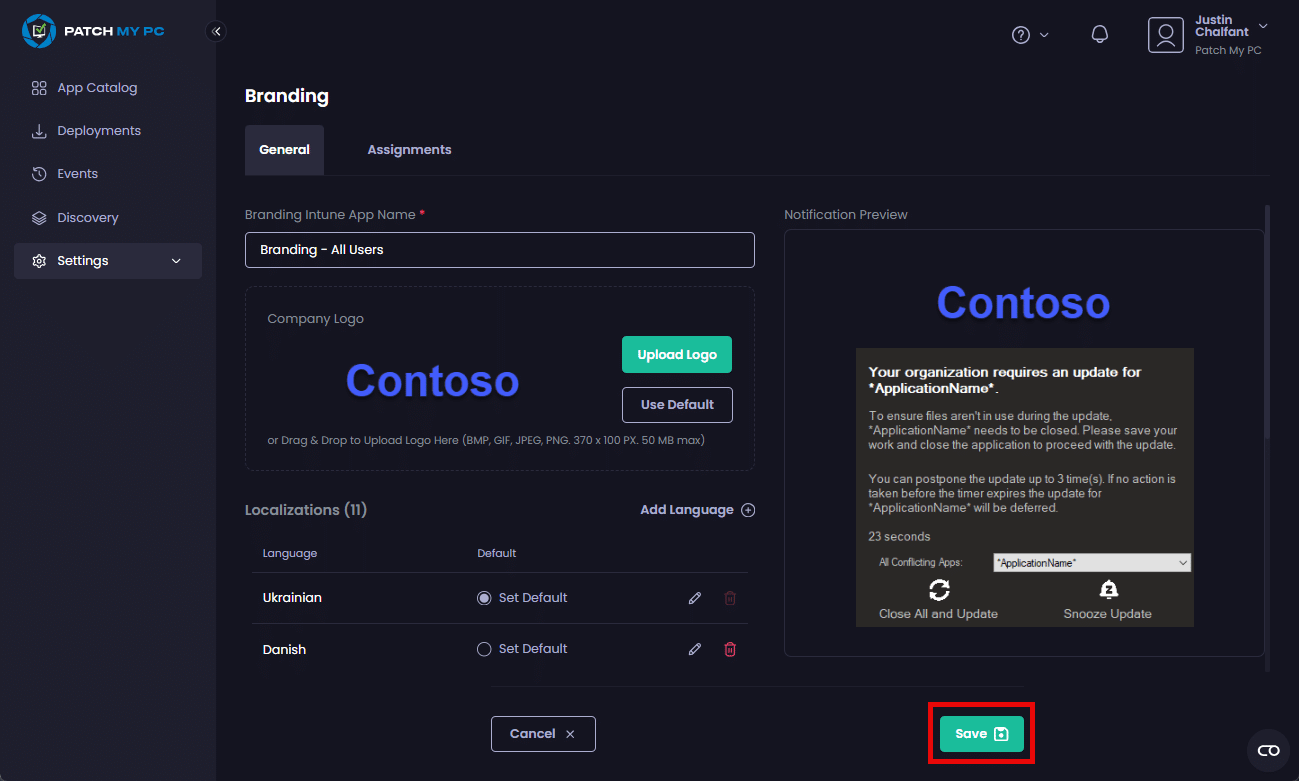
The Success – Branding updated notification is displayed.
